If you’re looking for a quick, satisfying woodworking project,
a simple wooden jewelry box is hard to beat.
It’s beginner-friendly, highly customizable,
and doesn’t require a shop full of tools to get great results.
This guide walks you through easy jewelry box plans you can
realistically complete in a single day —
even if you’re just getting started.
👉 Start Simple: What Makes a Good Beginner Jewelry Box?
A beginner-friendly jewelry box should check three boxes:
- Straight cuts only (no curves or complex joinery)
- Small footprint (easy to manage and glue up)
- Minimal hardware (basic hinges at most)
Stick with a rectangular design with dividers,
and you’ll avoid frustration while still ending up with
something that looks clean and professional.
🪵 Materials You’ll Need
Keep it simple —
this isn’t the time to get fancy.
- 1/2″ or 3/4″ wood (pine, poplar, or maple)
- Thin wood for dividers (1/4″)
- Wood glue
- Small hinges
- Sandpaper (120–220 grit)
- Optional: felt lining
👉 Pro tip: Scrap wood works great here.
This is a perfect “use what you’ve got” project.
🛠️ Basic Tools
- Saw (miter saw, circular saw, or even hand saw)
- Clamps
- Wood glue
- Measuring tape
- Square
- Optional: brad nailer
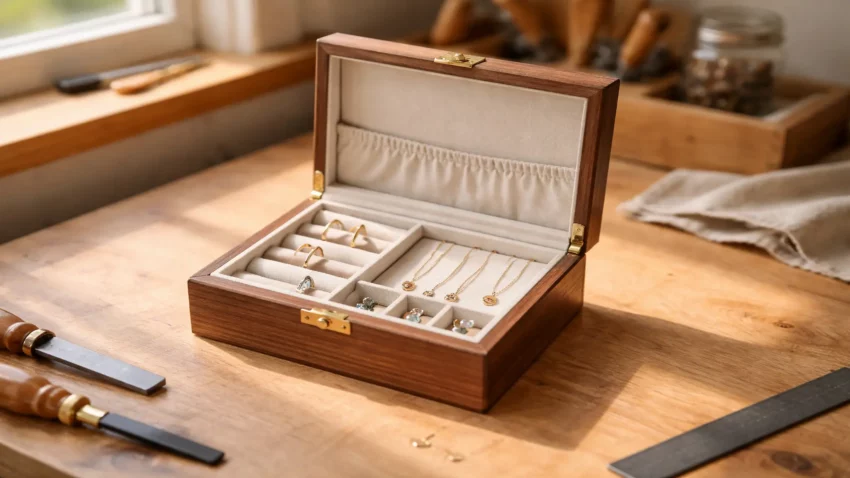
📐 Simple Jewelry Box Plan (Beginner Layout)
Here’s a clean, no-headache design:
- Base: 8″ x 5″
- Sides: 2–3″ tall
- Lid: Same size as base
- Inside: 3–6 compartments using dividers
This gives you a compact box that still feels functional and polished.
🔨 Step-by-Step Build
1. Cut Your Pieces
Cut:
- Bottom panel
- 4 side pieces
- Lid
- Divider strips
Keep everything square — this matters more than anything else.
2. Assemble the Box Frame
- Glue the sides around the base
- Clamp tightly
- Wipe excess glue immediately
Optional: add brad nails for extra strength.
3. Sand Everything Smooth
- Start with 120 grit
- Finish with 220 grit
Focus on edges and corners — you want this to feel good in hand.
4. Add Dividers
- Cut thin strips to fit snugly
- Glue into place
No need to overcomplicate — simple grid layouts work great.
5. Attach the Lid
- Install small hinges
- Pre-drill to avoid splitting
Take your time here — this is what makes it feel “finished.”
6. Optional: Line the Interior
- Cut felt to size
- Glue lightly into compartments
This instantly upgrades the look.
🎯 Beginner Mistakes to Avoid
- Rushing measurements → leads to gaps
- Skipping sanding → cheap-looking result
- Too many compartments → makes it harder than it needs to be
👉 Keep it simple. Clean beats complicated every time.
💡 Easy Customization Ideas
Once the basic box is done, you can level it up:
- Rounded edges with sanding
- Burned-in designs (wood burning tool)
- Stain or natural oil finish
- Add a small handle or knob
Want more ideas and designs?
Check out the full guide:
Final Thoughts…
This is one of those projects that punches way above its weight.
It’s simple, fast, and teaches you fundamentals you’ll use on bigger builds later.
And the best part?
You end up with something useful —
not just another practice piece.
Keep building — each project gets better.
Come on man… You got this!
 Craft it. Shape it. Own it!