

Need a safe, sturdy way to reach high shelves, help kids wash their hands, or tackle everyday tasks in the kitchen, garage, or garden?
How To Build a Simple Wooden Step Stool is an easy, beginner-friendly woodworking project that delivers a compact, practical piece you’ll actually use.
Built with basic tools and straightforward joinery, this project helps you develop essential woodworking skills while creating something useful for your home.
Whether you’re new to woodworking or just want a quick weekend build, this simple step stool is a smart starting point that builds confidence and fits almost anywhere.

🧰 Recommended Tools for This Build
Before you start building your step stool, it helps to have a small set of reliable tools ready to go.
These basics cover measuring, cutting, drilling, clamping, and smoothing —
Everything you need to work safely, stay accurate, and assemble a sturdy stool without overcomplicating the build.
STANLEY FATMAX 25-Foot Tape Measure
Accurate measurements are the foundation of a solid bench build, and having a reliable tape measure makes every cut more confident.
The STANLEY FATMAX 25-Foot Tape Measure is tough, easy to read, and built to handle both indoor projects and outdoor jobsite conditions without skipping a beat.
 Amazon Product Suggestion:
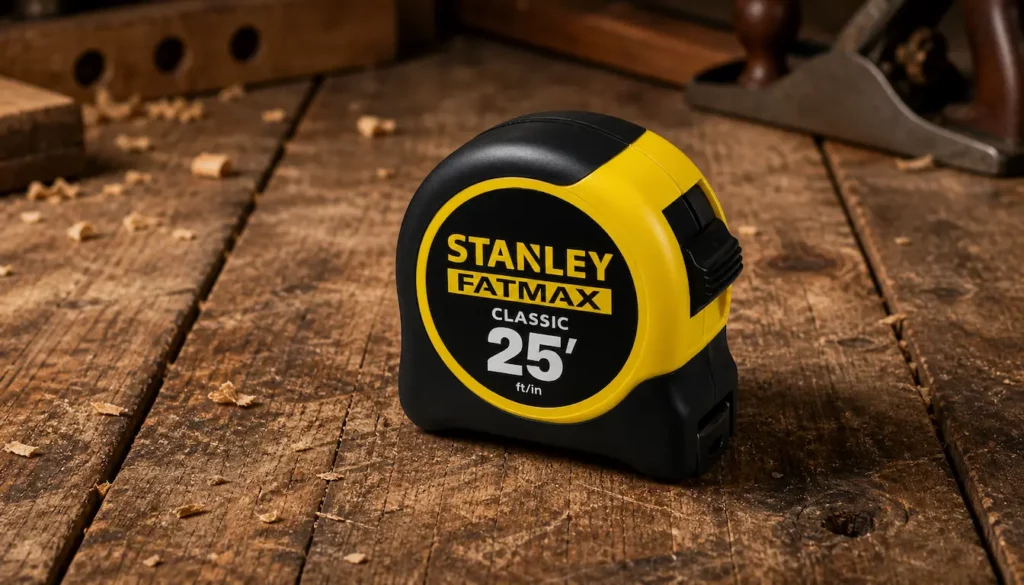
 STANLEY FATMAX 25-Foot Tape Measure
A tough, reliable tape measure built for real job-site use.
The STANLEY FATMAX 25′ delivers crisp easy-read markings,
a strong standout, and the perfect length for woodworking and outdoor projects.
Why it’s great:
IRWIN QUICK-GRIP 6” One-Handed Mini Bar Clamp Set
Keeping parts aligned while glue sets is key to a sturdy, square bench, and that’s where dependable clamps come in.
The IRWIN QUICK-GRIP 6″ One-Handed Mini Bar Clamp Set lets you secure pieces quickly with one hand, making assembly smoother, faster, and far less frustrating.
Amazon Product Suggestion:

IRWIN QUICK-GRIP 6” One-Handed Mini Bar Clamp Set
(4-Pack)
These IRWIN Quick-Grip mini bar clamps are perfect for
small woodworking projects where speed and control matter.
They’re lightweight, easy to use with one hand, and
provide reliable clamping pressure without damaging your work.
Why it’s great:
✔ One-handed, quick-release operation
✔ Non-marring pads protect wood surfaces
✔ Strong grip for small projects
✔ Lightweight and easy to position
DEWALT 20V Max Cordless Drill
From drilling clean pilot holes to driving screws during assembly, a dependable cordless drill is a must-have for this project.
This drill delivers plenty of power, solid battery life, and the versatility needed to move smoothly from framing to final assembly without slowing you down.
Amazon Product Suggestion:

DEWALT 20V Max Cordless Drill
This 20V MAX drill kit comes with
multiple batteries, a charger, and a durable carry bag —
everything you need to get started right away.
It’s lightweight, powerful, and designed for
consistent performance across
a wide range of DIY and workshop tasks.
Why it’s great:
20V MAX power — strong, consistent performance
Two batteries included — less downtime, more work
Compact, lightweight design — easy control and comfort
Complete kit — drill, charger, batteries, and bag included
SKIL Saw
A circular saw is the real workhorse of this project.
Whether you’re trimming boards, cutting legs to length, or ripping wider lumber down to size, a SKIL Saw delivers fast, accurate cuts without the bulk of a table saw.
It’s perfect for beginners and pros alike, making it a natural fit for any shop.
Amazon Product Suggestion:
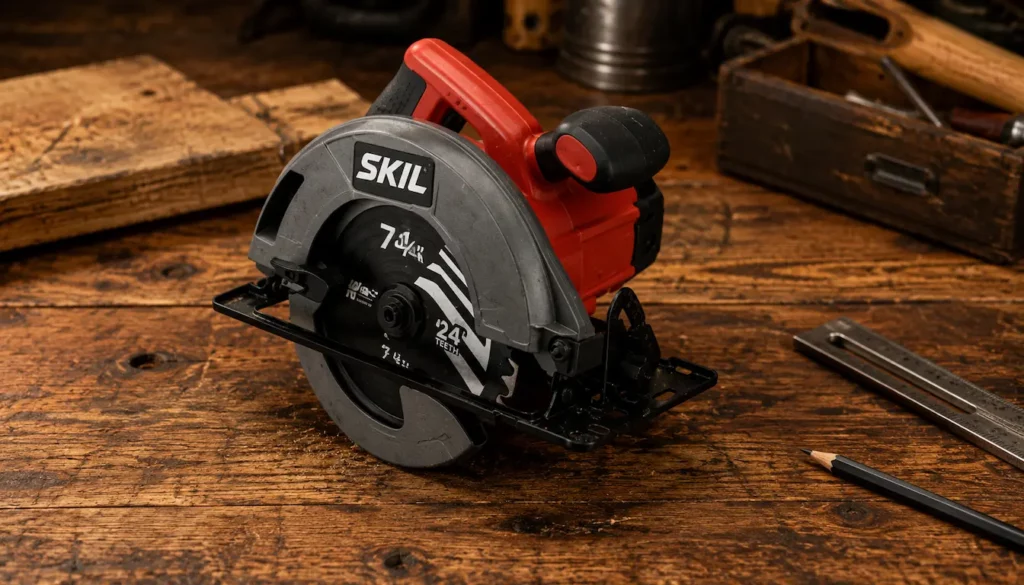
SKIL 15-Amp 7-1/4″ Circular Saw
(5280-01)
This SKIL circular saw delivers the power and accuracy you need
for everything from rough cuts to finished projects.
It’s easy to control, reliable for beginners, and
offers impressive performance without a premium price.
Why It’s Great:
✔ Powerful 15-amp motor
✔ Built-in laser cutting guide
✔ Lightweight and easy to handle
✔ Great for rip and crosscuts
SKIL 5” Random Orbital Sander
Smooth surfaces make all the difference in how a finished bench looks and feels, especially when it’s meant for everyday use.
The SKIL 5″ Random Orbital Sander helps you quickly remove rough spots and tool marks while its cyclonic dust box keeps cleanup manageable and your workspace cleaner.
Amazon Product Suggestion:
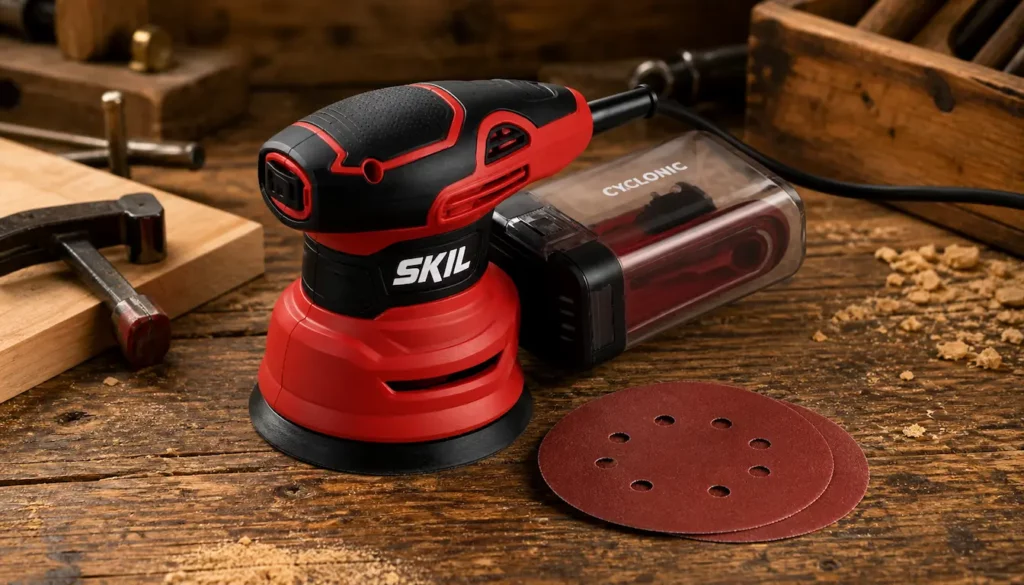
SKIL 5” Random Orbital Sander
(with Cyclonic Dust Box)
This SKIL random-orbit sander makes it easy to
achieve a smooth, professional finish on everything
from furniture to small woodworking projects.
It’s comfortable to use, easy to control, and
keeps dust under better control while you work.
Why it’s great:
✔ Smooth, swirl-free finish
✔ Built-in dust collection
✔ Variable speed control
✔ Comfortable, low-vibration grip
🧰 Other Tools You Will Need
Tools:
- Screwdriver or impact driver
- Pencil
Materials:
- (1) 1×12 board, 6 feet long (pine is affordable and easy to work with)
- 1¼” wood screws
- Wood glue
- Sandpaper (80- and 220-grit)
- Wood stain or paint
- Polyurethane (for sealing)
Part Quantity Dimensions
- Top Step 1 18” x 9”
- Bottom Step 1 18” x 9”
- Side Legs 2 14” x 9” (angled ends)
- Center Brace 1 16” x 3”
🔨 Step-by-Step Instructions
Step 1: Cut Your Wood
Measure and mark each piece carefully.
Use your circular saw (or hand saw) to cut all parts to size.
Label each piece with pencil to keep track.
Step 2: Assemble the Legs and Bottom Step
Attach each leg to the bottom step using wood glue and 1¼” screws.
Clamp tightly before screwing. Pre-drill holes to avoid splitting.
Step 3: Install the Center Brace
Position the center support between the legs beneath the bottom step.
Secure with glue and screws.
This helps prevent wobble and adds strength.
Step 4: Attach the Top Step
Place the top step across the legs.
Make sure it’s flush and centered.
Screw it down through the top into the legs and brace below.
Step 5: Sand It Smooth
Start with 80-grit to remove any sharp corners or tool marks, then finish with 220-grit for a silky-smooth feel.
Don’t skip this — it really makes a difference!
💡 Tips & Troubleshooting
- Use clamps to hold pieces steady during assembly.
- Keep a damp rag nearby to wipe up glue squeeze-out.
- If your stool rocks or wobbles, place it on a flat surface and sand down the longer legs slightly until level.
- Want a rustic look? Bang it up a little with a hammer or chain before staining!
🎨 Finishing Your Step Stool
Here’s where you make it yours.
Choose one of the following:
- Rustic – Gray or dark walnut stain with a matte polyurethane finish.
- Modern – Clean white paint and sleek hardware.
- Kid-Friendly – Bright colors or stencils with a fun clear coat.
Apply stain or paint with a brush or rag.
Once dry, apply 2 coats of polyurethane for durability, especially if it’ll live in the kitchen or bathroom.
🏁Final Thoughts…
Building a simple wooden step stool is a great way to put basic woodworking skills into practice while creating something genuinely useful.
With straightforward cuts, simple joinery, and common tools, this project proves that you don’t need a fully equipped shop to build sturdy, functional furniture.
Take your time, focus on accuracy, and don’t rush the process.
Each step you complete builds confidence and experience that carries over to your next project.
Whether this is your first build or just a quick weekend win, this step stool is a solid reminder that good woodworking starts with simple, well-done projects.
 More Builds You’ll Want to Try Next
Ready for the next project?
These builds will sharpen your skills and give you something solid to show for it:
-
How to Build a Wooden Mailbox
– A sturdy outdoor project that teaches clean layout and assembly -
Build a Simple Wooden Toolbox
– A must-have beginner build that keeps your tools organized -
DIY Display Case –
Practice clean joinery with a project that actually looks great -
Craft a Kids’ Stool in 5 Steps
– Quick, simple, and perfect for dialing in your basics
Every project builds skill — the next one is where things start to click.
Come on man… You got this!
 Craft it. Shape it. Own it!