
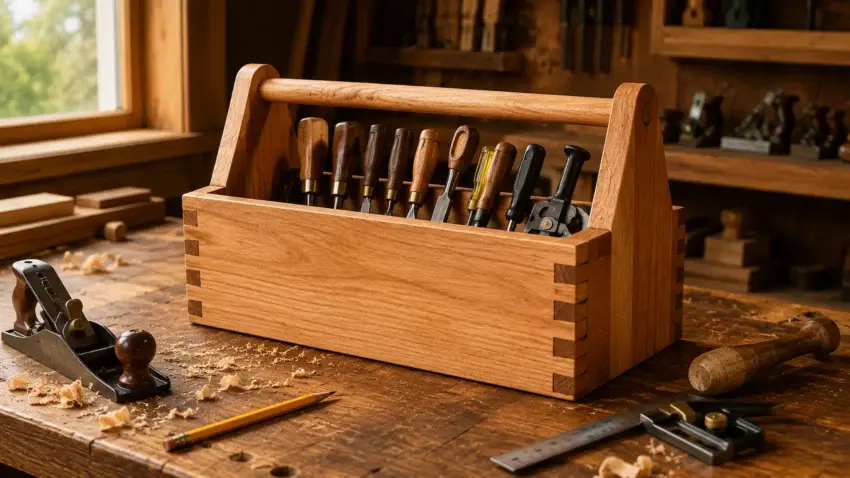
Looking for a woodworking project that’s quick, practical, and actually gets used in your shop?
Building your own wooden toolbox checks every box.
It’s simple enough for beginners, rugged enough for everyday work, and a perfect way to sharpen your cutting, assembly, and finishing skills — all in one project.
In this guide, I’ll show you exactly how to build a classic open-top toolbox with a solid center handle and clean joinery.
No complicated tools, no specialty hardware — just straightforward woodworking you can knock out in an afternoon.
With a few boards and some basic shop tools, you’ll end up with a toolbox that’s strong, functional, and built to last.
👉 This project is part of our beginner-friendly woodworking plans and tutorials here at Sawdust Smarty.
If you’re new to woodworking, you can explore more step-by-step projects and learning guides on our main woodworking hub.

⭐ Tool Essentials for Building a Wooden Toolbox
Before you jump into the cuts and assembly, it helps to have a few basic shop tools ready to go.
A wooden toolbox might be a simple project, but it still needs solid glue-ups, clean sanding, and tight joints to look and feel right.
Here are three tools that make the whole build smoother, faster, and a lot more enjoyable:
IRWIN QUICK-GRIP 6” One-Handed Mini Bar Clamp Set
Clamps are one of those tools you’ll reach for on almost every woodworking project.
The IRWIN QUICK-GRIP 6″ One-Handed Mini Bar Clamp Set keeps your parts aligned and securely held while the glue dries, making assembly faster, easier, and more accurate.
🌟 Amazon Product Suggestion:
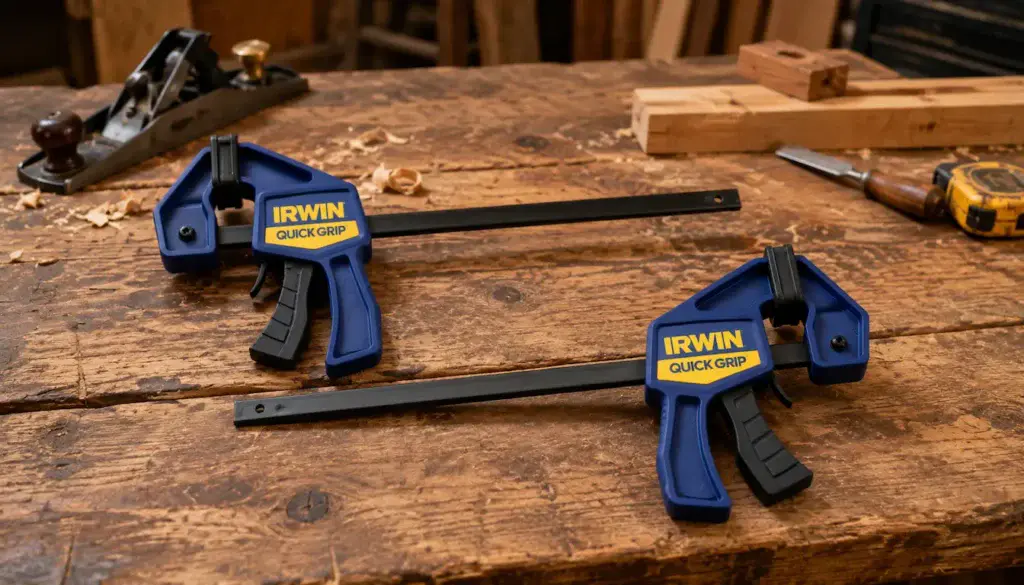
✔️ IRWIN QUICK-GRIP 6” One-Handed Mini Bar Clamp Set
Mini bar clamps are like having an
extra set of hands when you’re assembling a wooden toolbox.
The IRWIN QUICK-GRIP 6″ One-Handed Mini Bar Clamp Set
makes it easy to hold parts securely in place while you
glue, drill, or fasten them together.
Why It’s Great
✔ One-handed operation for quick clamping.
✔ Non-marring pads protect wood surfaces.
✔ Lightweight and easy to use.
✔ Strong, reliable clamping pressure.
Gorilla Wood Glue
Every woodworking project depends on a reliable wood glue to create strong, lasting joints.
Gorilla Wood Glue bonds quickly, cleans up easily with water, and helps ensure your finished project stays solid for years to come.
🌟 Amazon Product Suggestion:
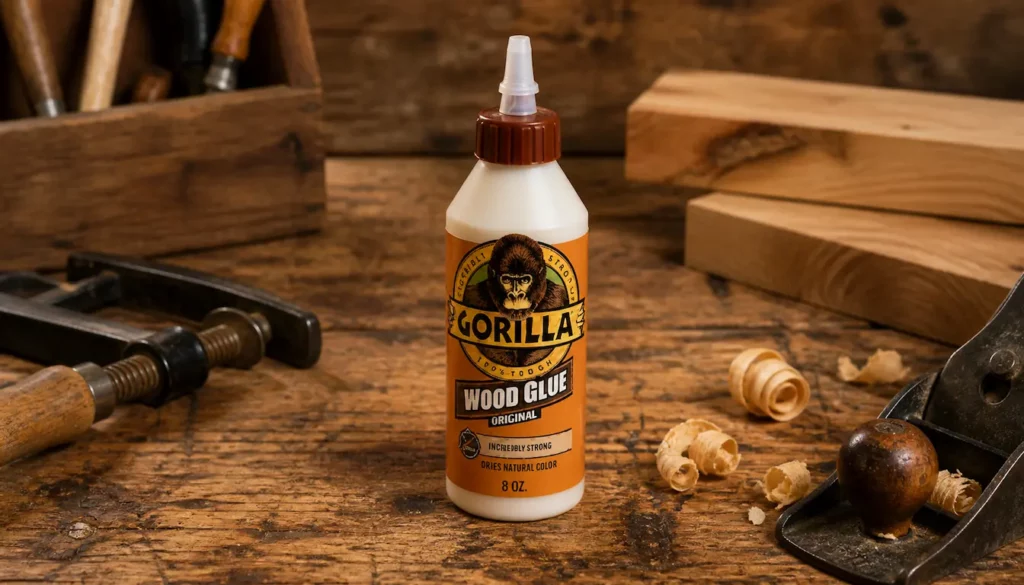
✔️ Gorilla Wood Glue – 8 oz Bottle
Wood glue is what turns a collection of boards into a strong, long-lasting woodworking project.
Gorilla Wood Glue creates durable joints, dries to a natural color, and is easy to sand and finish once cured.
Why It’s Great
✔ Strong bond for indoor woodworking projects.
✔ Dries natural for a clean finished look.
✔ Easy to sand and paint after curing.
✔ Water-resistant formula for added durability.
SKIL 5” Random Orbital Sander
A smooth finish is what makes a woodworking project look truly handcrafted.
The SKIL 5″ Random Orbital Sander removes rough spots quickly and leaves a clean, even surface ready for stain, paint, or a clear finish.
🌟 Amazon Product Suggestion:
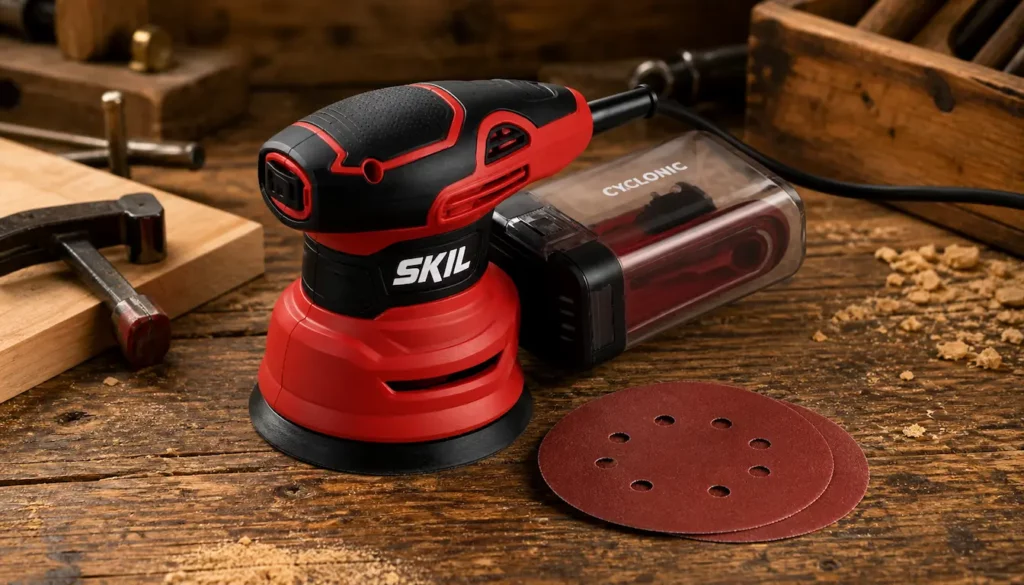
✔️ SKIL 5” Random Orbital Sander
(with Cyclonic Dust Box)
Step 1: Cut the Side Panels to Size
Your toolbox starts with two matching side panels.
These pieces set the overall height and give the handle something solid to attach to, so take your time and make clean, square cuts.
Action:
Cut two identical side panels from ¾-inch lumber. Make sure both pieces match exactly in height and angle, so the handle sits level later.
👉👉 Pro Tip: If the two sides don’t match, your toolbox is gonna look like it partied too hard last night.
Stack them together and sand the edges flush to keep things clean.
Step 2: Cut the Front and Back Panels
With the sides finished, it’s time to cut the front and back of your toolbox.
These pieces set the overall width, so measure carefully and keep everything consistent.
Action:
Cut one front panel and one back panel to your desired toolbox length.
Make them the same width and keep their height slightly shorter than the side panels so the handle clears comfortably.
👉👉 Pro Tip: When cutting twin pieces like this, rough-cut both, then clamp them together and trim the edges as one.
It guarantees they match perfectly — and matching parts make everything downstream easier.
Step 3: Cut the Bottom Panel
The bottom panel ties the whole toolbox together.
It needs to fit snugly between the front and back panels, so measure based on the pieces you’ve already cut—not the numbers on your sketch.
Action:
Measure the distance between the front and back panels, then cut one bottom panel to that exact width.
Keep the length the same as your front and back pieces.
This is one of those places where a tight fit makes your toolbox feel solid.
👉👉 Pro Tip: Always measure off the actual pieces, not the plan.
Wood thickness can vary, and even a 1/16″ gap will make your toolbox feel sloppy.
Step 4: Cut the Handle and Handle Supports
The classic toolbox design uses a round dowel or hardwood rod for the handle.
It sits inside two upright supports attached to the side panels.
Get the length right, and your handle will sit centered and comfortable in your hand.
Action:
Cut one dowel (or hardwood handle) slightly wider than the toolbox.
Then cut two matching upright supports that will hold the handle in place.
Make sure the dowel fits snugly into the holes you drill.
👉👉 Pro Tip: Drill the holes for the handle supports before attaching them.
It’s way easier to keep everything straight when the pieces are still loose on your workbench.
Step 5: Assemble the Toolbox Frame
Now it’s time to bring the pieces together.
The front, back, and bottom panels form a simple open box — nothing fancy, but getting these joints tight makes your toolbox feel rock-solid.
Action:
Dry-fit all four panels first to check alignment.
Then add wood glue along the edges of the bottom panel and clamp the front and back panels in place.
Finish by attaching the two side panels to complete the frame.
👉👉 Pro Tip: Don’t rush the glue-up.
A few minutes spent adjusting clamps now prevents a crooked toolbox that annoys you for the next 20 years.
Step 6: Attach the Handle Supports
With the frame assembled, it’s time to mount the two upright supports that will hold your handle.
These should sit centered on the side panels, with the holes you drilled earlier aligning perfectly with the dowel.
Action:
Position each support on the inside of the side panels, making sure they sit flush.
Add wood glue, clamp them in place, and secure them with finish nails or screws for extra strength.
👉👉 Pro Tip: Before the glue dries, drop the dowel into the holes to double-check alignment.
If it slides in smoothly now, the final assembly will be a breeze.
Step 7: Install the Handle
This is the satisfying part — sliding the dowel into place brings the toolbox to life.
The handle should rotate freely but sit snugly enough that it doesn’t rattle around.
Action:
Slide the dowel through both support holes.
If the fit is too tight, lightly sand the ends of the dowel until it moves smoothly.
Once you’re happy with the feel, add a dab of glue on the inside of each support to lock it in place.
👉👉 Pro Tip: Don’t glue the entire handle — just the ends.
A little bit of movement makes the toolbox more comfortable to carry and prevents the handle from splitting over time.
Step 8: Secure the Bottom Panel
Now it’s time to lock the bottom panel into the frame.
This is where the strength of the toolbox really comes from, so make sure it’s supported well and fully seated before you fasten it.
Action:
Flip the toolbox upside down.
Pre-drill along the edges of the bottom panel, then secure it with wood screws or finish nails.
Wipe away any glue squeeze-out before it dries.
👉👉 Pro Tip: Pre-drilling prevents the bottom panel from splitting — especially if you’re using hardwood.
It also keeps your fasteners from drifting and pulling the panel out of alignment.
Step 9: Add Dividers (Optional)
If you want a more organized toolbox, adding a few internal dividers can keep nails, screws, and small tools from sliding around.
This step is optional, but it definitely boosts the toolbox’s usefulness.
Action:
Measure the inside width and cut thin strips of wood to create your dividers.
Glue or nail them into place wherever you want compartments.
Keep the spacing practical — leave room for your larger tools.
👉👉 Pro Tip: Don’t overcomplicate the layout.
Simple, roomy compartments are more useful than a bunch of tiny sections you’ll never use.
Step 10: Sand and Finish the Toolbox
This is where your hard work pays off.
A good sanding job and a clean finish make your toolbox look sharp and feel great in your hands.
Plus, it protects the wood from shop grime and daily use.
Action:
Sand all surfaces with 120–220 grit until everything feels smooth.
Break the sharp edges with light sanding to make the toolbox more comfortable to carry.
Apply your finish of choice — oil, polyurethane, stain, or a simple wax — and let it dry fully before loading it with tools.
👉👉 Pro Tip: If you want a classic “shop-made” look, wipe on a coat of boiled linseed oil.
It’s fast, forgiving, and brings out the natural beauty of the wood without overcomplicating things.
 Related Beginner Woodworking Projects
If you enjoyed building this wooden toolbox, here are a few other beginner-friendly woodworking projects that build similar skills and confidence:
How To Build Your Own Whirligig
Make a Wood Picture Frame
Make Wooden Toys
Final Thoughts…
Building a wooden toolbox isn’t just a quick weekend project — it’s a piece of shop gear you’ll use for years.
You took a few simple boards and turned them into something sturdy, functional, and fully customized to the way you work.
That alone puts you ahead of most beginners who never move past the idea stage.
And the best part?
Every time you grab that handle, you’ll know you built it.
This project is more than storage — it’s a reminder of what you can create with a little time, a few tools, and the willingness to dive in.
Keep that momentum going.
You’ve already proven you can build things worth keeping.
 More Builds You’ll Want to Try Next
Ready for the next project?
These builds will sharpen your skills and give you something solid to show for it:
-
How to Build a Wooden Mailbox
– A sturdy outdoor project that teaches clean layout and assembly -
Build a Simple Wooden Toolbox
– A must-have beginner build that keeps your tools organized -
DIY Display Case –
Practice clean joinery with a project that actually looks great -
Craft a Kids’ Stool in 5 Steps
– Quick, simple, and perfect for dialing in your basics
Every project builds skill — the next one is where things start to click.
You got this!
 Craft it. Shape it. Own it!