
How To Make Simple Wooden Toys isn’t just a fun weekend project — it’s one of the easiest ways to turn a few scrap boards into something kids will actually enjoy. You don’t need fancy tools or expert woodworking skills to create simple cars, animals, and stacking toys. With basic cuts, smooth edges, and a little creativity, you can build toys that look great, last for years, and feel satisfying to make. In this guide, I’ll walk you through beginner-friendly ideas, simple steps, and helpful tips to create wooden toys that are safe, sturdy, and ready for hours of play.
This project is part of our beginner-friendly woodworking plans and tutorials here at Sawdust Smarty. If you’re just getting started, be sure to visit our main woodworking hub for more step-by-step projects, helpful guides, and easy-to-follow ideas.

🧸 Why Make Simple Wooden Toys?
Simple wooden toys bring back that old-school charm you just can’t get from plastic. They’re durable, quiet (your sanity thanks you), and surprisingly easy to make with basic tools. You don’t need museum-level carving skills — just clean shapes, smooth edges, and sturdy toys that kids can push, pull, stack, and crash without breaking them five minutes later.
They’re also a great way to use up scrap wood. A few small off-cuts can become cars, animals, blocks, or simple pull toys. It’s a fun way to practice your woodworking skills, reduce waste in the shop, and create something that actually gets used instead of tossed.
Materials & Tools You’ll Need
Before you start cutting shapes and rounding edges, gather a few basic supplies for these simple wooden toys.
The good news?
You probably already have most of what you need. Since these toys are small, scrap wood works perfectly, and you won’t need a shop full of expensive tools.
Materials
- Small scrap wood pieces (pine, poplar, maple, etc.)
- Wooden wheels (optional)
- Wood dowels for axles
- Non-toxic wood finish (optional)
- Wood glue
Tools
- Jigsaw or bandsaw
- Drill/driver
- Sandpaper or a small orbital sander
- Clamps
- Pencil and paper for sketching shapes
- Round-over bit (optional if you’re using a router)
Recommended Tools to Make This Project Easier
You don’t need a full shop to make simple wooden toys, but having a few reliable tools makes the work faster, cleaner, and a lot more enjoyable.
These three tools do most of the heavy lifting on almost every toy you’ll build.
Tape Measure
Even simple toys need accurate measurements. A good tape measure helps keep your shapes consistent, line up wheel spacing, and make sure everything fits the way it should.
Sander
Sanding is where the magic happens. A small orbital sander or sanding block smooths sharp edges, rounds corners, and makes your toys safer for little hands. Clean sanding is what turns a rough project into a toy that actually looks finished.
Drill/Driver
A drill is handy for making axle holes, starter holes for cutting shapes, and attaching wheels. A reliable drill helps keep everything straight and prevents small pieces of wood from splitting.
STANLEY FATMAX 25-Foot Tape Measure
Even simple wooden toys start with accurate measurements. A dependable tape measure helps you lay out shapes, space axles correctly, and keep every piece fitting the way it should.🌟 Amazon Product Suggestion:
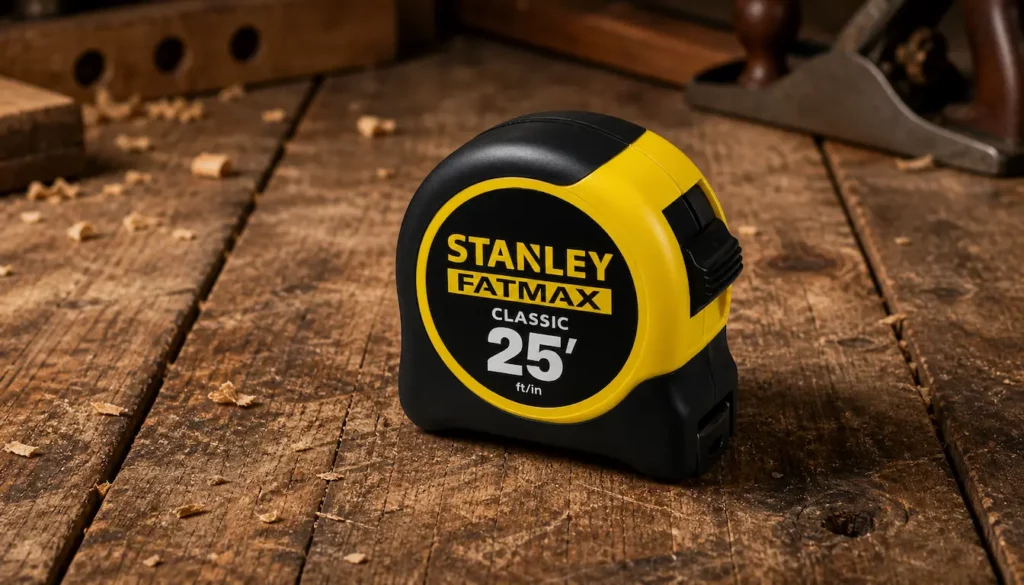
✔️ STANLEY FATMAX 25-Foot Tape Measure
A tough, reliable tape measure built for real job-site use.
The STANLEY FATMAX 25′ delivers crisp easy-read markings, a strong standout, and the perfect length for woodworking and outdoor projects.
Why it’s great:
✔️ Heavy-duty, long-lasting construction
✔️ Easy-read numbers for quick measuring
✔️ 25-foot length covers indoor and outdoor projects
✔️ Smooth standout makes measuring long boards easier solo
SKIL 5” Random Orbital Sander
Smooth edges make all the difference when building wooden toys. A good random orbital sander helps remove sharp corners, clean up saw marks, and leave your projects ready for little hands.🌟 Amazon Product Suggestion:
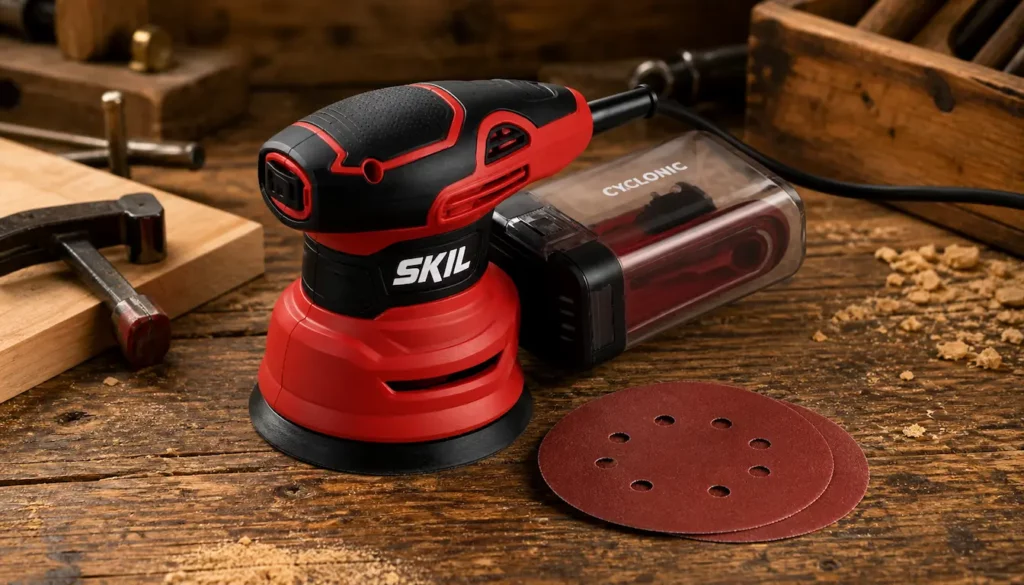
✔️ SKIL 5” Random Orbital Sander (with Cyclonic Dust Box)
This SKIL 5” random-orbital sander is a killer little powerhouse — perfect for smoothing out your walnut display case, taking down glue squeeze-out, or prepping panels before finishing. It’s compact, strong, and stupid-easy to control.
The built-in cyclonic dust box actually works (rare for budget sanders), keeping the air cleaner while you work.
Why it’s great:
✓ Random-orbit finish for smooth, swirl-free sanding
✓ Cyclonic dust box that actually traps dust
✓ Comfortable grip for long sanding sessions
✓ Variable speed for precise control on any wood
DEWALT 20V Max Cordless Drill
From drilling axle holes to assembling toy parts, a dependable cordless drill makes this project much easier. A good drill gives you the control and versatility needed to work with small pieces safely and accurately. Amazon Product Suggestion:
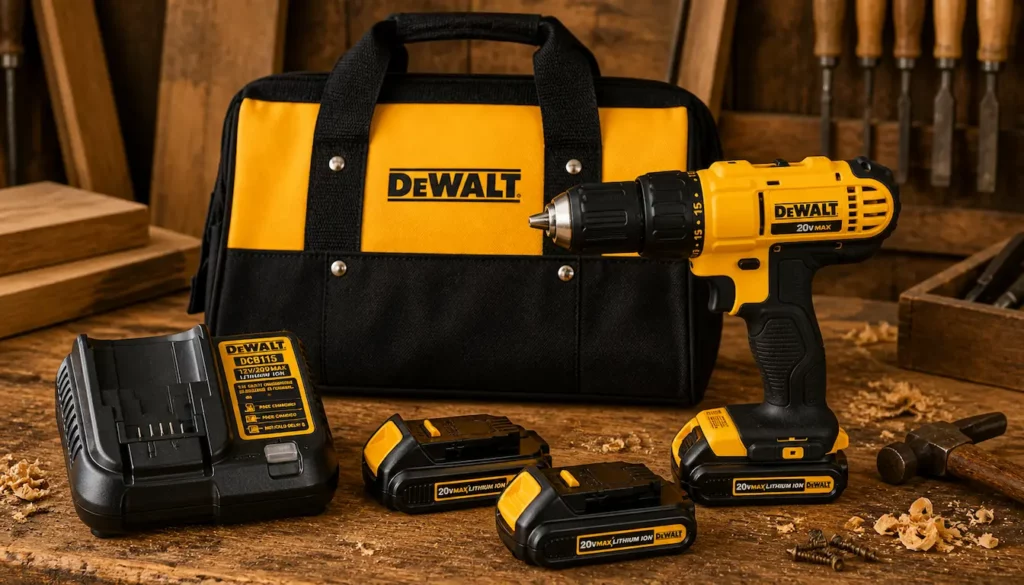
 DEWALT 20V Max Cordless Drill
This DEWALT 20V MAX drill kit comes with multiple batteries, a charger, and a sturdy carry bag, making it a great all-around workshop companion.
It’s lightweight, dependable, and has more than enough power for drilling axle holes, assembling parts, and tackling everyday woodworking projects.
Why it’s great:
20V MAX power — strong, consistent performance
Two batteries included — less downtime, more work
Compact, lightweight design — easy control and comfort
Complete kit — drill, charger, batteries, and bag included
🪵 Step 1: Choose Your Toy Shapes
Before you start cutting, decide what kind of toy you want to make — cars, trucks, animals, blocks, or pull toys.
Keep the shapes simple: rounded bodies, smooth curves, and chunky profiles are perfect for beginners.
Sketch your designs on paper or trace a template directly onto the wood. This helps keep your cuts consistent, especially if you’re making more than one toy.
👉👉 Pro Tip: Simple outlines usually look best. Avoid tiny details — smooth curves are easier to cut and safer for little hands.
🔪 Step 2: Cut Out the Toy Shapes
With your outlines traced onto the wood, use a jigsaw or bandsaw to cut out each shape. Take your time and let the blade do the work. These toys don’t need perfect curves — clean, simple cuts are all you’re after.
Once the pieces are cut, set them aside and get ready for sanding.
👉👉 Pro Tip: Make relief cuts on tight curves. They help prevent blade binding and make it easier to follow the shape cleanly.
🪚 Step 3: Sand Everything Smooth
This is the step that transforms rough cutouts into real toys. Use your sander (or sanding block) to smooth every surface, round over corners, and remove sharp edges.
Kids’ toys should feel comfortable in the hand, so don’t rush this part. Smooth curves and soft edges make a huge difference. Check every corner and make sure each piece is safe for little hands.
👉👉 Pro Tip: Sand from multiple angles. A quick pass from different directions helps create smoother, rounder edges without over-sanding.
🔧 Step 4: Drill the Axle Holes (If Making Cars or Trucks)
For wheeled toys, mark your axle locations carefully so the wheels sit evenly. Use your drill to make clean, straight holes that match the size of your dowel axles.
Take your time lining everything up — symmetrical axle holes help the toy roll smoothly and look right. If you’re making animals, blocks, or pull toys, you can skip this step.
👉👉 Pro Tip: Drill halfway from one side, then flip the piece and drill from the other. This helps keep the holes straight and reduces tear-out.
🚗 Step 5: Install the Wheels (If Your Toy Has Them)
Slide your wooden wheels onto the dowel axles and test the fit. You want the wheels to spin freely without wobbling.
Once everything lines up, add a tiny dab of wood glue to the ends of the dowels and press on small wooden caps or pegs to hold the wheels in place. Let the glue dry before taking the toy for its first test drive.
👉👉 Pro Tip: Don’t glue the wheels themselves — only the caps. That keeps the wheels spinning freely instead of locking up.
🎨 Step 6: Add Any Finishing Touches
Once the toy is fully assembled, give it one final inspection. Smooth any rough spots, wipe away dust, and apply a kid-safe finish if you’d like a little color or shine.
Natural oil, beeswax, or a non-toxic toy finish will help protect the wood while preserving that classic handmade look.
👉👉 Pro Tip: Keep finishes light. A thin coat dries faster and won’t gum up wheels or moving parts.
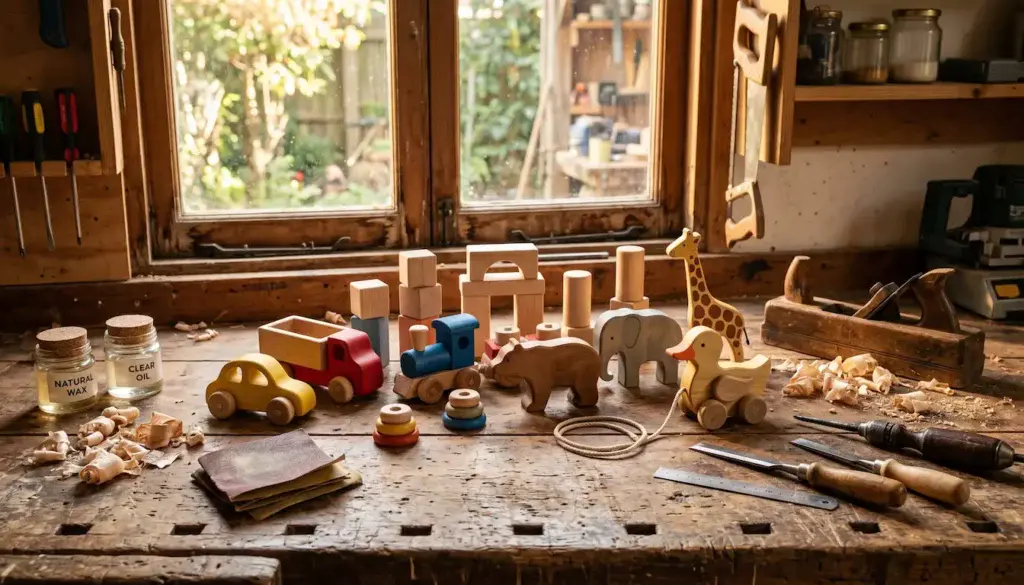
🔨 Handmade Toys from Scrap Wood
 Related Beginner Woodworking Projects
If you enjoyed building these simple wooden toys, here are a few other beginner-friendly woodworking projects that build similar skills and confidence:
How To Build Your Own Whirligig
DIY Wooden Toolbox
Make a Wood Picture Frame
Final Thoughts…
Making simple wooden toys is one of those projects that brings out the fun side of woodworking.
You get to be creative, use up scrap wood, and build something that actually gets played with — not tossed in a drawer.
Whether it’s a little car, a pull toy, or a stacker, these projects teach you useful shop skills while giving kids something sturdy and handmade.
Little projects today become big memories tomorrow.
 More Builds You’ll Want to Try Next
Ready for the next project?
These builds will sharpen your skills and give you something solid to show for it:
-
How to Build a Wooden Mailbox – A sturdy outdoor project that teaches clean layout and assembly
-
Build a Simple Wooden Toolbox – A must-have beginner build that keeps your tools organized
-
DIY Display Case – Practice clean joinery with a project that actually looks great
-
Craft a Kids’ Stool in 5 Steps – Quick, simple, and perfect for dialing in your basics
Every project builds skill — the next one is where things start to click.
 Craft it. Shape it. Own it!