
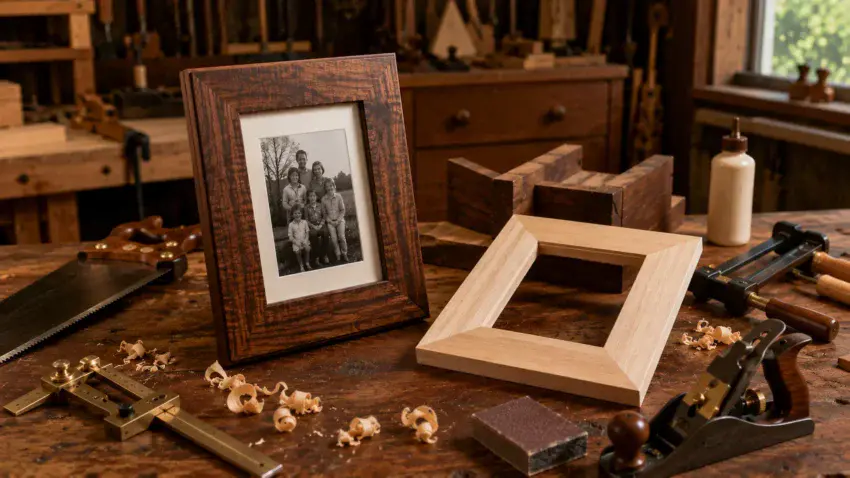
Building a Wooden Picture Frame in Your Workshop is a simple,
satisfying project that teaches you the fundamentals of clean joinery and accurate layout.
With just a few basic tools, you can turn four pieces of trim into a crisp,
professional-looking frame that’s perfect for photos, art, or handmade gifts.
In this guide, I’ll walk you through each step, so you get tight miters, a square final assembly,
and a smooth finish — even if this is your very first frame build.
This project is part of our
beginner-friendly woodworking plans and tutorials here at Sawdust Smarty.
If you’re new to woodworking, you can explore more step-by-step projects
and learning guides on our main woodworking hub.

🔧 Tools for Clean Cuts and Professional-Looking Joints
To build a picture frame that fits perfectly and looks professionally made, you’ll want a few tools that keep your cuts accurate and your joints tight.
The picks below will help the whole process run smoother and eliminate a lot of the usual frustration.
STANLEY FATMAX 25-Foot Tape Measure
A reliable tape measure keeps your picture frame pieces consistent and square.
Even a small variation in length throws off your miters, so you want a smooth, easy-to-read tape that locks solid and retracts cleanly.
🌟 Amazon Product Suggestion:

✔️ STANLEY FATMAX 25-Foot Tape Measure
The STANLEY FATMAX 25-Foot Tape Measure is a favorite
among woodworkers and contractors thanks to its rugged construction,
smooth blade action, and easy-to-read markings.
Whether you’re measuring stock, laying out cuts, or
checking frame dimensions, it’s built to deliver reliable accuracy
project after project.
Why it’s great
✔ Quick, easy measurements
✔ Rugged construction
✔ Long blade reach
✔ Secure blade lock
IRWIN QUICK-GRIP 6” One-Handed Mini Bar Clamp Set
Clamps are essential for keeping miter joints tight and perfectly aligned while the glue dries.
A quality set of small bar clamps helps prevent shifting, ensuring crisp corners and a strong, professional-looking picture frame.
🌟 Amazon Product Suggestion:
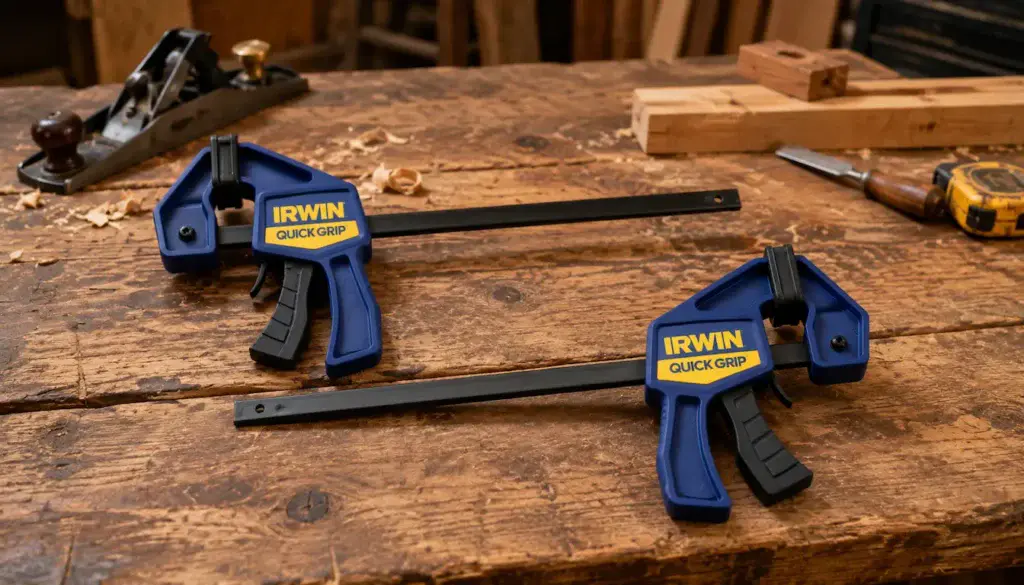
✔️ IRWIN QUICK-GRIP 6” One-Handed Mini Bar Clamp Set
The IRWIN QUICK-GRIP 6″ One-Handed Mini Bar Clamp Set is ideal for
small woodworking projects like picture frames, display cases, and trim work.
Their one-handed operation makes them fast and easy to position,
while the non-marring pads provide plenty of holding power
without damaging delicate wood surfaces.
Why It’s Great
✔ Fast one-handed clamping
✔ Tight, even pressure
✔ Protects wood surfaces
✔ Great for picture frames
Stanley Miter Box with Saw
A miter box and backsaw make it easy to cut accurate 45-degree angles without the cost of a power miter saw.
It’s an excellent choice for beginners and perfect for building picture frames, small trim projects, and other precision woodworking tasks.
🌟 Amazon Product Suggestion:
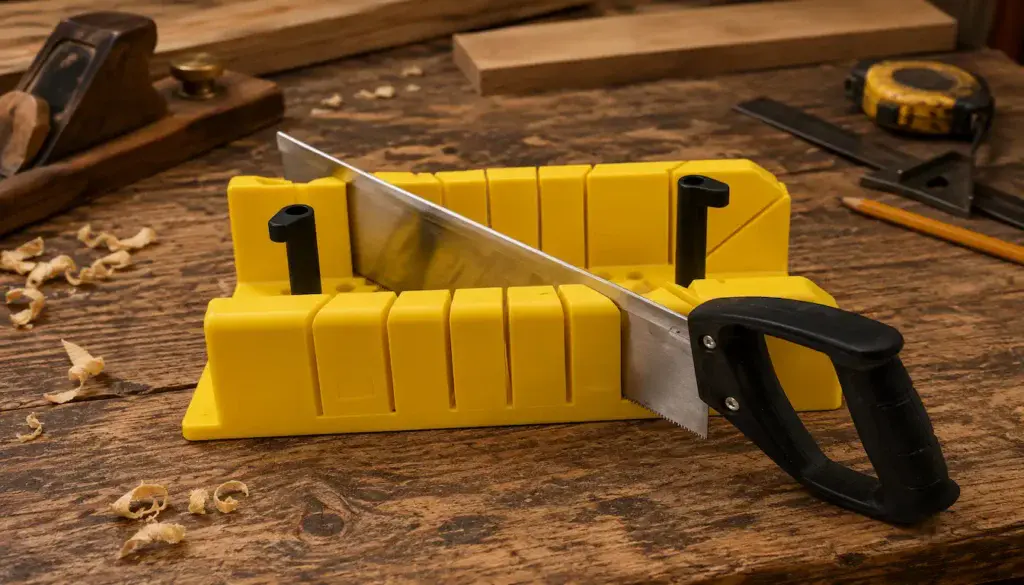
✔️ Stanley Saw Storage Miter Box with Saw
The Stanley Miter Box with Saw is a simple,
dependable tool for making clean, repeatable angle cuts.
Its molded guides help keep every cut accurate,
while the included fine-tooth backsaw produces smooth,
clean edges that require minimal sanding before assembly.
Why It’s Great
✔ Accurate preset cutting angles
✔ Clean, smooth cuts every time
✔ Compact and easy to store
✔ Perfect for picture frame projects
Step 1: Measure and Mark Your Frame Pieces
Start by laying your picture or artwork on the bench and measuring the finished size you want your frame to be.
Add twice the width of your frame molding to each dimension, then use your tape measure and a sharp pencil to mark the cutting lines on all four pieces.
Take your time here —
Accurate layout makes all the difference when you’re chasing tight, clean miters.
👉👉 PRO TIP: Lightly mark the inside edge of each board with an “I” so you don’t mix up orientation when cutting your 45° angles. This keeps the parts aligned and helps your miters meet perfectly at the corners.
Step 2: Cut Clean 45° Miters
Place each marked board into your miter box and line the pencil mark up with the 45° slot.
Use slow, steady strokes with your backsaw to make each cut clean and straight.
Let the saw do the work — forcing it can cause the blade to wander and throw your corners out of square.
Make all four miters with the inside edges facing the correct direction.
👉👉 PRO TIP: After each cut, lightly sand the mitered face with a fine sanding block. It removes saw fuzz and helps each corner pull together tighter during glue-up.
Step 3: Dry-Fit the Frame to Check Alignment
Before you commit to glue, arrange all four mitered pieces into a rectangle on your workbench.
Make sure the corners meet cleanly and the frame sits flat without rocking.
If you see small gaps, lightly sand the mitered edges or adjust the angle with a few controlled strokes in the miter box until everything lines up perfectly.
👉👉 PRO TIP: If the frame doesn’t sit square, measure diagonally from corner to corner. When both diagonal measurements match, your frame is perfectly square and ready for glue.
Step 4: Glue the Miters and Clamp the Frame
Apply a thin, even layer of wood glue to each mitered edge, then bring the corners together to form your frame.
Use band clamps, corner clamps, or whatever clamp setup you have to pull the joints tight and keep the frame square while the glue cures.
Wipe away any squeeze-out with a damp rag before it dries.
👉👉 PRO TIP: Use a scrap piece of wood under your clamps to prevent clamp marks on the frame edges — especially if you’re working with softwoods like pine or poplar.
Step 5: Sand the Frame Smooth
Once the glue has fully cured, remove the clamps and sand the entire frame.
Start with a medium grit to level any uneven joints, then work your way up to a fine grit for a clean, smooth surface.
Pay attention to the edges and corners so everything feels consistent to the touch.
👉👉 PRO TIP: Wrap your sandpaper around a small wood block to keep the edges crisp —
Sanding with your fingers alone can round them over more than you want.
Step 6: Cut and Install the Backing
Measure the inside opening of your frame, then cut a thin backing board
(like 1/8″ plywood or hardboard) to fit snugly.
Drop it into the rear recess of the frame to make sure it sits flat and square.
This backing will support your picture and keep everything aligned once the hardware goes on.
👉👉 PRO TIP: Leave the backing just a hair undersized — about 1/32″ —
so it slides in easily without forcing or stressing the glued joints.
Step 7: Add the Glass or Acrylic Insert
Place your glass or acrylic sheet into the front opening of the frame.
Make sure it fits cleanly without rattling or binding against the edges.
If it’s slightly oversized, you can carefully sand acrylic to size or score and snap it with a utility knife.
Glass usually needs to be cut at the store unless you’ve got a glass cutter on hand.
👉👉 PRO TIP: Before installing the insert, wipe both sides with a microfiber cloth —
Dust or fingerprints trapped inside the frame will drive you crazy later.
Step 8: Insert the Artwork or Photo
Lay your picture, print, or artwork face down onto the glass or acrylic.
Make sure it’s centered and sitting perfectly flat with no wrinkles or curled edges.
If needed, add a piece of acid-free backing paper behind it to protect the artwork and keep it from shifting inside the frame.
👉👉 PRO TIP: Use a small piece of painter’s tape on the back of the artwork to hold it in place during assembly — It won’t damage the print and keeps everything aligned.
Step 9: Secure the Backing in Place
Flip the frame over carefully and install the hardware that holds the backing board in.
You can use turn buttons, flexible tabs, or even small brad nails if that’s what you have on hand.
Make sure the backing sits flat and everything is held firmly without bowing or rattling.
👉👉 PRO TIP: If you’re using brad nails, leave them sticking out just enough to pivot —
that way you can open the frame later without damaging anything.
Step 10: Attach Hanging Hardware and Finish the Frame
With everything assembled, add your choice of hanging hardware — sawtooth hangers for small frames, D-rings and wire for larger ones. Make sure it sits centered so your frame hangs straight on the wall.
If you want, apply a light coat of finish such as clear lacquer, Danish oil, or wipe-on poly to bring out the wood grain and protect the surface.
👉👉 PRO TIP: If you’re applying a finish, lightly sand with 320-grit between coats.
It gives you that smooth, professional feel you want in a picture frame.
 Related Beginner Woodworking Projects
If you enjoyed building this wooden picture frame, here are a few other beginner-friendly woodworking projects that build similar skills and confidence:
🏁 Final Thoughts…
Building a wooden picture frame in your workshop is one of those projects that delivers a big payoff from simple tools and a little patience.
You learn accurate layout, clean miter cuts, careful glue-ups, and the kind of detailed sanding that gives a piece real craftsmanship.
Whether you’re framing photos, artwork, or handmade gifts, this project is a perfect way to sharpen your skills and create something meaningful at the same time.
If you enjoyed this build, you’ll love trying more beginner-friendly projects that use the same core techniques.
Keep the sawdust flying — you’re getting better with every project you tackle.
 More Builds You’ll Want to Try Next
Ready for the next project?
These builds will sharpen your skills and give you something solid to show for it:
-
How to Build a Wooden Mailbox
– A sturdy outdoor project that teaches clean layout and assembly -
Build a Simple Wooden Toolbox
– A must-have beginner build that keeps your tools organized -
DIY Display Case –
Practice clean joinery with a project that actually looks great -
Craft a Kids’ Stool in 5 Steps
– Quick, simple, and perfect for dialing in your basics
Every project builds skill — the next one is where things start to click.
You got this!
 Craft it. Shape it. Own it!