

Wood inlay is one of those woodworking techniques that looks complicated, but once you understand the basics, it opens the door to some incredibly beautiful projects.
In this Beginner’s Guide to Wood Inlay, I’ll walk you through the tools you’ll need, how the process works, and a few simple techniques you can use to add clean, crisp details to everything from boxes and cutting boards to guitars and furniture.
Whether you’re experimenting with veneer, epoxy, or pre-cut inlay pieces, this guide breaks the process down into easy-to-follow steps so you can create consistent, professional-looking results — even if you’ve never tried inlay work before.

🪵 What Is Wood Inlay?
Wood inlay is the process of cutting a shallow recess into a project and fitting a contrasting material into that space.
The material can be wood veneer, metal, shell, stone, epoxy, or pre-cut inlay pieces — anything that sits flush with the surface and creates a decorative design.
Inlay may look fancy, but it really comes down to three things:
- Accurate layout
- Clean recesses
- A tight-fitting insert
Once you understand those basics, you can add inlays to boxes, cutting boards, signs, shelves, furniture, and even musical instruments — pretty much anything made of wood.
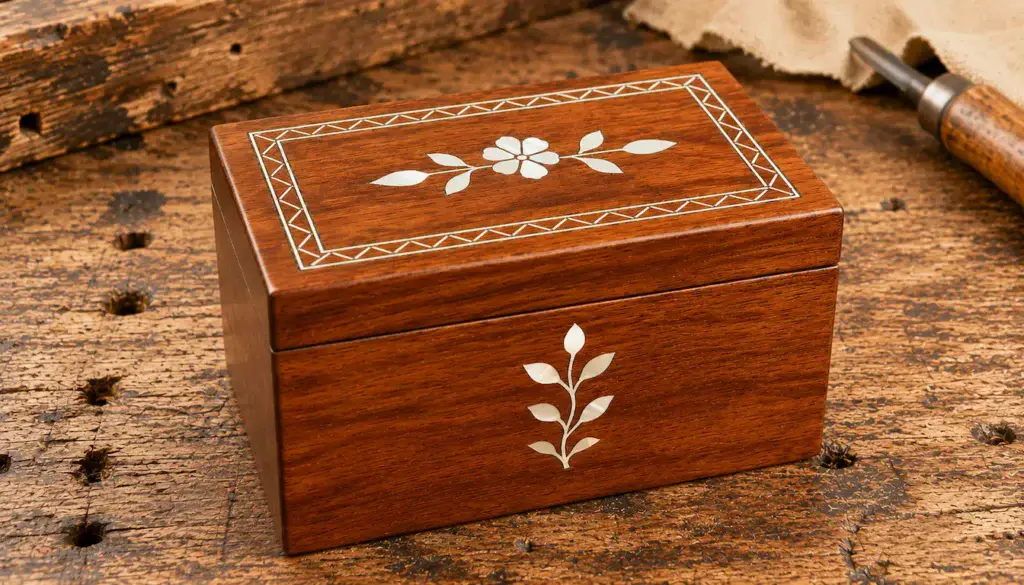
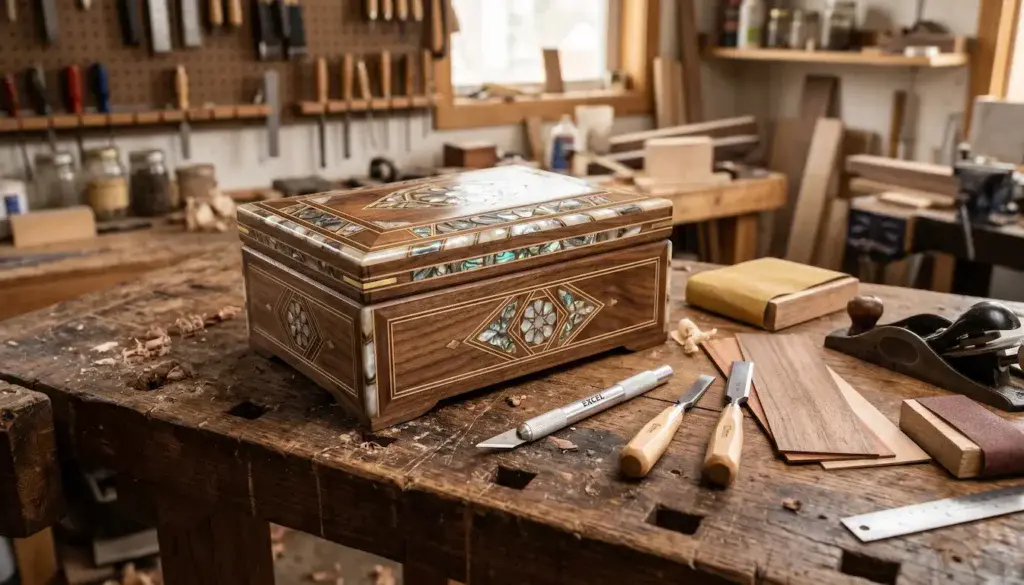
Decorative Wood Inlay Box
🔧 Essential Tools for Wood Inlay
You don’t need a shop full of equipment to get started with wood inlay.
A few accurate cutting tools and some simple layout supplies will take you a long way.
Here are the basics most beginners use:
Jetmore 16-Piece Precision Craft Knife Set
Used for scoring clean layout lines and cutting veneer.
A sharp knife makes tighter inlay joints and reduces chip-out.
🌟 Amazon Product Suggestion:
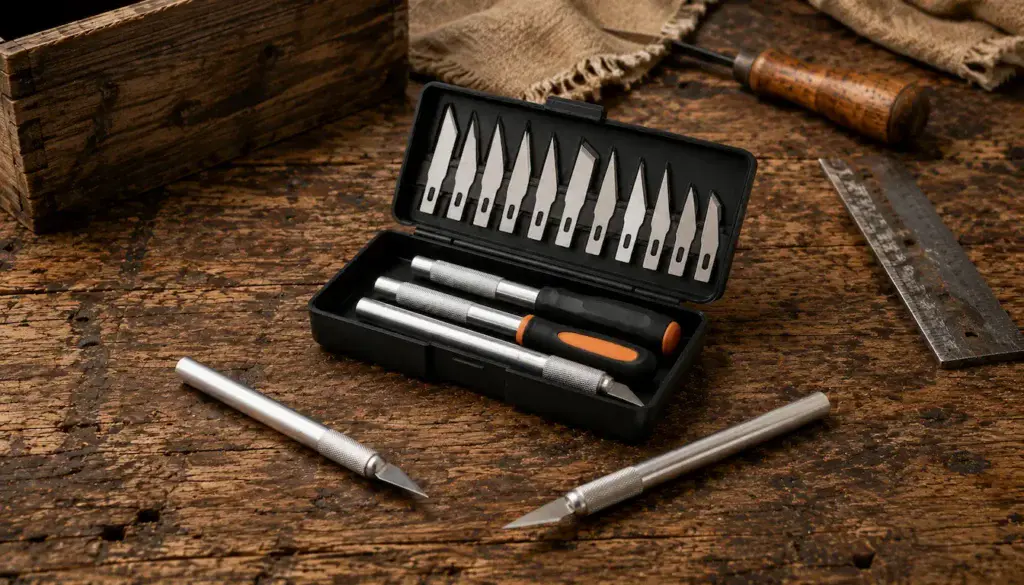
✔️ Jetmore 16-Piece Precision Craft Knife Set
Perfect for cutting veneer, trimming inlay pieces,
shaping delicate details, and making clean layout lines.
This 16-piece Jetmore knife set gives you the
steady control needed for detailed inlay work.
With 3 handles, 13 SK5 steel blades, and a protective storage case,
you’ll always have the right blade close at hand.
Why It’s Great:
✓ Ultra-sharp SK5 blades — clean, precise cuts.
✓ Three comfortable handles — better control for detail work.
✓ Great for intricate shapes — ideal for leaves, borders, and curves.
✓ Protective storage case — keeps everything organized.
Dremel 4300-5/40 High-Performance Rotary Tool Kit
This is by far the easiest way to remove material for the recess.
A plunge base keeps the depth consistent and gives razor-clean outlines.
🌟 Amazon Product Suggestion:
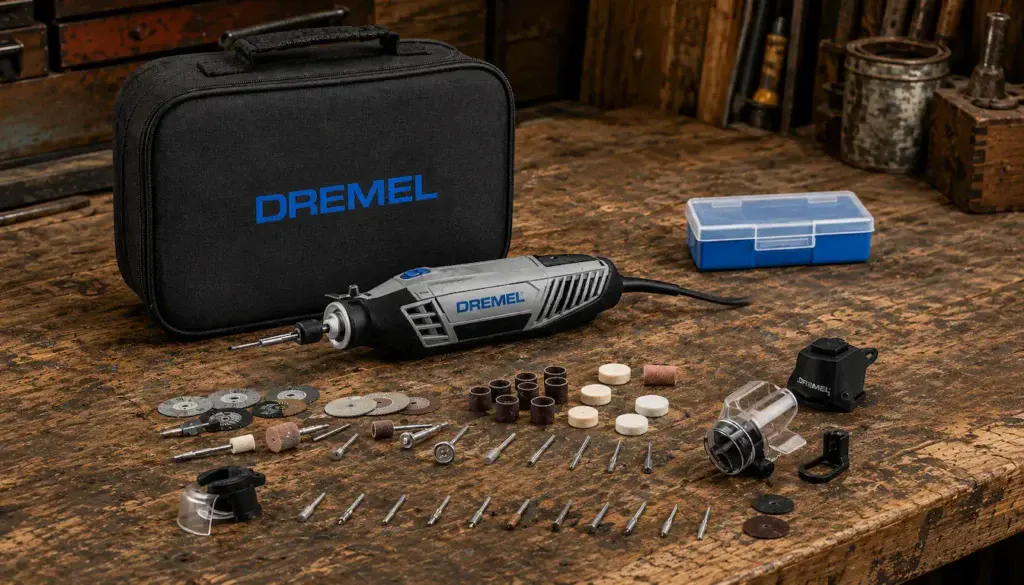
✔️ Dremel 4300-5/40 High-Performance Rotary Tool Kit
Perfect for cutting clean inlay recesses,
shaping fine details, and removing material with precision.
The Dremel 4300 delivers smooth, controlled performance
that makes wood inlay work much easier.
With variable speed, a built-in LED light, and a wide selection of accessories,
it’s a versatile tool for creating crisp recesses and refining intricate designs.
Why It’s Great:
✔️ Variable speed for precise control on delicate cuts
✔️ Built-in LED light for better visibility while working
✔️ Wide range of accessories for carving, shaping, and sanding
✔️ Smooth, controlled cutting for clean inlay recesses
Peachtree Veneer Variety Pack
You can cut your own shapes or buy ready-made leaves, flowers, diamonds, and borders for your projects.
Pre-cut inlay pieces save time and make it easier to add decorative details with clean, consistent results.
🌟 Amazon Product Suggestion:
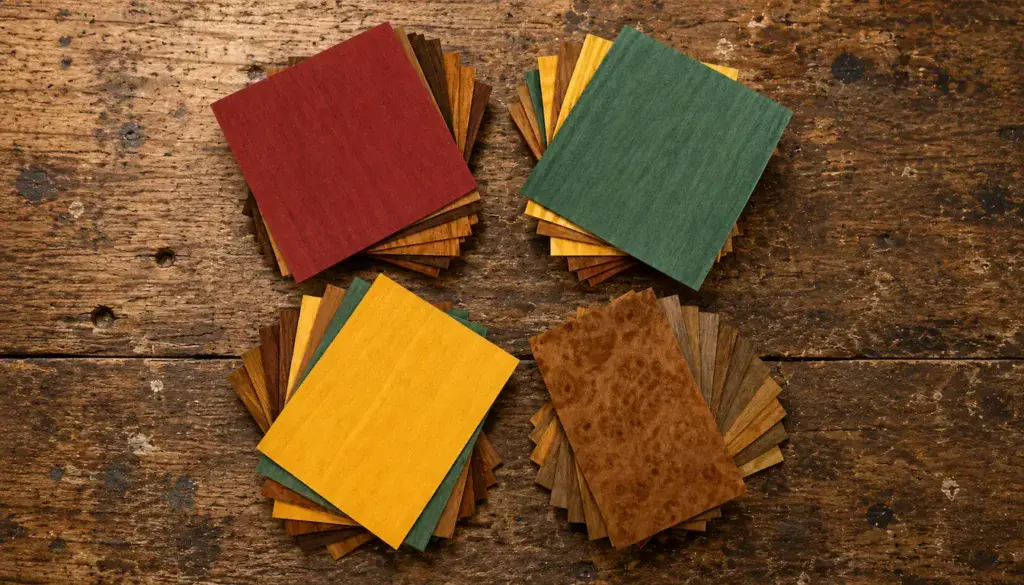
✔️ Peachtree Veneer Variety Pack
(for Marquetry & Inlay Work)
If you’re learning inlay work or experimenting with decorative details,
this assortment of wood veneers offers plenty of options.
With a mix of domestic, exotic, and dyed species,
it’s easy to create eye-catching patterns and contrasting accents.
Why It’s Great:
✓ Wide variety of colors and wood species for creative inlay designs
✓ Thin, flexible sheets that are easy to cut and shape
✓ Plenty of material for practice pieces and small projects
✓ Consistent thickness for clean-fitting marquetry and inlay work
Mitreapel CA Glue With Activator
A good quality CA glue is a must for installing inlays and handling quick woodworking repairs.
This CA glue and activator set delivers fast, reliable results and creates a strong bond without waiting around for clamps or long drying times.
🌟 Amazon Product Suggestion:
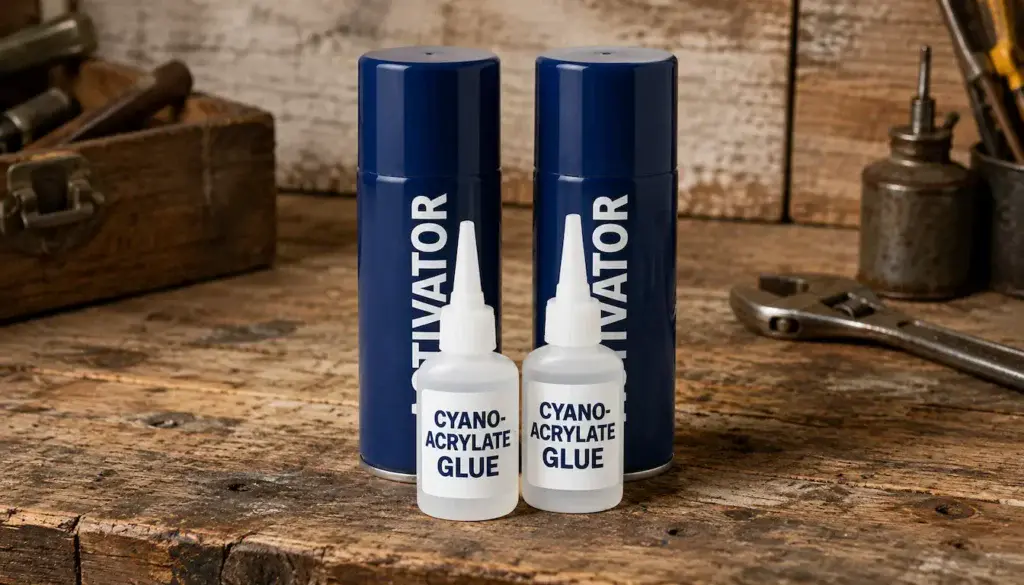
✔️ Mitreapel CA Glue With Activator
(Fast, Clean, And Strong)
This CA glue and activator set makes
woodworking assembly faster and easier.
It creates a strong bond in seconds,
making it perfect for trim work, repairs, and small projects.
Why It’s Great:
✓ Instant bond — activator locks pieces together in seconds
✓ No clamps needed — ideal for trim, small parts, and box corners
✓ Dries clear — leaves minimal visible glue lines on darker woods
✓ Strong hold — works well on wood, plastic, and mixed materials
TARIST 12-Piece Needle File Set
A good set of needle files can make the difference between a sloppy inlay and one that fits like it was meant to be there.
This 12-piece set gives you the control needed to shape, fine-tune, and clean up small details with confidence.
🌟 Amazon Product Suggestion:
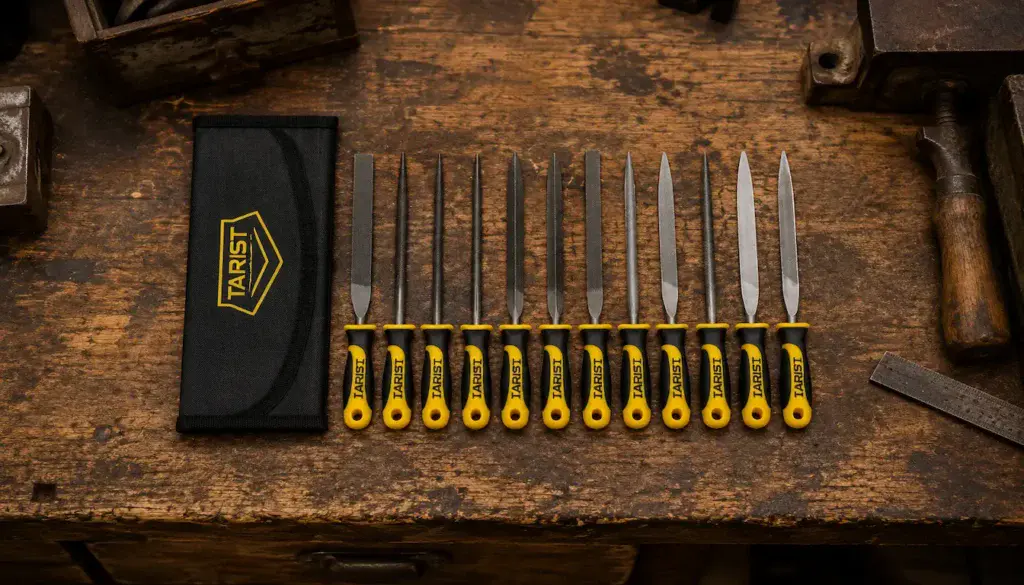
✔️ TARIST 12-Piece Needle File Set
(With Tool Bag)
Great for shaping small inlay pieces and cleaning up
tight recesses where precision matters.
With multiple file profiles and comfortable handles,
this set lets you fine-tune details without removing too much material.
Why It’s Great:
✓ 12 file shapes — perfect for intricate inlay work
✓ Smooth cutting action — helps tune tight-fitting pieces with control
✓ Comfortable handles — easy to grip during detailed work
✓ Includes storage pouch — keeps the files organized and ready to use
🎨 Expert Insights: Tips and Inspiration from a Master
Sometimes the best way to improve your skills is to learn from someone who’s spent decades mastering the craft.
In the world of wood inlay, one name stands above the rest —
Larry Robinson.
Larry is a legendary inlay artist known for his incredibly detailed work, from guitars and mandolins to custom furniture and fine art pieces.
His books are what first drew me into the world of inlay, and over the years I’ve had a few opportunities to chat with him.
He’s exactly the kind of person you hope your heroes turn out to be — down-to-earth, laid back, and generous with his knowledge.
Total hippie vibes in the best possible way.
If you want to dive deeper into the art of inlay, his books are packed with techniques, inspiration, and decades of hard-earned wisdom.
They aren’t just woodworking books —
they’re roadmaps for unlocking your creativity.
👉 You can find his books right here:
The Art of Inlay by: Larry Robinson
✨ Floral Inlay Craftsmanship

🎯 Pro Tips for Perfecting Your Craft
Learning from woodworkers who’ve spent years mastering inlay can save you time, frustration, and wasted material.
Here are some of the most valuable lessons seasoned inlay artists pass along:
Keep your tools razor sharp
It sounds simple, but sharp tools make all the difference.
A dull chisel or blade tears fibers and leaves ragged edges, while a sharp edge slices cleanly and helps create tighter joints and smoother cuts.
👉 Helpful resource: A beginner’s sharpening stone kit is an affordable way to keep your chisels and knives performing at their best.
Break complex designs into sections
Large patterns can look intimidating at first.
Instead of trying to tackle everything at once, break the design into smaller sections and work through them one step at a time.
This approach reduces mistakes and makes even detailed inlay work much easier to manage.
Use pencil marks for micro-adjustments
When test-fitting inlay pieces, light pencil marks can help guide tiny corrections.
The best part is that they sand away easily without leaving a trace.
Small habits like this help keep your workflow clean, accurate, and frustration-free.
Work in a bright, clean space
Good lighting makes a huge difference when you’re working on detailed inlay.
Bright, even light helps you spot small gaps and imperfections before they turn into bigger problems.
Pair that with a clean workbench, and you’ll improve your accuracy, stay focused, and end up with better-looking results.
Keep learning from the masters
Books, videos, and workshops from experienced craftsmen are goldmines of knowledge.
Every project teaches you something, but learning from others can help you avoid common mistakes and develop your skills much faster.
There’s always something new to discover in the world of wood inlay.
Wood inlay is a craft of patience and persistence.
With every project you complete, you’ll sharpen your skills, build confidence, and discover new creative possibilities.
Don’t worry about perfection—every mistake teaches you something valuable.
Celebrate your progress along the way—and never stop experimenting.
✨ Decorative Wood Inlay Project
🏁 Final Thoughts…
Wood inlay is one of those crafts that blends patience, creativity, and precision into something truly special.
Whether you’re experimenting with simple geometric patterns or tackling more detailed intarsia designs, every project helps sharpen your skills and deepen your appreciation for fine woodworking.
Even small inlay accents can transform an ordinary piece of wood into something custom, personal, and meaningful.
The great thing about inlay work is that it grows with you.
You don’t need a fancy workshop or specialized tools to get started — just patience, focus, and a willingness to slow down and enjoy the process.
As your confidence grows, your designs become bolder, your cuts become cleaner, and your creativity opens new doors.
Stick with it, take your time, and let every project remind you why working with your hands is so rewarding.
If you’re looking to take your inlay skills even further, here are a few related guides worth exploring:
🎸 For Guitar Enthusiasts:
-
Customizing Your Electric Guitar Kit With Unique Fretboard Inlays –
Learn how decorative inlays can completely transform the look of your guitar build. -
How To Create Custom Inlays For Your Guitar Fretboard –
Explore practical techniques for designing and installing your own fretboard inlays. -
Essential Tools Every Electric Guitar Kit Builder Should Have –
Discover the tools that make inlay work — and other detailed guitar projects — easier and more precise.
 More Woodworking Projects You’ll Enjoy
Here are a few other beginner-friendly project ideas you can try next:
-
How to Build a Wooden Mailbox –
A sturdy outdoor project that teaches accurate layout and assembly. -
Build a Simple Wooden Toolbox –
A classic beginner project and a great way to organize your tools. -
DIY Display Case –
Learn clean joinery with a project that looks great in any room. -
Craft a Kids’ Stool in 5 Steps –
A quick build that teaches essential cutting and measuring skills.
These projects help you grow your skills
while creating something you’ll enjoy for years to come.
Come on man… You got this!
 Craft it. Shape it. Own it!