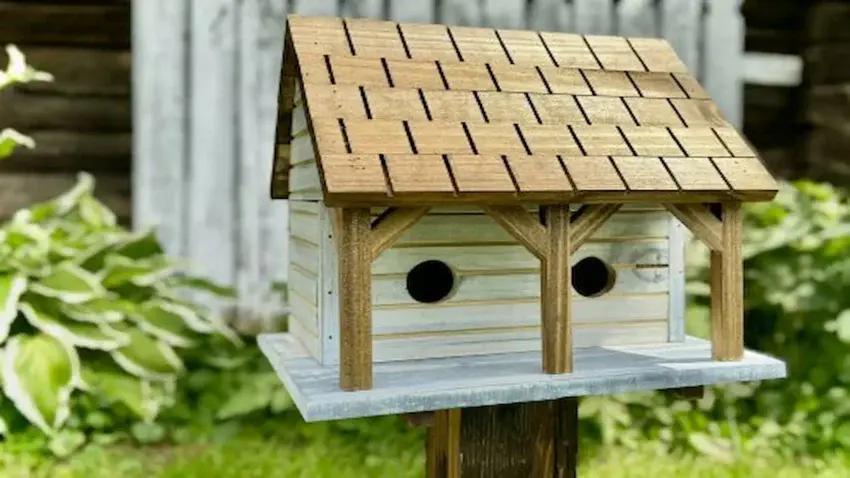
Building a Miniature Martin Birdhouse is one of those quick, satisfying woodworking projects that hits the sweet spot between simple and impressive. It doesn’t take a full shop or fancy tools — just a few boards, some clamps, and a little time in the backyard breeze. If you’ve been looking for a fun weekend build that looks great on a post or porch rail, this tiny Martin-style box is a solid choice.
Let’s walk through it step-by-step and turn a small pile of lumber into a clean, rustic birdhouse that’ll grab attention from neighbors and the local bird traffic.

🪵 Why This Mini Martin Birdhouse Is a Great Beginner Project
This little build checks all the boxes: small pieces, simple cuts, and a clean rustic look that makes it feel way more advanced than it really is. You’ll work with basic materials, learn how to line up small trim pieces, and get a good feel for shaping and assembling a miniature roof.
It’s the perfect project if you want something quick, affordable, and fun — without committing to a full weekend in the shop.
Plus, it looks fantastic once it’s mounted outside.
🔧 Recommended Tools for This Build
Before we jump into Step 1, here are the three tools that make this Mini Martin Birdhouse project smooth, accurate, and beginner-friendly. These are the same workhorses I reach for on almost every small woodworking build.
STANLEY FATMAX 25-Foot Tape Measure
Accurate measurements are the foundation of a solid bench build, and having a reliable tape measure makes every cut more confident. The STANLEY FATMAX 25-Foot Tape Measure is tough, easy to read, and built to handle both indoor projects and outdoor jobsite conditions without skipping a beat.🌟 Amazon Product Suggestion:
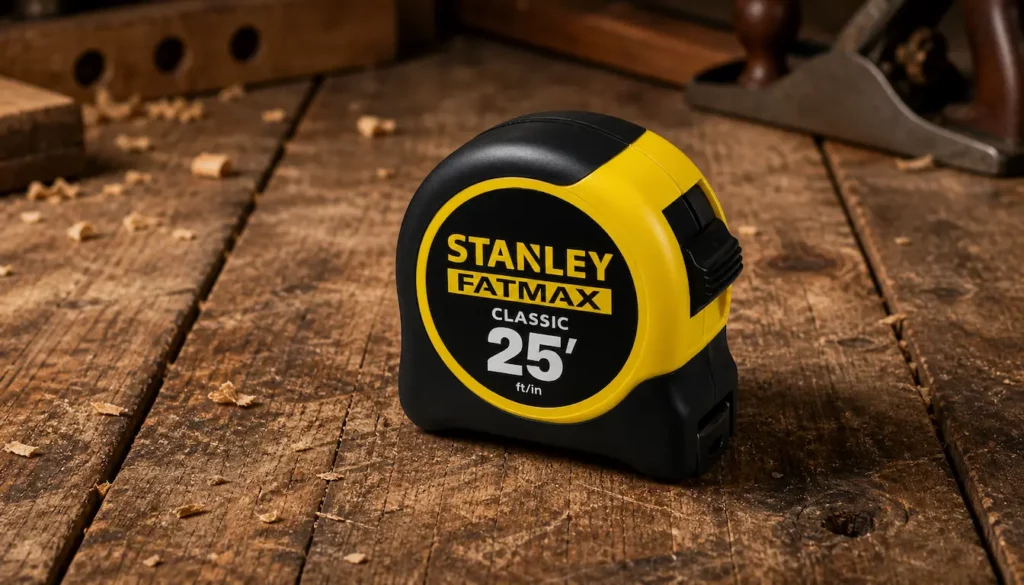
✔️ STANLEY FATMAX 25-Foot Tape Measure
A tough, reliable tape measure built for real job-site use. The STANLEY FATMAX 25′ delivers crisp easy-read markings, a strong standout, and the perfect length for woodworking and outdoor projects.
Why it’s great:
 Heavy-duty, long-lasting construction
Easy-read numbers for quick measuring
25-foot length covers most indoor and outdoor projects
Smooth standout for measuring long boards without assistance
Heavy-duty, long-lasting construction
Easy-read numbers for quick measuring
25-foot length covers most indoor and outdoor projects
Smooth standout for measuring long boards without assistance
IRWIN QUICK-GRIP 6” One-Handed Mini Bar Clamp Set
Keeping parts aligned while glue sets is key to a sturdy, square bench, and that’s where dependable clamps come in. The IRWIN QUICK-GRIP 6″ One-Handed Mini Bar Clamp Set lets you secure pieces quickly with one hand, making assembly smoother, faster, and far less frustrating.🌟 Amazon Product Suggestion:

✔️ IRWIN QUICK-GRIP 6” One-Handed Mini Bar Clamp Set (4-Pack)
These IRWIN Quick-Grip clamps are my go-to shop workhorses. Light, fast, and truly one-handed, they’re perfect for small builds like display cases, shelves, frames, and trim. Even with their compact size, they deliver solid pressure, lock cleanly, release smooth, and won’t dent your walnut thanks to the non-marring pads. If you want clamps you’ll actually enjoy using — these are the ones.
Why it’s great:
One-handed operation makes positioning and clamping effortless
Strong, consistent grip for small woodworking and assembly projects
Soft, non-marring pads protect delicate woods like walnut and cherry
Lightweight design lets you use several clamps at once without fatigue
DEWALT 20V Max Cordless Drill
From drilling clean pilot holes to driving screws during assembly, a dependable cordless drill is a must-have for this project. This drill delivers plenty of power, solid battery life, and the versatility needed to move smoothly from framing to final assembly without slowing you down. Amazon Product Suggestion:
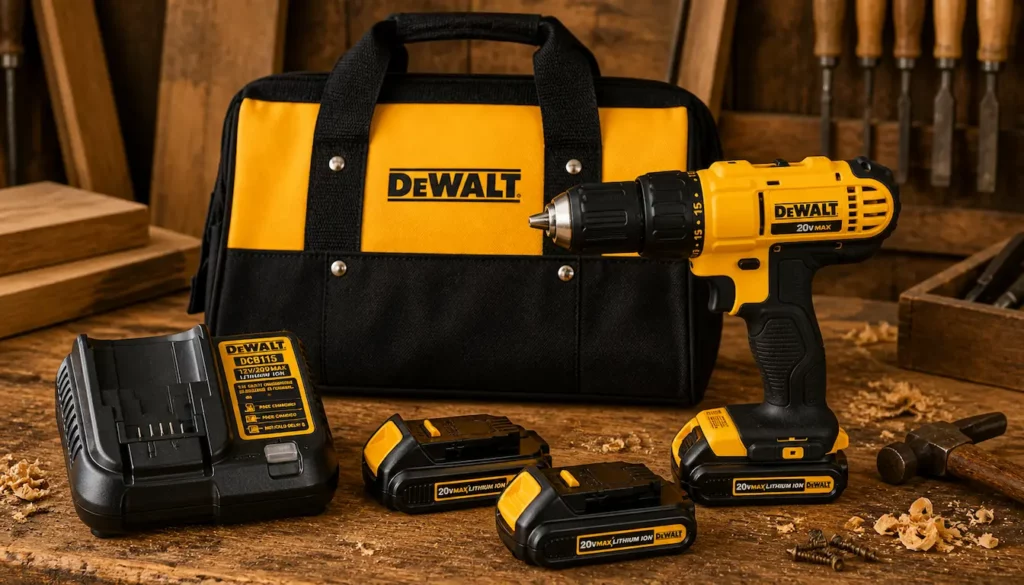
DEWALT 20V Max Cordless Drill
This 20V MAX drill kit comes with multiple batteries, a charger, and a durable carry bag — everything you need to get started right away. It’s lightweight, powerful, and designed for consistent performance across a wide range of DIY and workshop tasks.
Why it’s great:
20V MAX power — strong, consistent performance
Two batteries included — less downtime, more work
Compact, lightweight design — easy control and comfort
Complete kit — drill, charger, batteries, and bag included
Step 1: Cut the Front and Back Panels
Start by cutting the two main body pieces for the birdhouse: the front (with the entry holes) and the back panel. Keep the cuts square and identical in size so everything lines up cleanly during assembly.
👉👉 Pro Tip: Keep a scrap block nearby. Use it as a “mini bench hook” to hold the small pieces safely while you cut. It keeps your fingers farther from the blade and gives you more control on tiny parts.
Step 2: Cut the Side Walls
With your front and back panels ready, cut the two side pieces that tie the body of the birdhouse together. Keep the walls identical in height so the roof sits perfectly square later on.
👉👉 Pro Tip: Mark the “inside” faces of your panels with a tiny pencil dot. It keeps grain direction consistent and helps you avoid flipping a board the wrong way during assembly.
Step 3: Cut and Prepare the Base
Cut a small rectangular base that the entire Mini Martin Birdhouse will sit on. Make sure it’s slightly larger than the walls so you get that nice little overhang on all sides.
👉👉 Pro Tip: Lightly round over the base edges with sandpaper. It gives the birdhouse a finished look and helps shed water outdoors.
Step 4: Assemble the Birdhouse Body
With the front, back, sides, and base ready, start assembling the main structure. Glue and clamp the wall panels together first, then attach the body to the base for a solid, square foundation.
👉👉 Pro Tip: Use a small engineer’s square or even a playing card as a quick right-angle guide. Tiny builds go out of square fast, and this keeps the whole body perfectly aligned.
👉 Step 5: Cut and Shape the Roof Panels
Cut two small roof panels sized to give you a nice center ridge and a little overhang on each side. Lightly sand the edges and make sure both pieces meet cleanly at the peak.
👉👉 Pro Tip: If you want that rustic “shingled” look, score a few shallow lines across the roof panels before assembly. It adds texture without any complicated steps.
Step 6: Attach the Roof
Glue and clamp the two roof panels onto the birdhouse body, meeting at the top ridge. Hold them in place until the glue sets so the peak stays tight and clean.
👉👉 Pro Tip: Place a strip of painter’s tape across the roof peak before clamping. It keeps the panels from sliding apart and gives you a crisp, centered ridge.
Step 7: Drill the Entry Holes
Mark the center points on the front panel, then drill your entry holes using a Forstner or spade bit. Keep the drill square so the holes come out clean and perfectly round.
👉👉 Pro Tip: Back up the panel with a scrap board while drilling. It prevents tear-out on the backside and gives you a crisp, professional-looking hole.
Step 8: Add Any Trim or Decorative Details
If you want your Mini Martin Birdhouse to stand out, now’s the time to add small trim pieces, faux shingles, or a tiny perch. These little touches give the birdhouse character without adding much extra work.
👉👉 Pro Tip: Cut trim slightly oversized, glue it in place, then trim it flush after it dries. It’s way easier than trying to cut tiny pieces to perfect size on the first try.
Step 9: Sand the Entire Birdhouse
Give the whole birdhouse a quick once-over with fine-grit sandpaper. Smooth the edges, knock down any glue squeeze-out, and prep the wood for stain or outdoor finish.
👉👉 Pro Tip: Wrap sandpaper around a small scrap block to reach tight corners without rounding over the crisp edges you worked so hard to keep.
Step 10: Apply Your Finish and Mount the Birdhouse
Choose an exterior-safe finish like outdoor polyurethane, stain, or paint. Once dry, mount the birdhouse on a post, fence rail, or garden feature where it can be seen and enjoyed.
👉👉 Pro Tip: Apply two thin coats instead of one heavy coat. Thin layers soak in better, dry smoother, and keep moisture from sneaking into the wood over time.
🏁 Final Thoughts…
Building a Mini Martin Birdhouse is one of those small woodworking projects that delivers big satisfaction. It’s quick, fun, and gives you a chance to practice clean cuts, tight joints, and simple roof work — all without burning up a whole weekend.
Plus, once it’s mounted outside, it adds a charming little touch to any yard or garden.
If you enjoyed this build, you’ll love diving into a few more beginner-friendly projects. Check out how to build a simple tool caddy, whip up a classic wooden planter box, or learn the essentials every new woodworker should know in 5 tools every beginner needs.
Keep building, keep learning, and keep that shop sawdusty — the best projects are the ones you create with your own two hands.
 More Builds You’ll Want to Try Next
Ready for the next project?
These builds will sharpen your skills and give you something solid to show for it:
-
How to Build a Wooden Mailbox – A sturdy outdoor project that teaches clean layout and assembly
-
Build a Simple Wooden Toolbox – A must-have beginner build that keeps your tools organized
-
DIY Display Case – Practice clean joinery with a project that actually looks great
-
Craft a Kids’ Stool in 5 Steps – Quick, simple, and perfect for dialing in your basics
Every project builds skill — the next one is where things start to click.
 Craft it. Shape it. Own it!