
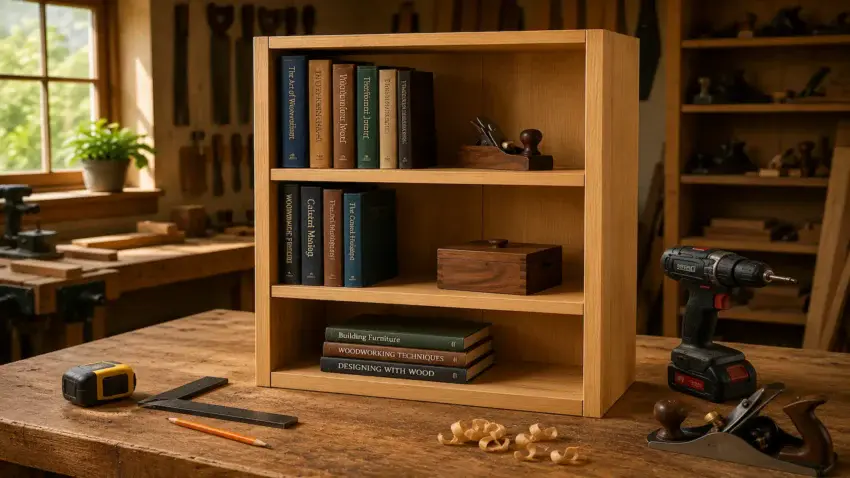
If you’ve been wanting to learn some real woodworking without jumping into anything crazy, learning how to build a simple bookshelf from scratch is one of the best places to start.
It’s a clean, beginner-friendly project that teaches measuring, cutting, assembly, and finishing — all while giving you a piece you’ll actually be able to use in your home.
With just a handful of basic tools and a free afternoon, you can build a sturdy three-shelf bookcase that looks great and holds up for years.
- No fancy joinery.
- No complicated cuts.
Just a solid, good-looking bookshelf you can be proud of.
👉 Building a bookshelf is easier when you start with the right tools.
If you’re still putting together your shop, check out my guide to the 10 Easy Woodworking Projects For Beginners before you begin.

🛠️ Tools & Materials You’ll Need
Before you dive into building your simple bookshelf, gather the basic tools and materials that make this project go smoothly.
You don’t need a full workshop for this one — just dependable, beginner-friendly tools that help you measure accurately, cut cleanly, and assemble everything square.
STANLEY FATMAX 25-Foot Tape Measure
A dependable tape measure is the first tool you’ll reach for when building a simple bookshelf from scratch.
Accurate measurements mean square cuts, tight shelves, and a bookcase that stands straight without wobble.
A good tape measure gives you clear markings, a solid standout, and a lock that doesn’t slip while you mark your boards.
🌟 Amazon Product Suggestion:
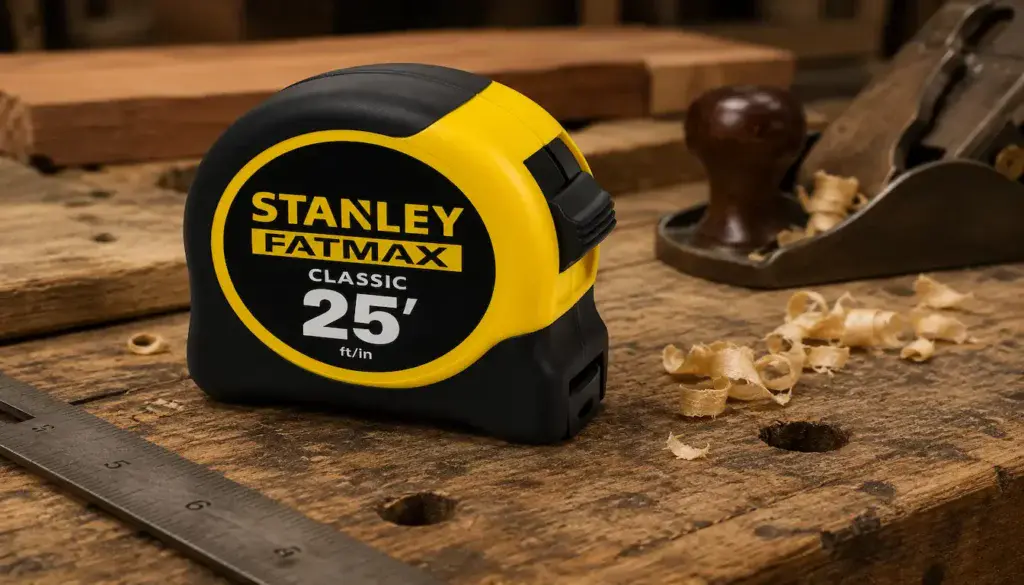
✔️ STANLEY FATMAX 25-Foot Tape Measure
A tough, reliable tape measure built for real job-site use.
The STANLEY FATMAX 25′ delivers crisp easy-read markings,
a strong standout, and the perfect length for
woodworking and outdoor projects.
Why it’s great:
✔️ Heavy-duty, long-lasting construction
✔️ Easy-read numbers for quick measuring
✔️ 25-foot length covers indoor and outdoor builds
✔️ Smooth standout for measuring long boards solo
DEWALT 20V Max Cordless Drill
 Amazon Product Suggestion:
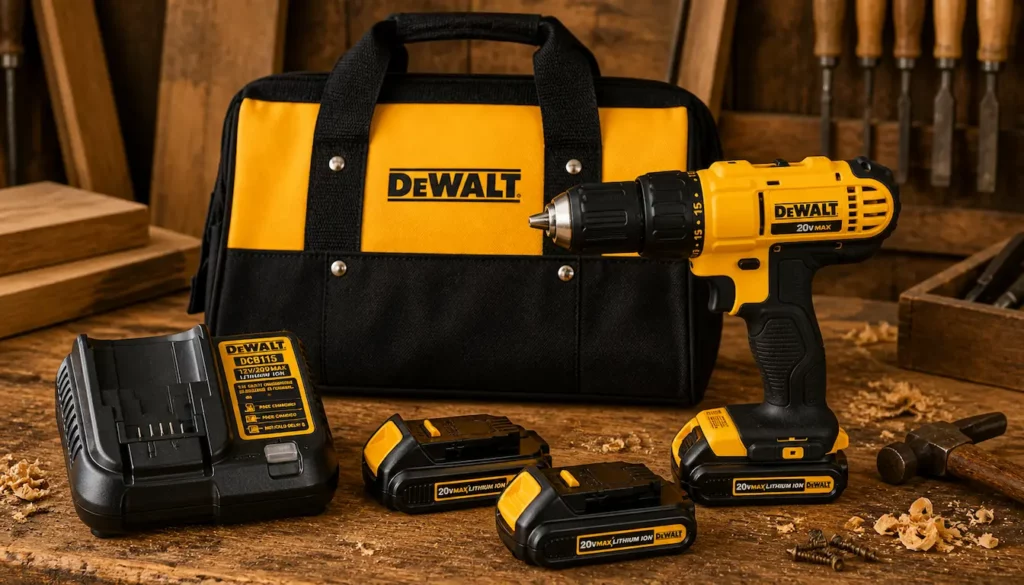
 DEWALT 20V Max Cordless Drill
SKIL 15-Amp 7-1/4″ Circular Saw
🌟 Amazon Product Suggestion:
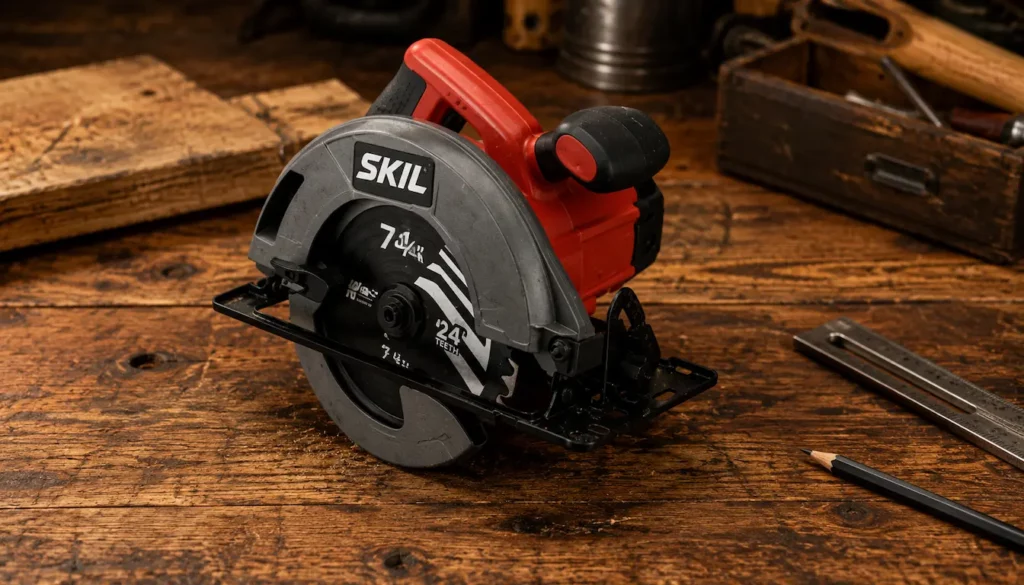
✔️ SKIL 15-Amp 7-1/4″ Circular Saw
📚 Before You Start: Getting Your Workspace Ready
Now that you’ve got your essential tools picked out, take a minute to prep your workspace.
Clear off your bench, lay out your boards, and make sure your tape measure, drill, and Skil saw are within easy reach.
A little setup time saves a whole lot of frustration once you start cutting and assembling.
This simple project comes together fast and having everything organized from the start makes each step smooth, accurate, and beginner friendly.
Step 1: Cut Your Boards to Size
Start by cutting all your boards to their final dimensions.
You’ll need two side panels, three shelves, a top piece, and a bottom piece.
Use your tape measure to mark everything clearly, then make your cuts with the Skil saw,
keeping the blade tight to a straightedge or guide for clean, accurate lines.
Precise cuts here make the rest of the build fall right into place.
👉👉 PRO TIP: Use a fresh blade in your Skil saw for cleaner cuts and fewer splinters along the plywood edges.
Step 2: Assemble the Bookshelf Frame
Lay out the two side panels and attach the top and bottom pieces to create the main frame.
Use your drill to pre-drill pilot holes, then drive screws to pull the joints together clean and square.
Take your time here —
A square frame ensures your shelves slide in perfectly without gaps or twists.
👉👉 PRO TIP: Clamp a straight board as a cutting guide —
It keeps every cut dead straight even if your hand wobbles.
Step 3: Install the Shelves
Mark the shelf locations on the inside of each side panel, then slide each shelf into place one at a time.
Pre-drill your holes, drive your screws, and make sure each shelf sits level before moving to the next.
Tight, even spacing keeps the bookshelf strong and gives it that clean, professional look.
👉👉 PRO TIP: Pre-drill every screw hole. It prevents splitting and pulls each joint tight and square.
Step 4: Add the Back Panel
Attach a thin plywood back panel to lock the entire frame square.
Line it up carefully, then nail or screw it around the edges.
This single step adds a ton of strength to the bookshelf and keeps everything perfectly aligned from top to bottom.
👉👉 PRO TIP: Mark your shelf heights on both side panels at the same time to guarantee matching shelf alignment.
Step 5: Sand All Surfaces Smooth
Go over every panel, edge, and corner with sandpaper or a power sander until the wood feels smooth and splinter-free.
Focus on rounding sharp edges slightly for a more finished look.
Proper sanding helps your finish soak in evenly and makes the bookshelf look like a pro built it.
👉👉 PRO TIP: If your plywood edges are rough, run a sanding block along them before assembly to save time later.
Step 6: Apply Your Finish
Wipe away all dust, then apply your finish of choice — stain, polyurethane, paint, or a combination.
Follow the manufacturer’s instructions and allow proper drying time between coats.
A good finish protects the wood and gives your bookshelf the exact look you want in your space.
👉👉 PRO TIP: Use a carpenter’s square when assembling the frame —
If the frame is square, everything else falls into place.
Step 7: Attach Felt Pads or Levelers
Flip the bookshelf upright and add felt pads or adjustable levelers to the bottom.
This keeps the unit from scratching your floors and helps it sit perfectly level, even if your floor isn’t.
It’s a small step that makes a big difference in stability.
👉👉 PRO TIP: Keep a damp rag nearby during gluing to wipe away squeeze-out before it dries rock hard.
Step 8: Add Optional Trim or Edge Banding
If you want a more polished, furniture-grade look, now’s the time to add trim or edge banding.
A small strip along the front of each shelf hides exposed plywood edges and gives the bookshelf a thicker, more finished appearance.
Cut your trim to size, glue it on, and secure it with a few brad nails or clamps until dry.
👉👉 PRO TIP: Always check shelf level before drilling.
One small adjustment now saves a crooked shelf forever.
Step 9: Secure the Bookshelf to the Wall
For safety — especially in homes with kids or pets —
Attach the bookshelf to the wall using simple L-brackets or anti-tip straps.
This prevents the unit from tipping forward when fully loaded, giving you a rock-solid installation you can trust.
👉👉 PRO TIP: If staining, do a test on a scrap piece first — different boards absorb stain differently.
Step 10: Load It Up and Enjoy Your New Bookshelf
Once everything is dry and secured, slide your bookshelf into place and start loading it with books, décor, or anything you want on display.
This is the moment where all your effort pays off —
A simple, sturdy bookshelf you built yourself from scratch.
👉👉 PRO TIP: Let your finish fully cure overnight before loading the shelves.
It prevents smudges and protects the surface long-term.
🪵 Final Thoughts…
Building a simple bookshelf from scratch is one of the best confidence-boosting projects you can tackle in a beginner workshop.
It teaches accurate measuring, clean cutting, solid assembly, and finishing —
All without overwhelming tools or complex joinery.
By following these steps, you’ll end up with a sturdy, good-looking piece of furniture you’ll actually use and be proud to show off.
 More Builds You’ll Want to Try Next
Ready for the next project?
These builds will sharpen your skills and give you something solid to show for it:
-
How to Build a Wooden Mailbox
– A sturdy outdoor project that teaches clean layout and assembly -
Build a Simple Wooden Toolbox
– A must-have beginner build that keeps your tools organized -
DIY Display Case –
Practice clean joinery with a project that actually looks great -
Craft a Kids’ Stool in 5 Steps
– Quick, simple, and perfect for dialing in your basics
Every project builds skill — the next one is where things start to click.
You got this!
 Craft it. Shape it. Own it!