

If you’ve ever watched a colorful wooden whirligig spinning in the breeze, you know how much charm these simple outdoor creations can add to a yard or garden.
A wooden whirligig is a fun DIY woodworking project that combines creativity with movement, turning basic materials into eye-catching wind-powered art.
I’ve spent years building and admiring these playful projects, and what makes them special is how traditional woodworking skills blend with imaginative design.
With just a few tools and simple techniques, you can create a whirligig that brings motion, personality, and a bit of handcrafted character to any outdoor space.

🪚 Tools That Bring Whirligigs to Life
Building artistic whirligigs is a lot more enjoyable when you have tools that support accuracy, smooth motion, and creative shaping rather than fighting against you.
STANLEY FATMAX 25-Foot Tape Measure
Even artistic projects like whirligigs start with solid measurements.
Getting your layout right from the beginning helps keep parts balanced, spacing consistent, and motion smooth once everything starts spinning.
 Amazon Product Suggestion:
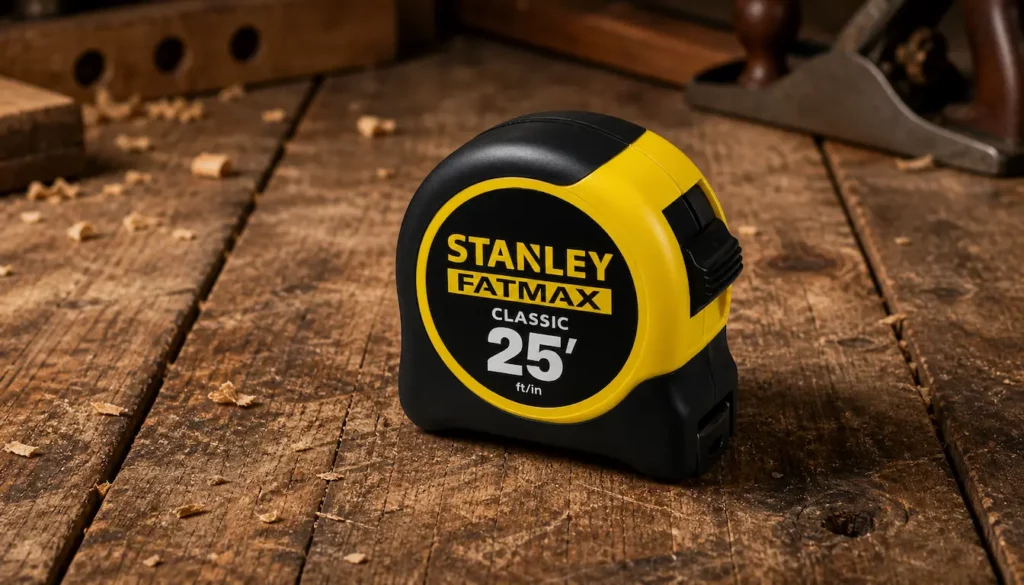
 STANLEY FATMAX 25-Foot Tape Measure
A tough, reliable tape measure built for real job-site use. The STANLEY FATMAX 25′ delivers crisp easy-read markings, a strong standout, and the perfect length for woodworking and outdoor projects.
Why it’s great:
Heavy-duty, long-lasting construction
Easy-read numbers for quick measuring
25-foot length covers indoor and outdoor builds
Smooth standout for measuring long boards solo
DEWALT 20V Max Cordless Drill
From drilling pilot holes and assembling the frame to attaching moving parts, a dependable cordless drill makes building a whirligig much easier.
This drill delivers plenty of power, solid battery life, and the versatility needed to handle everything from basic construction to final assembly, helping your whirligig come together smoothly and efficiently.
Amazon Product Suggestion:
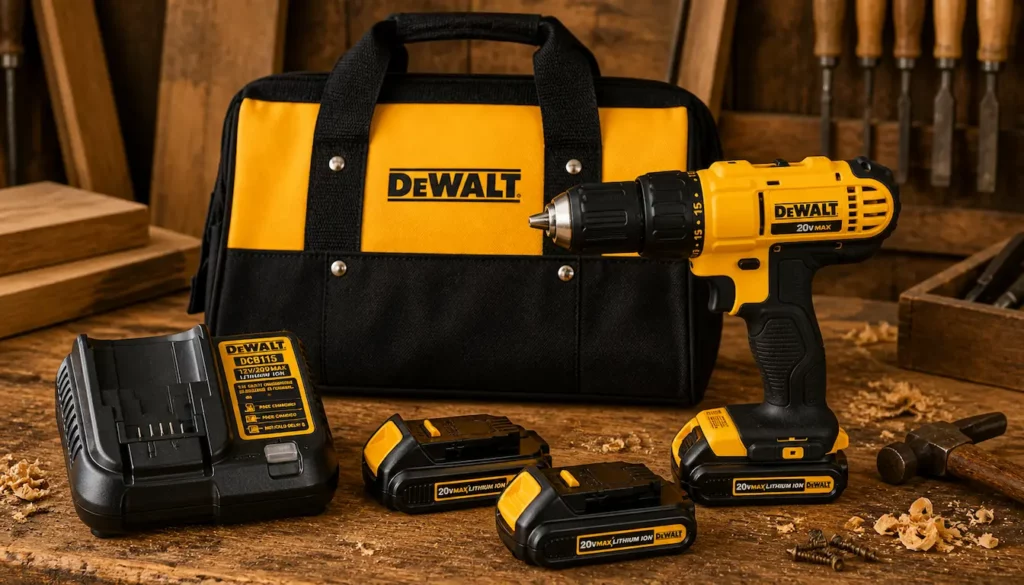
DEWALT 20V Max Cordless Drill
Why it’s great:
20V MAX power — strong, consistent performance
Two batteries included — less downtime, more work
Compact, lightweight design — easy control and comfort
Complete kit — drill, charger, batteries, and bag included
SKIL 6-Amp Corded Jig Saw
Whirligigs are all about curves, shapes, and movement — and that’s where a jigsaw really shines.
It allows you to cut smooth profiles, playful details, and custom designs that bring personality to every spinning piece.
Amazon Product Suggestion:
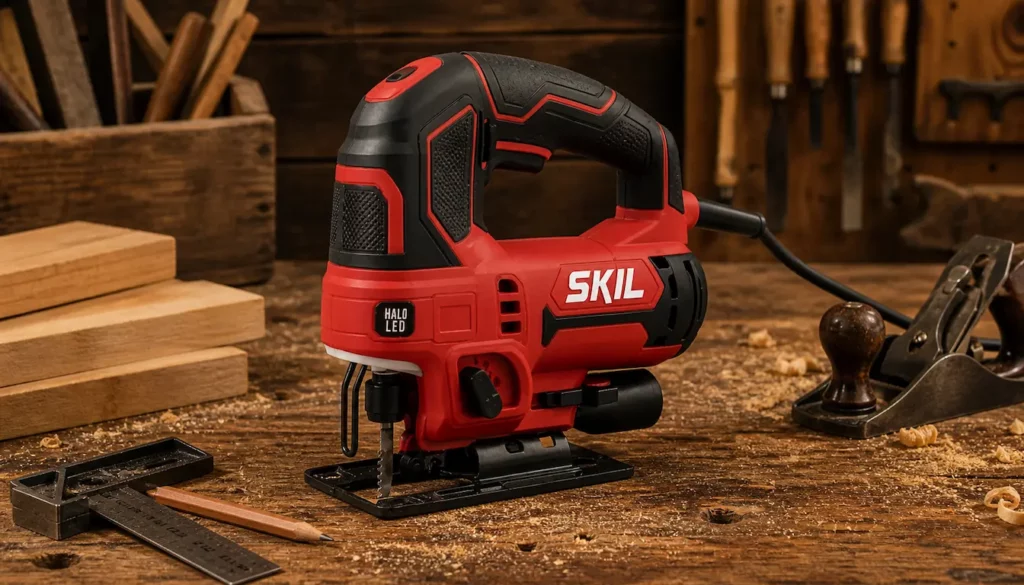
SKIL 6-Amp Corded Jig Saw
A dependable jigsaw with solid power and smooth control.
The SKIL 6-Amp delivers clean curves, fast cuts, and easy bevel adjustments,
making it a great all-around tool for woodworking and DIY projects.
Why it’s great:
Powerful 6-amp motor for hardwoods and plywood
4-stage orbital action for smooth or aggressive cutting
Tool-free bevel adjustment for quick angled cuts
Comfortable grip with low vibration for better accuracy
🎨 Building a Creative Wooden Whirligig
With your tools ready, it’s time to bring an artistic whirligig to life. This build focuses on creating smooth movement, balanced parts, and eye-catching shapes using simple woodworking techniques that leave plenty of room for creativity. Whether you follow a basic pattern or design your own, the steps below will guide you through the process from layout to final assembly.
🛠️ Bringing Your Whirligig To Life

🛠️ Step-by-Step: How to Build an Artistic Whirligig
Step 1: Plan Your Design
Decide on the overall look of your whirligig before cutting any wood.
Sketch a simple design or choose a basic pattern that includes blades, a central body, and a support arm.
Keep balance in mind—symmetry helps ensure smooth spinning.
Step 2: Measure and Mark Your Parts
Use your tape measure and pencil to mark out all components on your wood stock.
Carefully lay out blades, body pieces, and support arms, making sure matching parts are the same size to maintain balance once assembled.
Step 3: Cut Out the Shapes
Using a jigsaw, cut along your layout lines to form the blades and decorative elements.
Take your time on curves and corners, letting the blade do the work for smoother results and better control.
Step 4: Sand All Edges and Surfaces
Sand each piece thoroughly to remove rough edges and sharp corners.
Smooth surfaces reduce drag, improve appearance, and help paint or finish adhere evenly.
Step 5: Drill Pilot and Axle Holes
With your drill, carefully create pilot holes for fasteners and centered holes for axles or pivot points.
Accurate drilling is critical here — off-center holes can cause wobbling or poor rotation.
Step 6: Test-Fit Moving Parts
Dry-fit the blades and moving components without glue or permanent fasteners.
Spin them by hand to check balance and movement, making small adjustments if needed before final assembly.
Step 7: Assemble the Whirligig Body
Secure the main body, arms, and blade assemblies using appropriate fasteners or glue where needed.
Tighten everything firmly, but avoid over-tightening moving parts — freedom of motion is key.
Step 8: Install the Axles and Spinning Components
Attach the blades or rotating elements to their axles, ensuring they spin freely.
Test rotation again and make fine adjustments until movement feels smooth and consistent.
Step 9: Paint or Finish the Whirligig
Apply paint or an outdoor-safe finish to protect the wood and add personality.
Bright colors work especially well for visibility and visual impact once the whirligig is spinning outdoors.
Step 10: Mount and Test Outdoors
Install your whirligig in a spot with steady airflow.
Watch it spin, make any final tweaks for balance, and enjoy seeing your craftsmanship come to life.
⚠️ Common Mistakes to Avoid
-
Skipping the planning stage – Cutting without a clear design often leads to unbalanced parts that don’t spin smoothly.
-
Rushing curved cuts – Forcing the jigsaw through tight curves can cause rough edges and uneven shapes.
-
Drilling off-center holes – Misaligned axle holes are one of the biggest causes of wobble and poor rotation.
-
Over-tightening moving parts – Spinning components need a little play to move freely.
-
Ignoring balance during assembly – Even small weight differences can affect how well the whirligig spins.
-
Using indoor-only finishes – Whirligigs live outdoors, so skipping weather protection shortens their lifespan.
⏱️ Take Your Time
This isn’t a race. Building a whirligig is about enjoying the process, making small adjustments and letting creativity guide the build.
Slow down, check your work as you go, and remember — smooth movement comes from patience, not speed.
🌬️ Finished Wooden Whirligig

🏁 Final Thoughts…
Artistic whirligigs are a great reminder that woodworking doesn’t always have to be practical to be meaningful.
Projects like this invite creativity, reward patience, and turn simple materials into something that brings motion and personality to an outdoor space.
Whether your design is playful, detailed, or completely one-of-a-kind, the real success comes from enjoying the process and watching your work come to life in the wind.
 More Builds You’ll Want to Try Next
Ready for the next project?
These builds will sharpen your skills and give you something solid to show for it:
-
How to Build a Wooden Mailbox
– A sturdy outdoor project that teaches clean layout and assembly -
Build a Simple Wooden Toolbox
– A must-have beginner build that keeps your tools organized -
DIY Display Case –
Practice clean joinery with a project that actually looks great -
Craft a Kids’ Stool in 5 Steps
– Quick, simple, and perfect for dialing in your basics
Every project builds skill — the next one is where things start to click.
You got this!
 Craft it. Shape it. Own it!