
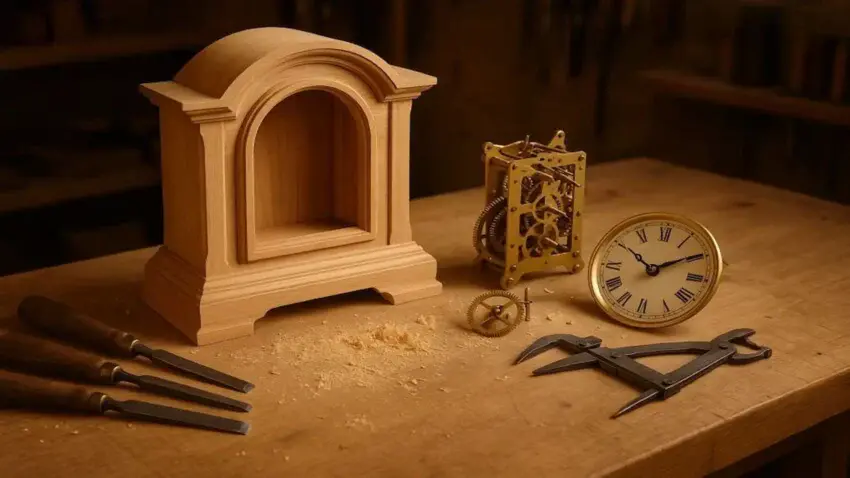
Building your own clock can be one of the most rewarding woodworking projects you’ll ever tackle —
But it’s also surprisingly easy to run into avoidable problems along the way.
In this guide,
we’re breaking down the common mistakes to avoid when building a clock
so you don’t waste time, materials, or patience.
Whether you’re crafting a classic wooden mantle clock or assembling a precision movement,
knowing these pitfalls ahead of time will help you build a timepiece that looks beautiful, runs smoothly, and lasts for years.

Gear You’ll Want Before You Start Your Clock Build
Before you start assembling your mantle clock, it helps to have the right tools and components lined up. These Amazon picks are reliable, affordable, and perfect for anyone building or restoring a wooden clock project.
Hurricane 4-Piece Wood Chisel Set
If you’re just getting into woodworking, a reliable chisel set makes a huge difference in your results.
This affordable pick gives you solid performance without stretching your budget.
 Amazon Product Suggestion:
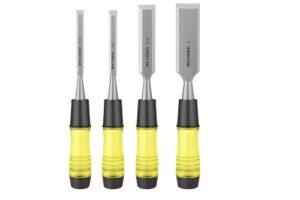
 Hurricane 4-Piece Wood Chisel Set
(CR-V Steel)
A sharp set of chisels is absolutely essential for dovetails, and this Hurricane set delivers serious performance on a budget. CR-V steel holds an edge well, the handles are tough, and the size selection hits every dovetail task — from cleaning waste to paring to your shoulder lines.
Why It’s Great:
Essential for tight joinery and clean-up work
Perfect for frame notches, mortises, and bevel adjustments
A versatile staple for any serious woodworking project
Durable enough for hardwoods and marine ply
Jivarry Digital Caliper
Accurate measurements are a must when you’re fitting parts or drilling precise holes.
A solid digital caliper makes that process fast, easy, and mistake-free.
Amazon Product Suggestion:
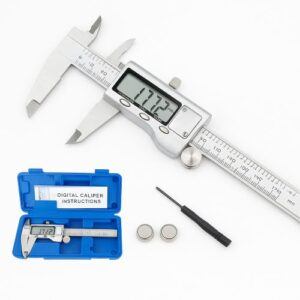
Jivarry Digital Caliper
(Stainless Steel, Large LCD, 6-Inch)
The Jivarry Digital Caliper is an affordable, accurate measuring tool every woodworker should have. Its smooth stainless-steel slide and large LCD make precise measurements quick and frustration-free, with instant switching between inches, millimeters, and fractions. Ideal for checking thickness, dimensions, hardware sizing, and fine joinery adjustments.
Why it’s great:
Large, clear digital display
Switch between inch/mm/fractions instantly
Stainless steel body for smooth, accurate travel
Measures inside, outside, depth & step values
Perfect for tight-tolerance woodworking and tool setup
Comes with case, batteries & mini screwdriver
TIKROUND 12888 Quartz DIY Wall Clock Movement
If you’re building or restoring a mantle clock, a dependable movement is the heart of the whole project. This kit gives you smooth quartz accuracy and multiple hand styles to match your design.
Amazon Product Suggestion:

TIKROUND 12888 Quartz DIY Wall Clock Movement
If you’re building a mantle clock, upgrading an old one, or restoring a thrift-store find, this TIKROUND 12888 Quartz Movement Kit is one of the most reliable, budget-friendly options you can drop into your project. It comes with four complete sets of gold hands, making it easy to match your clock style—modern, vintage, or traditional.
Why It’s Great:
✔️ Smooth, accurate quartz movement keeps time reliably
✔️ Includes 4 sets of gold hands (multiple lengths & styles)
✔️ Simple battery-powered design (no wiring headaches)
✔️ Multiple shaft lengths available to fit different clock bodies
✔️ Perfect for DIY builds, repairs, and restorations
✔️ Great price and Amazon’s Choice for a reason
🪚 Common Mistakes To Avoid When Building a Clock (Full Guide)
1. Rushing the Layout and Measurements
Clock building is all about precision.
Even being off by a hair can throw the whole movement out of alignment.
Take your time marking center points, laying out recesses, and double-checking shaft lengths before cutting anything.
A few extra minutes here saves hours of fixing later.
2. Cutting the Clock Face Opening Too Early
Many beginners remove material for the clock face before the rest of the body is fully sized.
This creates uneven borders, weak spots, and alignment trouble.
Build the body first, bring the piece to final dimension,
then cut the opening when everything is stable and square.
3. Not Test-Fitting the Movement Before Final Assembly
Clock movements rarely fit perfectly on the first attempt.
Always dry-fit the movement, hands, spacers, and hardware before applying glue or screws.
If anything binds, wobbles, or tilts, adjust the recess depth or mounting holes before committing.
4. Applying Too Much Glue
Clock bodies often have tight joints, curved pieces, or thin sections.
Excess glue can squeeze into movement cavities, prevent hardware from seating, or stain visible wood. Use a fine applicator tip, go light, and keep a damp cloth nearby.
Less is more with clock work.
5. Ignoring Wood Movement
A clock looks small, but wood movement still matters.
If you build the body with tight, unforgiving joints, seasonal expansion can push parts out of alignment or even bind the clock’s internal components.
Leave subtle breathing room where it counts, especially around the movement pocket.
6. Using Dull Tools on Small Details
Clockmaking has lots of delicate work — beveled edges, tiny recesses, thin trim, and tight interior corners. Dull tools lead straight to tear-out and chipped detail.
Keep your chisels sharp, sand carefully, and avoid forcing cuts.
Precision beats speed here every time.
7. Forgetting to Balance the Clock Hands
Unbalanced hands can cause drag or inconsistent ticking, especially on cheaper movements.
Before final assembly, check that the hour and minute hands move freely without scraping or hanging up. A tiny bend or polish can fix most issues before they become problems.
8. Over-Sanding the Clock Face
A clock face needs crisp lines so the numbers stay centered and visually balanced.
Over-sanding can round edges too much, distort the layout, or create uneven thickness around the dial. Sand lightly and evenly, and stop the moment you hit your desired smoothness.
9. Using the Wrong Finish for the Wood
Some finishes don’t play well with clock mechanisms —
Especially thick oil blends that can seep into recesses or soften adhesive points.
Stick to lighter, controlled applications like spray lacquer, wipe-on poly, or shellac.
Keep solvents FAR away from the movement area.
👉 👉Double-Finger Pro Tips
👉👉 Always store your clock movement parts in small labeled containers so nothing rolls away or mixes up.
👉👉 Blow out all sawdust from recesses and pockets before test-fitting the movement.
Even a tiny splinter can throw off alignment.
👉👉Use painter’s tape over delicate edges before chiseling to prevent blowout on thin surfaces.
👉👉Lay the clock flat when installing hands — gravity helps keep everything aligned.
👉👉 Keep your measurements referenced from the same edge to avoid compounding errors.
🎯 Final Thoughts…
Building a clock combines woodworking precision with mechanical accuracy, and that’s exactly why it’s such a satisfying project.
When you slow down, measure carefully, test-fit everything, and avoid the common mistakes above, you’ll end up with a timepiece that doesn’t just look good — it WORKS good.
And there’s nothing better than a clock you built with your own two hands ticking away on your shelf.
 More Woodworking Projects You’ll Enjoy
Here are a few other beginner-friendly project ideas you can try next:
-
How to Build a Wooden Mailbox – A sturdy outdoor project that teaches accurate layout and assembly.
-
Build a Simple Wooden Toolbox – A classic beginner project and a great way to organize your tools.
-
DIY Display Case – Learn clean joinery with a project that looks great in any room.
-
Craft a Kids’ Stool in 5 Steps – A quick build that teaches essential cutting and measuring skills.
These projects help you grow your skills while creating something you’ll enjoy for years to come.
You got this!
 Craft it. Shape it. Own it!
 Need More Woodworking Plans?
 Click here to learn more about Ted’s Woodworking Plans:
If you want hundreds of additional project ideas with clear step-by-step instructions, my full review breaks down exactly what you get inside Ted’s Woodworking Plans.
It’s a great resource if you like weekend builds, simple jigs, or classic shop projects.
Check out the full review here → Ted’s Woodworking Plans

 Turn Your Woodworking Passion Into Income
Click here to learn more about Wealthy Affiliate
SawdustSmarty started as a simple hobby.
It grew because I finally learned how to build a real website — the right way. If you’ve ever thought about turning woodworking into a side business or income stream, Wealthy Affiliate is the training I personally recommend.
Click here to read more → Wealthy Affiliate
