Step-by-Step Instructions for a Functional and Stylish Living Room Centerpiece
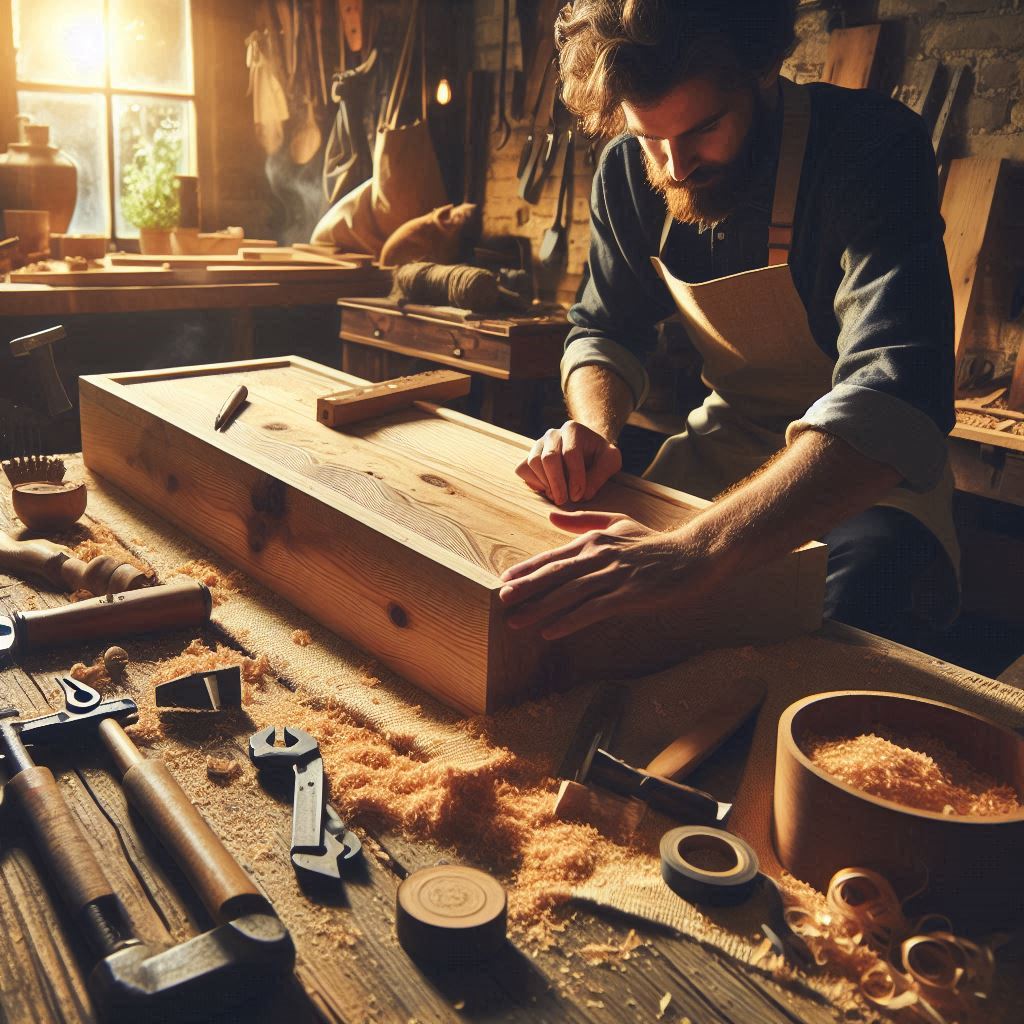
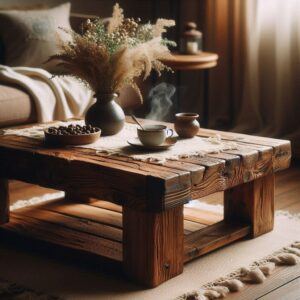
Rustic furniture is a favorite among woodworkers and homeowners alike. It’s warm, natural, durable, and most importantly—it’s fun to build. If you’re looking for a rewarding weekend project that will impress your guests and enhance your space, Build Your Own Rustic Coffee Table is the perfect choice to help guide you through the process.
This guide includes step-by-step instructions, design tips, material suggestions, and even layout plans to help you craft a rustic coffee table that balances function and charm. No CNC machines or advanced tools required — just some basic woodworking gear and a few hours of your time.
📐 Why Build a Rustic Coffee Table?
Unlike mass-produced furniture, a handcrafted table carries personality and purpose. A rustic coffee table made by you will:
- Match your decor naturally with wood tones and grain
- Withstand wear and tear with rugged durability
- Age beautifully over time
- Serve as a functional centerpiece for your living room
- Provide a practical DIY project to sharpen your skills
Whether you’re furnishing a farmhouse, cabin, or modern living room with a rustic twist, this project gives you the creative freedom to customize size, stain, and features.
As an Amazon Associate, I earn from qualifying purchases.
🧰 Tools and Materials You’ll Need
Tools:
- Circular saw or miter saw
- Power drill/driver
- Kreg pocket hole jig (optional)
- Clamps
- Tape measure
- Sander or sanding block
- Speed square
- Wood glue
- Safety gear (glasses, dust mask)
Materials:
- (3) 2×6 x 8 ft boards (for tabletop)
- (2) 2×4 x 8 ft boards (for aprons and supports)
- (4) 4×4 posts or table legs (store-bought or homemade)
- 2″ or 2½” wood screws or pocket hole screws
- Wood stain and sealer of your choice
- Rustic hardware (optional for decor)
📏 Rustic Coffee Table Dimensions (Standard)
Finished Size:
- Length: 48″
- Width: 24″
- Height: 18″
These dimensions fit most living rooms, but feel free to adjust based on your space.
🔨 Step-by-Step Build Guide
Step 1: Build the Tabletop
You’ll start by gluing or screwing three 2x6s together side by side to form the main tabletop surface.
- Cut your 2×6 boards to 48″ in length.
- Use wood glue along the edges, clamp the boards together, and allow to dry overnight.
- Optional: Use pocket holes underneath to hold the boards tightly together.
- Once dry, sand the top smooth with 80-120 grit, rounding the edges slightly for a worn, rustic look.
- Fill any gaps or knots with wood filler if desired (or leave for character).
💡 Tip: Flip the board so the best-looking face becomes your top surface.
Step 2: Assemble the Frame (Aprons)
The aprons are the structural frame under the tabletop and attach to the legs.
- Cut (2) 2x4s to 41″ (long sides)
- Cut (2) 2x4s to 17″ (short sides)
- Drill pocket holes at both ends of the short boards.
- Assemble the rectangular frame by attaching the aprons together with wood glue and screws or pocket holes.
This box will sit just inside the table legs, giving it strength and a clean profile.
Step 3: Attach the Legs
Rustic-style legs are typically thick and square. You can:
- Buy pre-made 4×4 legs from a hardware store or
- Cut your own from untreated 4×4 lumber (cut to 17.25″ height)
- Position a leg in each inside corner of the frame.
- Use clamps to hold the leg flush with the apron edge.
- Drill and screw through the apron into the leg, using two screws per joint.
- Repeat for all four corners.
💡 Optional: Add a lower stretcher or shelf for stability and style.
Step 4: Attach the Top
- Flip the tabletop upside-down.
- Center the base (frame + legs) on top.
- Secure the tabletop from underneath using 2” screws driven through the apron into the top.
- Use at least 2 screws per side and corner for a sturdy hold.
Step 5: Add Decorative Touches
For that real rustic look:
- Sand corners to give a worn-in appearance
- Add visible wood plugs to screw holes
- Use black iron brackets or forged corner braces
- Burn edges lightly with a torch for character (carefully!)
🎨 Staining and Finishing Your Table
- Sand everything to at least 150-grit.
- Wipe the entire surface clean of dust.
- Apply a wood conditioner (optional but helps with even stain penetration).
- Brush or rag on your preferred stain color (walnut, weathered oak, dark gray are all great rustic choices).
- Wipe off excess stain and allow to dry for 24 hours.
- Finish with polyurethane or a matte furniture wax for a soft, natural look.
💡 Pro Tip: Apply 2–3 coats of poly if the table will see heavy use or spills.
** Here’s a little transparency: Our website contains affiliate links. This means if you click and make a purchase, we may receive a small commission. Don’t worry, there’s no extra cost to you. It’s a simple way you can support our mission to bring you quality content.**
🧠 Tips for Success
- Dry fit everything before gluing or screwing—it’s easier to adjust now than later.
- Use countersinks or wood plugs to hide screw holes for a clean look.
- Don’t rush the staining and finishing — a quality finish will elevate your rustic design.
- Don’t worry about minor flaws — knots, cracks, and uneven edges add character to rustic furniture!
🪑 Customization Ideas
Want to make your table stand out even more?
- Add a lower shelf with slats or plywood for storing books or baskets.
- Use reclaimed wood for a true rustic feel.
- Try two-tone finishes (dark top with whitewashed base).
- Add wheels or casters for mobility.
✅ Final Thoughts
Building your own rustic coffee table is a rewarding way to add both style and function to your home. With just a few tools and basic skills, you can create a centerpiece that will serve your family for years — and become a conversation starter for guests.
Whether you’re a seasoned woodworker or just getting into DIY projects, this build is simple, satisfying, and full of room for personalization.
📸 Share Your Coffee Table Build!
Did you make your own rustic table using these plans? We’d love to feature your build! Tag @SawdustSmarty or use the hashtag #RusticSawdustTable on social media.
Happy building!
There are 100’s of ways you can build a business around your passion for the crafts.
Check it out…
![]()


