If you’re anything like me, tools, scraps, and random odds and ends don’t take long to pile up around the workshop —
Or even around the house.
The solution?
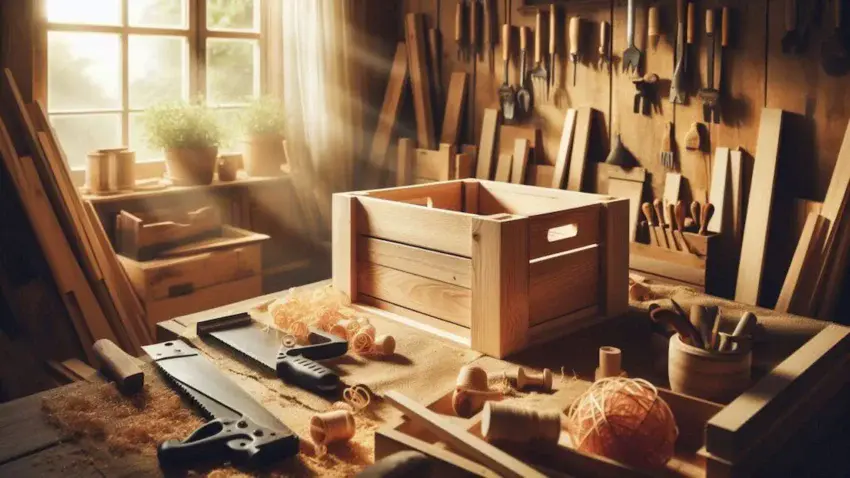
A solid, good-looking storage crate you can build yourself in a single afternoon.
This DIY storage crate with handles is more than just a box.
It’s a versatile, beginner-friendly project that works almost anywhere —
From the shop to the kitchen, living room, or garden shed.
It’s easy to build, fully customizable, and perfect for rustic stains, bold paint, or a simple natural finish that lets the wood speak for itself.

Why Build Your Own Storage Crate?
Sure, you can buy crates at the store, but those are often made of thin plywood or MDF, and they just don’t hold up.
When you build it yourself, you get:
- Durability: Solid wood construction that’s built to last.
- Customization: Choose your size, wood type, stain, or paint.
- Cost savings: Use scrap wood or affordable pine to keep costs low.
- Satisfaction: There’s nothing like using something you made with your own two hands.
🧰 Tools You’ll Need for This Build
Before you start cutting and assembling your storage crate, it helps to have a few dependable tools within reach.
A tape measure keeps your cuts accurate, clamps hold everything square while you assemble, and a cordless drill makes fastening quick and consistent —
covering the basics you need to build a sturdy crate without overcomplicating the process.
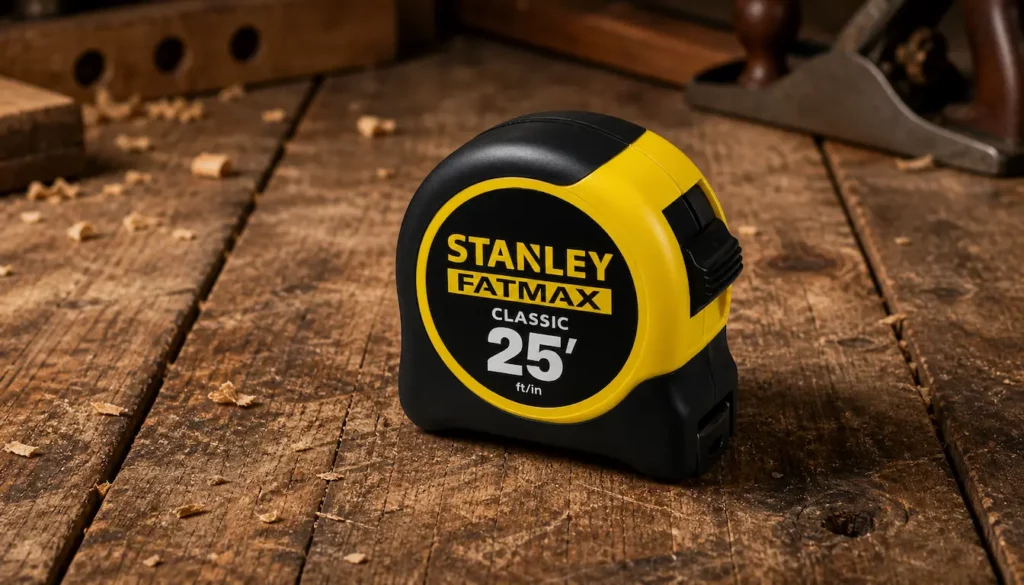
STANLEY FATMAX 25-Foot Tape Measure
Accurate measurements are the foundation of a solid bench build, and having a reliable tape measure makes every cut more confident.
The STANLEY FATMAX 25-Foot Tape Measure is tough, easy to read, and built to handle both indoor projects and outdoor jobsite conditions without skipping a beat.
 Amazon Product Suggestion:
 STANLEY FATMAX 25-Foot Tape Measure
A tough, reliable tape measure built for real job-site use. The STANLEY FATMAX 25′ delivers crisp easy-read markings, a strong standout, and the perfect length for woodworking and outdoor projects.
Why it’s great:
Heavy-duty, long-lasting construction
Easy-read numbers for quick measuring
25-foot length covers indoor and outdoor builds
Smooth standout for measuring long boards solo
Trusted brand with thousands of great reviews
IRWIN QUICK-GRIP 6” One-Handed Mini Bar Clamp Set
Keeping parts aligned while glue sets is key to a sturdy, square bench, and that’s where dependable clamps come in.
The IRWIN QUICK-GRIP 6″ One-Handed Mini Bar Clamp Set lets you secure pieces quickly with one hand, making assembly smoother, faster, and far less frustrating.
Amazon Product Suggestion:

IRWIN QUICK-GRIP 6” One-Handed Mini Bar Clamp Set
(4-Pack)
These IRWIN Quick-Grip clamps are my go-to shop workhorses. Light, fast, and truly one-handed, they’re perfect for small builds like display cases, shelves, frames, and trim. Even with their compact size, they deliver solid pressure, lock cleanly, release smooth, and won’t dent your walnut thanks to the non-marring pads. If you want clamps you’ll actually enjoy using — these are the ones.
Why it’s great:
One-handed operation makes positioning and clamping effortless
Strong, consistent grip for small cabinet and display case build
Soft, non-marring pads protect delicate woods like walnut and cherry
Lightweight design lets you run several clamps at once without fatigue
Perfect for tight spots where full-size bar clamps won’t fit
Extremely reliable — no slipping, no bending, no cheap-plastic flex
Great for beginners and pros who want fast, frustration-free clamping
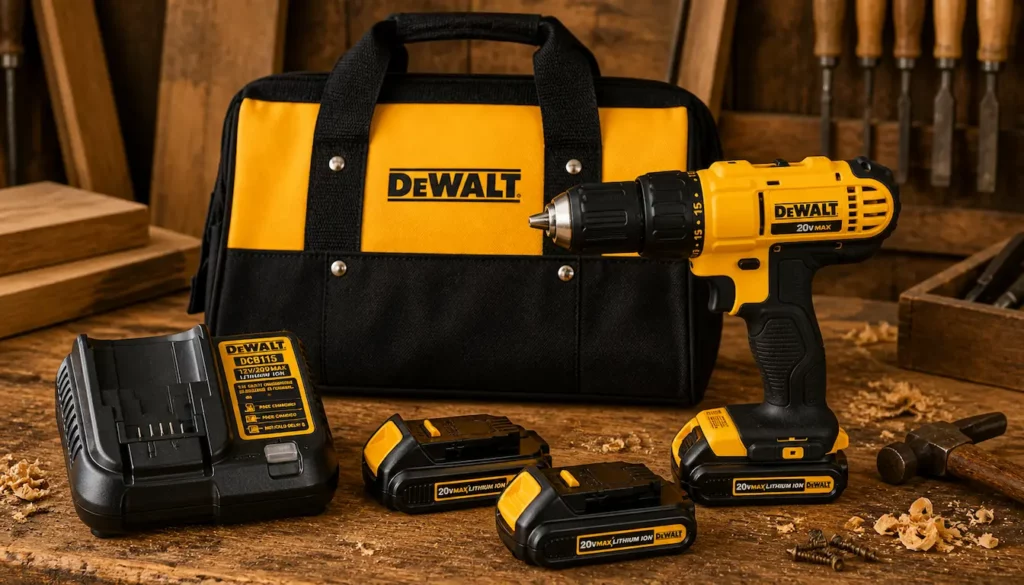
DEWALT 20V Max Cordless Drill
From drilling clean pilot holes to driving screws during assembly, a dependable cordless drill is a must-have for this project.
This drill delivers plenty of power, solid battery life, and the versatility needed to move smoothly from framing to final assembly without slowing you down.
Amazon Product Suggestion:
DEWALT 20V Max Cordless Drill
This 20V MAX drill kit comes with
multiple batteries, a charger, and a durable carry bag —
everything you need to get started right away.
It’s lightweight, powerful, and designed for
consistent performance across
a wide range of DIY and workshop tasks.
Why it’s great:
20V MAX power — strong, consistent performance
Two batteries included — less downtime, more work
Compact, lightweight design — easy control and comfort
Complete kit — drill, charger, batteries, and bag included
🧰 What You’ll Need
Materials:
- (3) 1″ x 4″ x 36″ pine boards (or your wood of choice)
- (1) 1″ x 2″ x 36″ board (for handle supports)
- Wood glue
- 1¼” brad nails or wood screws
- Sandpaper (80 and 150 grit)
- Wood stain or paint (optional)
- Wood filler (optional)
Tools:
- Miter saw or hand saw
- Sander or sanding block
- ¾” Forstner bit or hole saw (for handles)
🔨 Step-by-Step Instructions:
Step 1: Cut Your Wood
You can adjust the measurements to make your crate larger or smaller, but here’s a standard size that works great:
- Bottom: (3) pieces @ 16″ (from 1x4s)
- Sides (long): (6) pieces @ 18″ (from 1x4s)
- Sides (short): (6) pieces @ 12½” (from 1x4s)
- Corner supports: (4) pieces @ 10″ (from 1x2s)
These dimensions will give you a crate that’s roughly 18″ long x 13″ wide x 10″ tall.
Step 2: Assemble the Bottom
Lay the three bottom boards flat, side-by-side. Apply wood glue between them, clamp if needed, and reinforce the joint with two short boards (or cleats) screwed underneath to keep them aligned.
You could also use pocket holes or biscuit joints if you’re feeling fancy — but for a rustic crate, glue and a couple of screws will do just fine.
Step 3: Build the Sides
Now let’s build the four side walls.
Each side consists of three 1×4 boards stacked horizontally.
- First, attach the 1×2 corner supports to the inside edges of the short side panels.
- Next, attach the short sides to the ends of the bottom panel.
- Then, attach the long sides, making sure the boards are flush and square.
Use glue and brad nails (or screws) to secure everything.
Step 4: Add the Handles
Handles make your crate easy to grab and move.
You’ve got a couple of options here:
Option A: Cut-out handles
Measure and mark a center point on each long side, about 2″ down from the top board. Use a ¾” spade bit or hole saw to drill two holes about 4″ apart, then connect them using a jigsaw to create a smooth, oval handle. Sand the edges well.
Option B: Rope handles
Drill two holes on each side and thread through thick rope, tying a knot inside to keep it from pulling out. This adds a rustic charm and a softer grip.
Step 5: Sand It Down
Start with 80-grit sandpaper to knock down any rough edges, then finish with 150-grit for a smoother feel.
Focus especially on the corners, edges, and handles.
You don’t want any splinters sneaking up on you.
Step 6: Finish It Your Way
You can go a lot of directions here:
- Rustic: Use a dark walnut or espresso stain, then scuff the edges lightly for a weathered look.
- Modern: Paint it solid black, white, or gray for a sleek vibe.
- Natural: Just seal it with a clear polyurethane and let the grain show off.
If it’s for indoor use, a simple finish will do.
If it’s going in a shed or garage, consider a more durable outdoor sealant.
🪚 Bonus Ideas: How to Use Your Crate
Once you’ve built one, chances are you’ll want to make a few more.
These crates are surprisingly handy.
Here’s how people use them:
- Tool or hardware storage
- Kids’ toy box
- Firewood holder
- Pantry organizer
- Blanket bin for the living room
- Garden crate for harvested produce
- DIY gift basket
✅ Tips and Tricks
- Always pre-drill if using screws to prevent splitting.
- Clamp your pieces during assembly for tight joints.
- Add felt pads or rubber feet if it’ll sit on hardwood floors.
- Make stackable crates by cutting small notches in the corner supports.
🏁Final Thoughts…
There you have it — A sturdy, simple, and genuinely useful DIY storage crate with handles that you can build in just a few hours.
Whether you’re organizing tools in the garage, corralling craft supplies, or adding a touch of rustic character to your home, this crate is built to handle it.
Once you make one, you’ll quickly see how easy it is to adapt the design for different spaces and needs.
Change the size, switch up the finish, and make it your own —
That’s the real satisfaction that comes with DIY.
 More Builds You’ll Want to Try Next
Ready for the next project?
These builds will sharpen your skills and give you something solid to show for it:
-
How to Build a Wooden Mailbox
– A sturdy outdoor project that teaches clean layout and assembly -
Build a Simple Wooden Toolbox
– A must-have beginner build that keeps your tools organized -
DIY Display Case –
Practice clean joinery with a project that actually looks great -
Craft a Kids’ Stool in 5 Steps
– Quick, simple, and perfect for dialing in your basics
Every project builds skill — the next one is where things start to click.
You got this!
 Craft it. Shape it. Own it!