
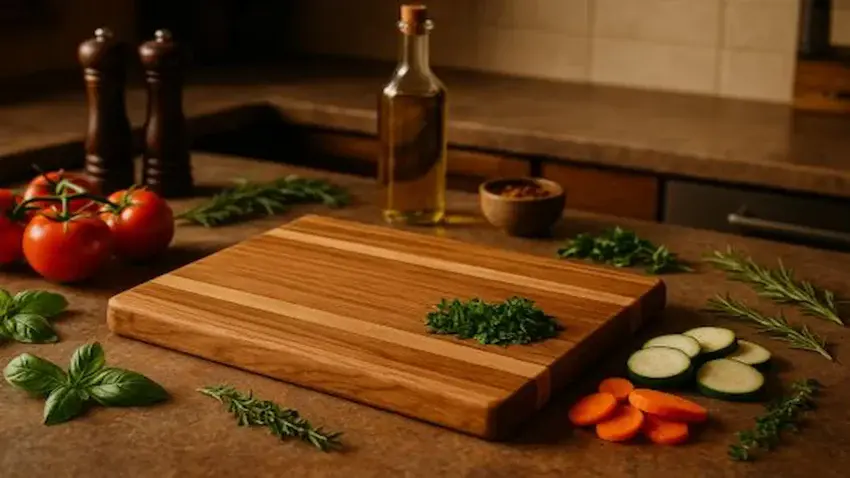
Building your own wooden cutting board is one of the easiest and most rewarding woodworking projects you can take on.
It’s quick, beginner-friendly, and leaves you with a beautiful piece you’ll end up using every single day in your kitchen.
In this guide, I’ll walk you through everything you need to know — selecting the right hardwood, making clean, accurate cuts, sanding it silky smooth, and finishing it with food-safe oil for that pro-level shine.
Whether you’re brand new to woodworking or just want a simple weekend build, this cutting board project is the perfect place to start.
👉 A long-lasting cutting board starts with choosing the right hardwood.
Before you begin, check out The Best Wood for Beginner Woodworking.

🔧 Reliable Tools That Take the Guesswork Out of Your Build
Whether you’re gearing up for a home improvement project or building out your professional workshop, having the right essential power and hand tools makes all the difference.
From accurate measurements to clean cuts and smooth finishes, these foundational tools are versatile, reliable, and built to handle a variety of tasks.
Below are three must-have tools that combine performance and durability for projects big and small:
STANLEY FATMAX 25-Foot Tape Measure
Every great woodworking project begins with accurate measurements.
The STANLEY FATMAX 25-Foot Tape Measure helps you measure with confidence, reducing mistakes and ensuring every cut fits exactly as planned.
🌟 Amazon Product Suggestion:
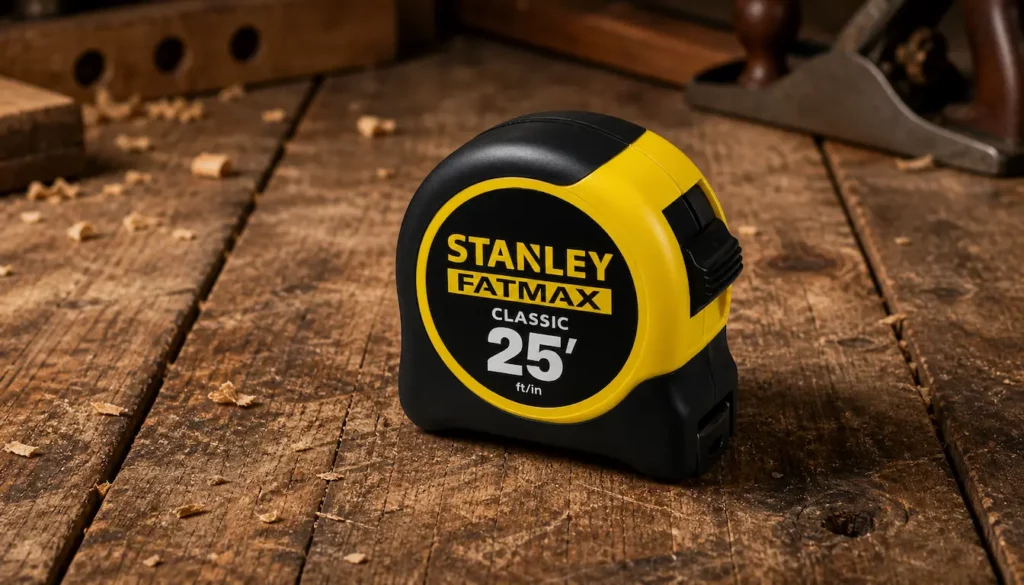
✔️ STANLEY FATMAX 25-Foot Tape Measure
Accurate measurements are the foundation of every successful woodworking project.
The STANLEY FATMAX 25-Foot Tape Measure is durable, easy to read,
and built to deliver the precision you need from the first cut to the final assembly.
Why It’s Great
✔ High-visibility blade with easy-to-read markings.
✔ Long blade reach for measuring large projects.
✔ Durable, impact-resistant case built for the workshop.
✔ Smooth blade lock for accurate, repeatable measurements.
Skil Saw
A circular saw is the go-to tool for making long, straight cuts in plywood and lumber.
The SKIL 15-Amp 7-1/4″ Circular Saw delivers the power and precision you need to tackle woodworking projects with confidence.
🌟 Amazon Product Suggestion:
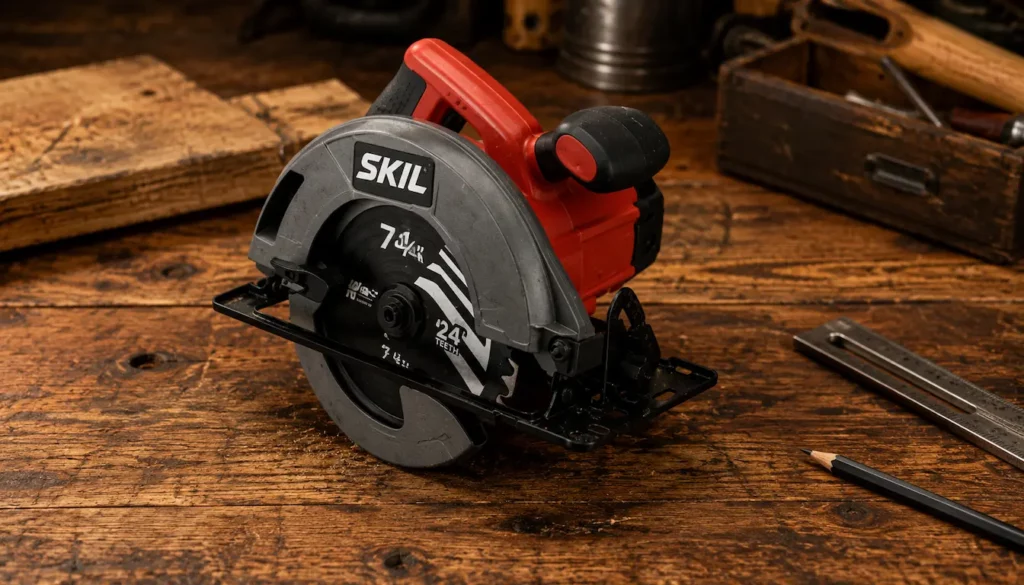
✔️ SKIL 15-Amp 7-1/4″ Circular Saw
Sander
Sanding is what turns a good woodworking project into a great one.
The SKIL 5″ Random Orbital Sander smooths rough surfaces quickly, helping you achieve a professional-quality finish with less effort.
🌟 Amazon Product Suggestion:
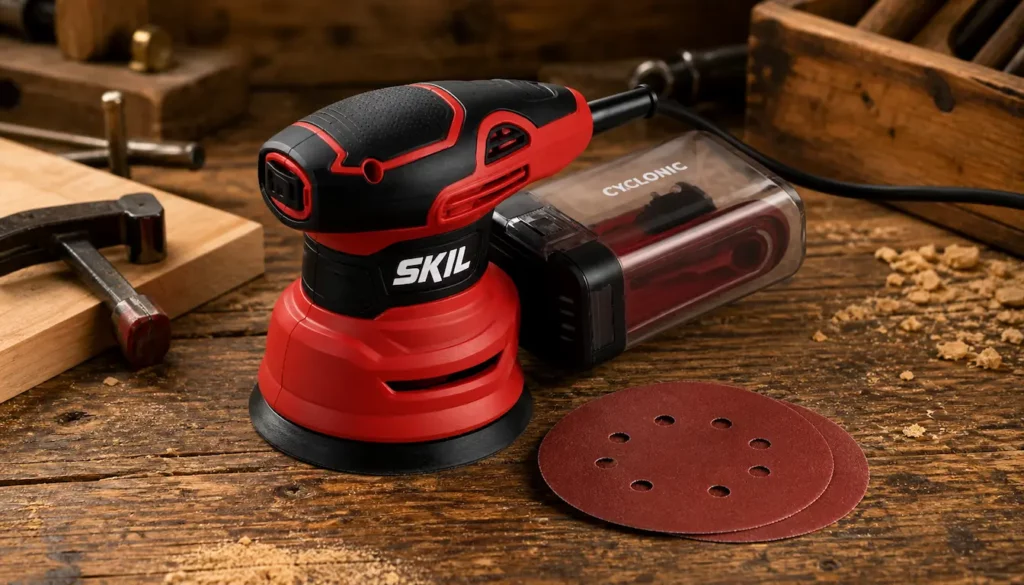
✔️ SKIL 5” Random Orbital Sander
A quality sander is the key to transforming
rough lumber into a smooth, professional-looking project.
The SKIL 5″ Random Orbital Sander removes
imperfections quickly while leaving a clean, swirl-free surface
that’s ready for stain, paint, or a clear finish.
Why It’s Great
✔ Smooth, swirl-free sanding results.
✔ Built-in dust collection helps reduce cleanup.
✔ Comfortable grip for extended use.
✔ Quick hook-and-loop sandpaper changes.
⭐ Why This Project Is Perfect For Beginners
Making a wooden cutting board teaches you the fundamentals — measuring, cutting, smoothing, and finishing — without complicated joinery or expensive tools.
It’s a great confidence booster, uses minimal material, and gives you a finished product you can be proud of.
Plus, you can customize the size, shape, and wood type to match your kitchen.
🪵 Step-By-Step: How To Make A Wooden Cutting Board
STEP 1 — Select Your Wood
Choose a hardwood such as maple, walnut, cherry, or beech.
These woods are durable, food-safe, and sand beautifully.
👉👉 Pro Tip: Hardwoods last longer than softwoods and resist knife marks much better.
STEP 2 — Measure Your Cutting Board Dimensions
Decide on your size—most boards fall between 10″×14″ or 12″×18″.
Use your tape measure to mark clean, accurate layout lines.
👉👉 Pro Tip: Draw your guidelines on painter’s tape to reduce pencil marks on the wood.
STEP 3 — Make Your Cuts With The Skil Saw
Clamp your board down and cut along your layout lines using your Skil Saw for clean, straight edges.
👉👉 Pro Tip: Use a sharp, fine-tooth blade to minimize tear-out on hardwood.
STEP 4 — Square Up The Edges
Lightly sand or plane the edges to remove saw marks and ensure the board sits flat and square.
👉👉 Pro Tip: A quick pass with 120-grit on the edges can make a big difference.
STEP 5 — Round Over The Corners (Optional)
Use a sander or sanding block to slightly round the corners for comfort and a polished look.
👉👉 Pro Tip: A soft radius makes the board easier to handle and looks more professional.
STEP 6 — Sand The Entire Surface
Start with 80-grit, then move to 120-grit, and finish with 220-grit until your board feels smooth all over.
👉👉 Pro Tip: Sand with the grain only — never across it.
STEP 7 — Break The Edges
Run a quick bevel or soft round-over along all the edges to remove sharp corners.
👉👉 Pro Tip: Edges that are too sharp will splinter over time — soften them for longevity.
STEP 8 — Clean The Board
Use a damp cloth to wipe off sanding dust.
Let the wood dry completely before finishing.
👉👉 Pro Tip: A slightly damp wipe also raises the grain, making your final sanding smoother.
STEP 9 — Apply Food-Safe Finish
Use mineral oil or cutting board conditioner.
Apply generously and let it soak in.
👉👉 Pro Tip: Apply multiple coats until the board stops absorbing oil.
STEP 10 — Final Buff & Shine
Buff your board using a clean cloth to bring out the natural color and beauty of the wood.
👉👉 Pro Tip: Monthly oiling keeps your cutting board looking brand-new for years.
🏁 Final Thoughts…
Making your own wooden cutting board is a simple way to sharpen your woodworking skills while creating something useful and beautiful.
With just a few tools and a single board of hardwood, you can craft a kitchen essential that’ll last a lifetime.
Once you build one, you’ll probably end up making them as gifts too —
Everyone loves a handmade cutting board.
 More Builds You’ll Want to Try Next
Ready for the next project?
These builds will sharpen your skills and give you something solid to show for it:
-
How to Build a Wooden Mailbox
– A sturdy outdoor project that teaches clean layout and assembly -
Build a Simple Wooden Toolbox
– A must-have beginner build that keeps your tools organized -
DIY Display Case –
Practice clean joinery with a project that actually looks great -
Craft a Kids’ Stool in 5 Steps
– Quick, simple, and perfect for dialing in your basics
Every project builds skill — the next one is where things start to click.
You got this!
 Craft it. Shape it. Own it!