
If you’ve ever torn out a splintered edge on the jointer, had your chisel skip instead of slice, or burned a board on the table saw, there’s a good chance wood grain had something to do with it.
Understanding wood grain isn’t just for old-school woodworkers or furniture masters — it’s the foundation of working smarter in any shop. Whether you’re crosscutting a 2×4 or carving a decorative inlay, the grain determines how wood behaves under your tools.
In this guide, we’ll break down what wood grain is, why it matters, and how to read it like a pro — so you can make cleaner cuts, stronger joints, and better-looking projects.
🪵 What Is Wood Grain?
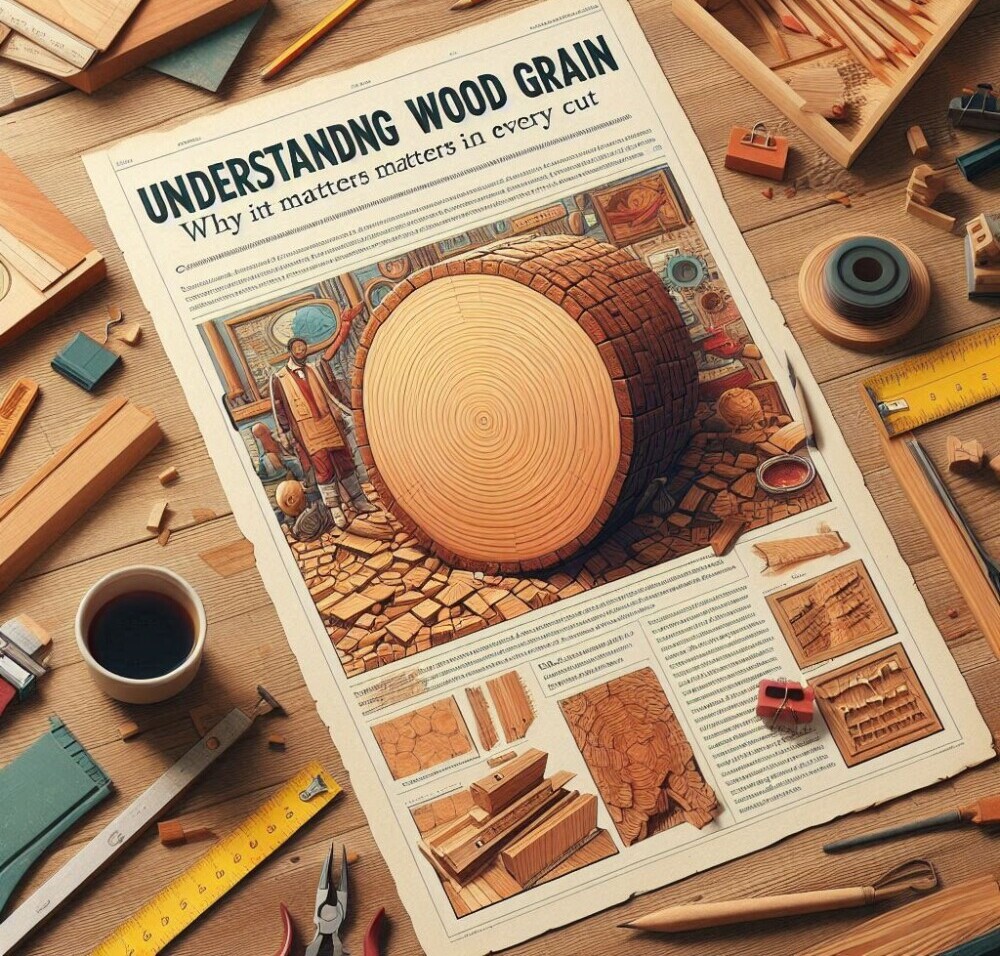
Wood grain refers to the direction, pattern, and texture of wood fibers in a board. These fibers are essentially the long cells of the tree that ran vertically up the trunk.
When you cut lumber from a tree, you’re slicing across or along these fibers. The way those fibers are arranged determines how the wood will cut, plane, sand, stain, and even crack.
🌲 Types of Wood Grain Patterns
Here are the most common types of wood grain patterns you’ll come across:
1. Straight Grain
Fibers run in mostly one direction — easy to work with, ideal for strength.
2. Curly or Wavy Grain
Fibers twist and turn — beautiful to look at, but tricky to plane or rout.
3. Interlocked Grain
Fibers weave together — common in tropical hardwoods, often tear-out prone.
4. Spiral Grain
Fibers twist around the trunk — adds visual interest but can weaken structural pieces.
5. Cross Grain
Fibers run perpendicular or at angles — hard on blades and prone to tear-out.
Understanding what type of grain you’re working with helps you predict how it’ll behave when you cut or shape it.
** Here’s a little transparency: Our website contains affiliate links. This means if you click and make a purchase, we may receive a small commission. Don’t worry, there’s no extra cost to you. It’s a simple way you can support our mission to bring you quality content.**
As an Amazon Associate, I earn from qualifying purchases.
🔍 Why Grain Direction Matters
Let’s talk about some real-world ways grain direction affects your woodworking:
🪚 1. Cutting and Planing
Going with the grain = smooth surface.
Going against the grain = tear-out city.
Tip: When planing or jointing, look for the grain to slope downward away from your tool’s cutting edge. That’s usually the direction you want to go.
🔨 2. Joinery Strength
Grain direction impacts how strong a joint will be. For example:
- End grain gluing is weak — fibers suck up glue but don’t bond well.
- Long grain to long grain joints (like edge gluing boards) are much stronger.
🎯 3. Staining and Finishing
Grain absorbs stain differently:
- Open-grain woods like oak and ash soak in more stain.
- Tight-grain woods like maple may look blotchy if not prepped properly.
The grain pattern also enhances (or hides) the beauty of the wood under clear coats or oil finishes.
🪛 4. Screw and Nail Holding Power
Screws hold much better in long grain than end grain. Driving screws into end grain can split the wood or leave a weak joint unless pre-drilled and reinforced.
🧭 How to “Read” the Grain
Think of grain like a roadmap — it’ll tell you which way to go if you know how to read it.
🧩 1. Look at the Edge of the Board
If the lines slope upward → planing against the grain.
If they slope downward → planing with the grain.
📏 2. Watch the Surface Pattern
Cathedral or flame shapes on face grain often indicate direction. The “point” usually faces against the grain.
🪵 3. Use Your Fingertips
Run your hand along the board. One direction may feel smoother than the other — that’s usually with the grain.
💥 What Happens When You Ignore the Grain?
Not paying attention to grain can lead to:
- Tear-out on the jointer or planer
- Chisel skips instead of clean cuts
- Splintered edges when routing
- Weakened joints if glued improperly
- Warping or cracking in finished projects
Even expensive wood will give poor results if the grain fights your tools.

🧰 Tools That Help With Grain Awareness
You don’t need fancy tech to deal with grain, but here are a few things that help:
- Sharp blades and bits – A must when working with wild grain.
- Low-angle planes – Great for reversing or figured grain.
- Scrapers and sanding blocks – For finishing against the grain.
- Grain-orientation diagrams – Sketch your layout before cutting to minimize grain issues.
💡 Grain and Project Design
Thinking about grain direction early in your design phase can:
- Improve strength (especially in chair legs, tabletops, and doors)
- Enhance appearance (book matching or quarter-sawn effects)
- Prevent seasonal movement (grain shrinks/swells across its width)
Pro Tip: Keep grain running the same direction when gluing up panels. It avoids warping and makes sanding much easier.
🧠 Final Thoughts
Grain might look like a simple pattern on a board — but in reality, it’s the blueprint of the tree itself. Understanding it will not only make you a better woodworker, but it’ll also save you time, frustration, and material waste.
Next time you pick up a board, take a second to read the grain. Your cuts will be cleaner, your finishes smoother, and your projects better all around.
Happy building!
Here’s a great source for Woodworking Plans and Tutorials:
![]()