
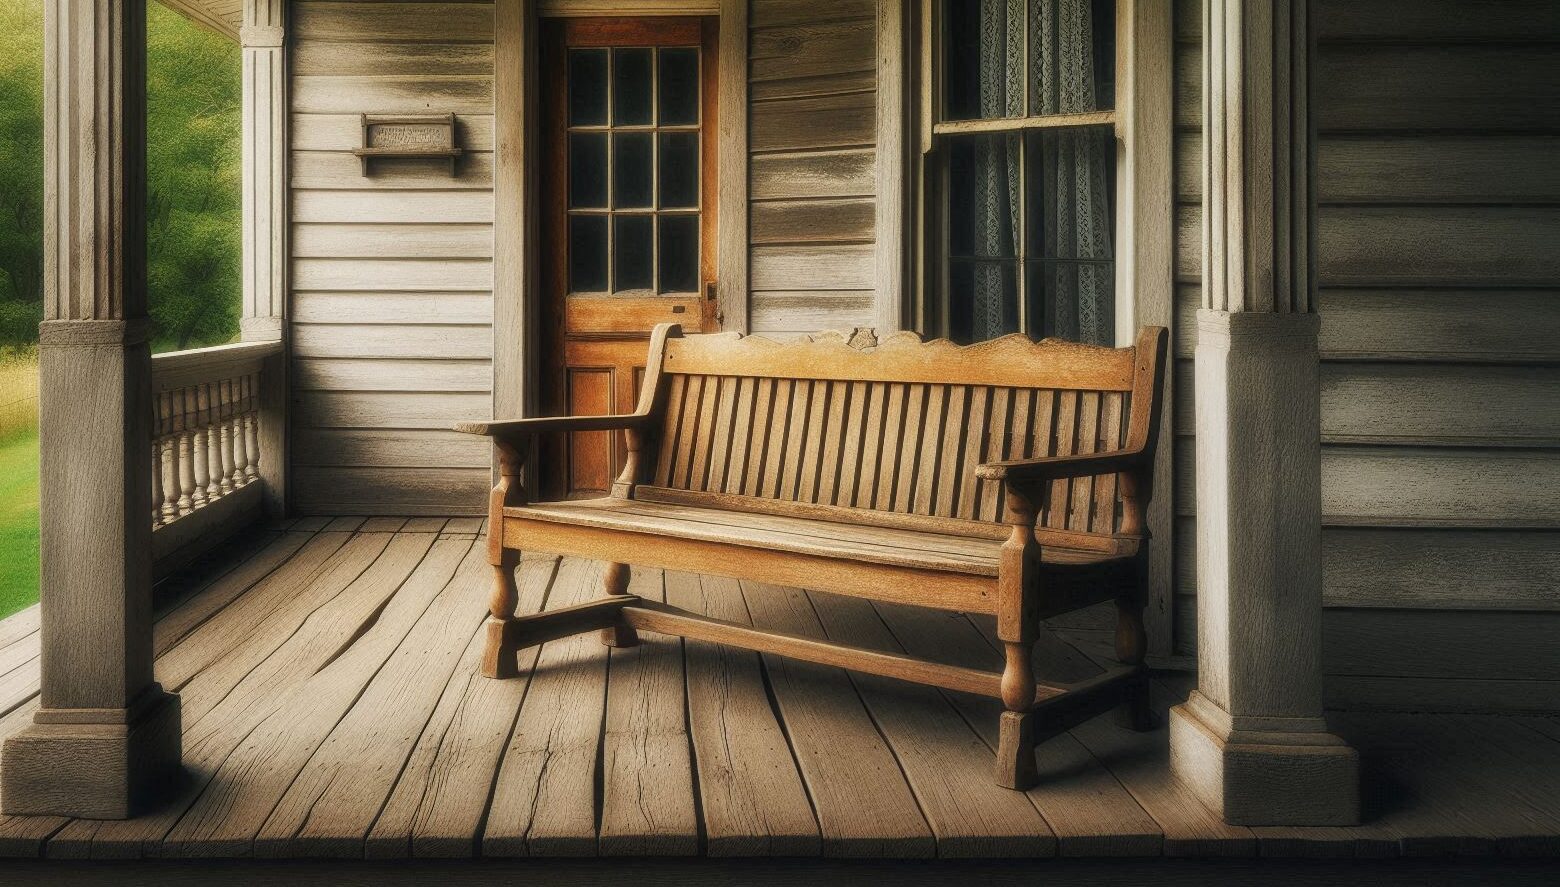

Build a Sturdy, Stylish Bench You’ll Use for Years
Looking to add something functional and beautiful to your home or backyard? A DIY wooden bench is a perfect weekend project that combines simplicity, versatility, and durability. Whether it’s for your front porch, garden path, entryway, or mudroom, a solid wood bench provides seating, storage, and style—and it’s a satisfying project for any skill level.
In this guide, you’ll learn how to build a classic wooden bench with a clean, timeless design that works in almost any setting. We’ll walk through everything from materials and tools to step-by-step instructions, customization ideas, and pro tips to make your bench stand strong indoors or out.
** Here’s a little transparency: Our website contains affiliate links. This means if you click and make a purchase, we may receive a small commission. Don’t worry, there’s no extra cost to you. It’s a simple way you can support our mission to bring you quality content.**
As an Amazon Associate, I earn from qualifying purchases.
![]()
🧰 Tools and Materials
This bench design is straightforward and doesn’t require any advanced tools. You can even build it with just a circular saw and drill if you don’t have access to a full workshop.
🛠 Tools:
- Circular saw or miter saw
- Power drill/driver
- Orbital sander or sanding block
- Clamps
- Tape measure
- Carpenter’s square
- Pocket hole jig (optional but recommended)
- Safety gear (glasses, mask)
🪵 Materials:
- (3) 2×4 x 8’ boards (for top and frame)
- (2) 2×6 x 8’ boards (for legs)
- 2½” wood screws or pocket hole screws
- Wood glue
- Outdoor wood stain or paint (for outdoor use)
- Polyurethane or exterior sealant
📐 Finished Dimensions
Size (standard):
- Length: 48″
- Width: 14½”
- Height: 18″
This bench comfortably seats two adults and fits well in entryways, dining tables, patios, or porches.
Want something shorter or longer? Just adjust the top and stretcher lengths accordingly.
🔨 Step-by-Step Instructions
✅ Step 1: Cut Your Lumber
Using a circular saw or miter saw, cut the following pieces:
- Seat Top:
-
- (3) 2x4s at 48″ long (side by side will form the top surface)
- Legs:
-
- (4) 2x6s at 17½” long
- End Support Rails:
-
- (2) 2x4s at 11″ long
- Long Stretchers (side rails):
-
- (2) 2x4s at 41″ long
These measurements leave room for the top boards to overhang slightly on each end.
✅ Step 2: Build the Leg Assemblies
Each leg assembly consists of two 2×6 boards (one vertical leg and one horizontal foot) joined in an L-shape. This classic design offers excellent stability.
- Attach the vertical 2×6 (leg) to the horizontal 2×6 (foot) using wood glue and screws.
- Use clamps and a square to make sure the joint is perfectly square.
- Repeat for the second leg.
💡 Pro Tip: Drill pilot holes to prevent splitting, and make sure screws are countersunk for a clean look.
✅ Step 3: Add End Supports
The end support rails connect the two leg assemblies together.
- Position one 2×4 end support rail between the two legs, 3” from the ground, and secure with screws.
- Place the second rail at the top between the two legs, flush with the tops of the 2x6s.
- Secure with wood glue and screws or pocket hole joinery for extra strength.
Now you have a rigid bench base with two legs and horizontal support between them.
✅ Step 4: Attach the Side Stretchers
The side rails (or stretchers) add stability and prevent wobbling when sitting.
- Run the 41″ 2×4 boards between the tops of the leg assemblies, long ways.
- Secure with screws or pocket holes at each end.
- Use clamps to pull everything tight and ensure your frame is square.
At this point, you’ve got a strong rectangular bench frame that’s ready for the top.
✅ Step 5: Install the Bench Top
- Lay your (3) 2×4 seat boards side by side across the top of the frame.
- Adjust them so there’s a slight gap between each board (about ⅛”) for water drainage if placing outdoors.
- Center the boards so they overhang evenly on all sides.
- Secure with screws through the top into the side rails.
💡 Optional: Sand edges of top boards with a round-over bit or sandpaper for comfort and style.
✅ Step 6: Sand and Finish
Once assembled, it’s time to prep for the finish.
- Sand all surfaces smooth, paying extra attention to corners, edges, and any rough ends.
- Start with 80-grit and work up to 150- or 220-grit.
- Wipe down with a tack cloth or damp rag.
🌦️ Outdoor vs. Indoor Finishing
If using your bench indoors:
- Apply wood stain or leave natural
- Finish with 2–3 coats of polyurethane for protection
If placing your bench outdoors:
- Use an exterior wood stain or paint
- Seal with marine spar urethane or another UV- and weather-resistant finish
- Reapply annually for long-term durability
💡 Tip: For wet climates, consider using cedar or pressure-treated lumber.
🎨 Customization Ideas
Want to take your bench to the next level? Try these enhancements:
- 🔸 Add a shelf underneath for shoes or baskets
- 🔸 Use reclaimed barn wood for a rustic look
- 🔸 Burn the wood with a propane torch for a “shou sugi ban” finish
- 🔸 Add decorative brackets or trim for a refined, indoor look
- 🔸 Paint the legs and stain the top for a two-tone farmhouse style
This bench is a blank canvas—feel free to match it to your space and personality.
🧠 Tips for a Successful Build
- Use quality lumber — warped boards make for uneven seats
- Double-check all joints are square before screwing
- Use clamps liberally during assembly
- When in doubt, pilot holes will prevent split wood
- Don’t overtighten screws — tight is good, stripped is not
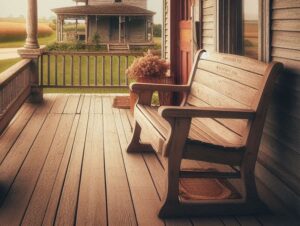
🪑 Where to Use Your Bench
This simple design fits seamlessly in nearly every room or outdoor area:
- ✅ Entryway or mudroom: Sit while taking off shoes
- ✅ Dining table seating: Pair with a matching table
- ✅ Porch or patio: Add potted plants and cushions
- ✅ Bedroom: Place at the foot of the bed
- ✅ Garden path: A shady spot to sit and relax
It’s also strong enough for occasional extra guests or even light shop use.
✅ Final Thoughts
A wooden bench is one of the most versatile, beginner-friendly projects you can tackle. With just a few boards and basic tools, you’ll build something that’s beautiful, durable, and useful in any space.
Best of all, it’s completely customizable — whether you like your furniture rustic, modern, farmhouse, or industrial. Build one now, and you might find yourself building a second before the week’s out!
📸 Share Your Bench Build!
We’d love to see what you create! Share your finished bench with the hashtag #BenchBySawdust or tag @SawdustSmarty to be featured on the site.
Happy Building!
Here’s great source for Woodworking Plans and Tutorials:

