

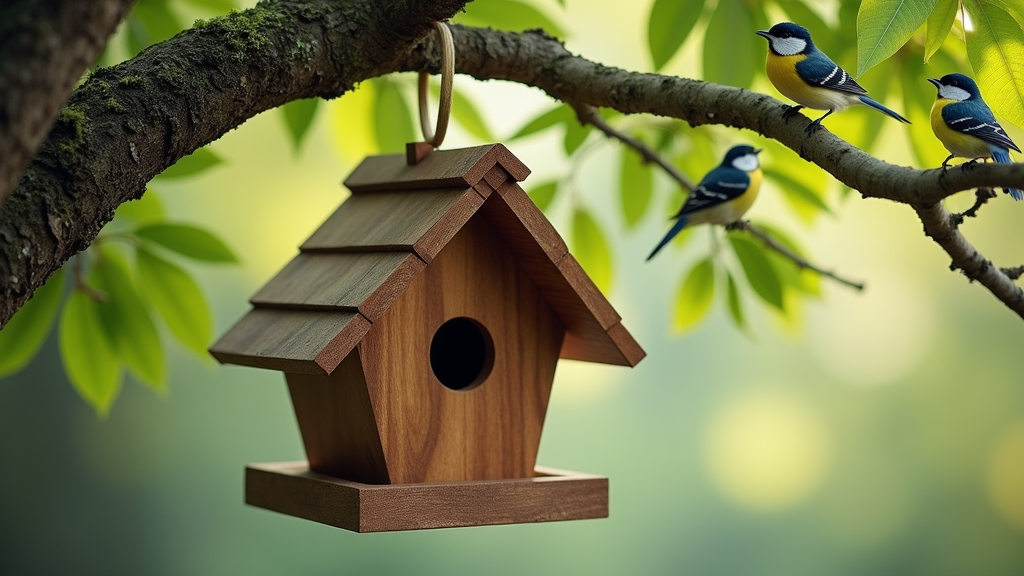
Building a birdhouse is a really enjoyable project that gets you hands-on with some basic woodworking skills. If you’re like me and want to give your backyard birds a cozy place to hang out, building your own birdhouse can be a rewarding way to connect with nature right from home. There’s no need for fancy tools; you can make a sturdy, attractive birdhouse with some simple materials and straightforward steps.
Why Building a Birdhouse Is Worth Trying
DIY birdhouses are more than just an eye-catching addition to your yard. They offer a safe spot for birds to nest, help local wildlife, and can even reduce garden pests since many birds’ snack on insects. Making a birdhouse lets you control its size, design, and placement, which is actually pretty handy if you want to attract specific birds like chickadees or sparrows. According to the National Wildlife Federation, adding birdhouses supports native bird populations, especially in areas where old trees or natural nesting spots are harder to find.
It’s also a project anyone can tackle, whether you’re just beginning with DIY crafts or looking for a fun weekend activity for the whole family. Plus, watching birds set up their homes is an ongoing source of entertainment and learning, making it perfect for kids and adults alike. The sense of accomplishment you gain when local birds settle into your handiwork is hard to match.
Getting Ready: Tools and Materials List
You only need a few basic supplies to get started. Here’s what I usually gather:
- Wood (cedar or pine): 1-inch-thick boards are easy to work with and hold up well outdoors.
- Saw (hand saw or power saw): For cutting the wood to size.
- Drill and bits: For making holes and driving in screws; you’ll need a spade bit, or hole saw for the entrance.
- Screws or nails: I suggest using galvanized or exterior grade hardware to prevent rust.
- Wood glue: Optional, but it gives extra strength to your joints.
- Sandpaper: Medium and fine grit to smooth rough edges.
- Outdoor paint or stain: Go with bird safe finishes if you want some color (but keep the inside natural).
- Measuring tape, pencil, and ruler: For marking out your cuts.
Skip treated lumber; chemicals in these woods can be harmful to birds. Cedar and pine are naturally weather-resistant and work well for just about any design. You might also want to keep some extra screws, wood scraps, or hooks on hand for adjustments and mounting options. Prepping your workstation by covering surfaces with newspaper or a drop cloth helps keep things tidy.
Step-by-Step: Building Your First Birdhouse
Here’s a straightforward plan to help you assemble a classic, rectangular birdhouse that works for most small songbirds. Before you start, decide where you want to put your finished birdhouse so you can choose an appropriate size and mounting method. You can always customize the design later as you get more confident with woodworking.
- Cut Your Wood Pieces
Measure and cut the following pieces: one front, one back, two sides, one bottom, and one roof. For a basic birdhouse, I usually go with a front and back about 8 inches high by 5 inches wide, side panels 8 inches by 4 inches, a base 4 inches square, and a roof 7 inches by 6 inches. - Drill the Entrance Hole
About 6 inches from the bottom edge of the front panel, drill a hole 1 1/2 inches in diameter. This size works for bluebirds, wrens, and chickadees. Different birds need different hole sizes, but this diameter suits several popular backyard species. You can also drill a few small drainage holes in the base piece. - Sand All Edges
Using sandpaper, smooth the edges and surfaces of every piece, especially around the entrance hole, to prevent splinters and keep birds safe. - Assemble the Body
Start by attaching the front, back, and side panels to the base using screws or nails. Add some wood glue for extra stability. Make sure everything lines up squarely so the house sits flat and secure. - Add the Roof
Attach the roof piece so it overhangs slightly on all sides. This helps keep rain out. Secure it with screws (you can make it removable for cleaning or just screw it down permanently). - Finish and Paint
If you want, use outdoor paint or stain to treat the outside, but leave the interior unfinished. Bright colors can look next level cool, but natural wood tones are less likely to draw attention from predators. Opt for muted or earthy tones if you want to blend with your garden’s look. - Mounting the Birdhouse
Install the birdhouse on a pole or tree, about 5 to 10 feet above ground. Make sure it’s secure and tilted slightly forward so water won’t collect around the entrance.
Done! You’ll start to notice visitors soon, especially if you place the birdhouse in a quiet, sheltered part of the yard. If you don’t see birds right away, don’t worry; these things can take time and sometimes a bit of luck. Moving the birdhouse to a more secluded or shaded area often helps. Also, consider trying different mounting methods based on the types of birds you hope to attract.
As an Amazon Associate, I earn from qualifying purchases.
Here are a few excellent resources for more information on woodworking.
Woodworking Plans and Projects
Woodworking Projects for Beginners
Common Challenges and How to Handle Them
Building a birdhouse might seem simple, but there are a few things that might trip you up the first time.
- Choosing the Right Size: Download or print plans for specific birds if you want to attract someone in particular. The entrance hole and floor size matter a lot for species like swallows or woodpeckers. Some species like wide or shallow houses, so plans help you get it right.
- Keeping It Weatherproof: Gaps between joints can let water inside. If in doubt, seal exterior seams with wood glue or caulk, but avoid sealing up drainage holes or the opening. Leaning the roof helps water roll off while overhangs keep the interior dry.
- Pest Control: Squirrels or raccoons love bird eggs. Use a baffle (a cone-shaped guard) if mounting on a pole. Skip perches; most songbirds don’t need them, and they can just help predators or competitors get inside. Metal hole guards can discourage chewing from determined rodents.
- Easy Cleaning: It’s really important to be able to open your birdhouse to clean it between nestings. You can hinge one side or use removable screws for this reason. Consider labeling your houses if you install more than one to help keep track of cleaning schedules.
Picking Safe Paints and Finishes
Using bird safe paint or stain on the outside helps keep the house looking good and lasting through the seasons. Steer clear of paints with heavy metals or lots of chemicals and never paint or seal the inside. Little chicks are super sensitive to fumes and slick surfaces, so keeping interiors natural is the way to go. If you’d like a weathered look, just let your birdhouse age naturally which often gives it added character and blends in with the environment.
Extra Tips for Attracting Birds to Your New Birdhouse
After building, the next step is putting your new birdhouse in a spot birds will love. Here’s what usually works for me:
- Mount it away from busy walkways and noisy areas; peace and quiet really matter to birds.
- Avoid putting it in direct afternoon sun; morning sun is ideal, especially if you point the entrance east.
- Make sure branches or other objects aren’t in front of the entrance hole, so birds have a clear flight path in and out.
- Be patient; it can take a little time for birds to stumble upon new houses. Setting up a bird feeder nearby might attract birds to the area faster.
- Don’t forget about water; placing a clean shallow birdbath nearby makes your yard more inviting too.
Checking in from a distance every few days can help you spot new guests without disturbing them while nesting. Birds can be surprisingly picky about their homes, so don’t be discouraged if your birdhouse isn’t occupied immediately. Sometimes moving it just a few feet, or offering a few different houses around your yard, makes a big difference.
** Here’s a little transparency: Our website contains affiliate links. This means if you click and make a purchase, we may receive a small commission. Don’t worry, there’s no extra cost to you. It’s a simple way you can support our mission to bring you quality content.**
FAQ: Building and Maintaining Birdhouses
Here are some questions I get asked a lot when it comes to homemade birdhouses:
What is the best wood for building a birdhouse?
Pine and cedar are both great options. Cedar resists rot really well, and pine is easy to work with and affordable.
How do I keep ants and wasps out?
Keep the house clean, check occasionally for unwanted bugs, and try using a tiny amount of petroleum jelly just around the base or hanging wire. Some people also add a little mesh under the roof to stop wasps from finishing nests.
When should I clean out the birdhouse?
Once a year, either in late fall or very early spring before nesting starts, is usually enough. Remove any old nesting material and give the inside a gentle rinse with water (skip harsh soaps or chemicals).
How can I attract specific bird species?
Tailor the size of the entrance hole and the dimensions of the birdhouse to the type you want to see. The Audubon website and local wildlife agencies are great resources for species-by-species guides.
What should I do if predators keep bothering the birdhouse?
Adding predator guards, placing the house on a metal pole, and avoiding any hanging wires or perches can make a big difference. Mount houses away from accessible trees or fences to reduce predator access.
Also…
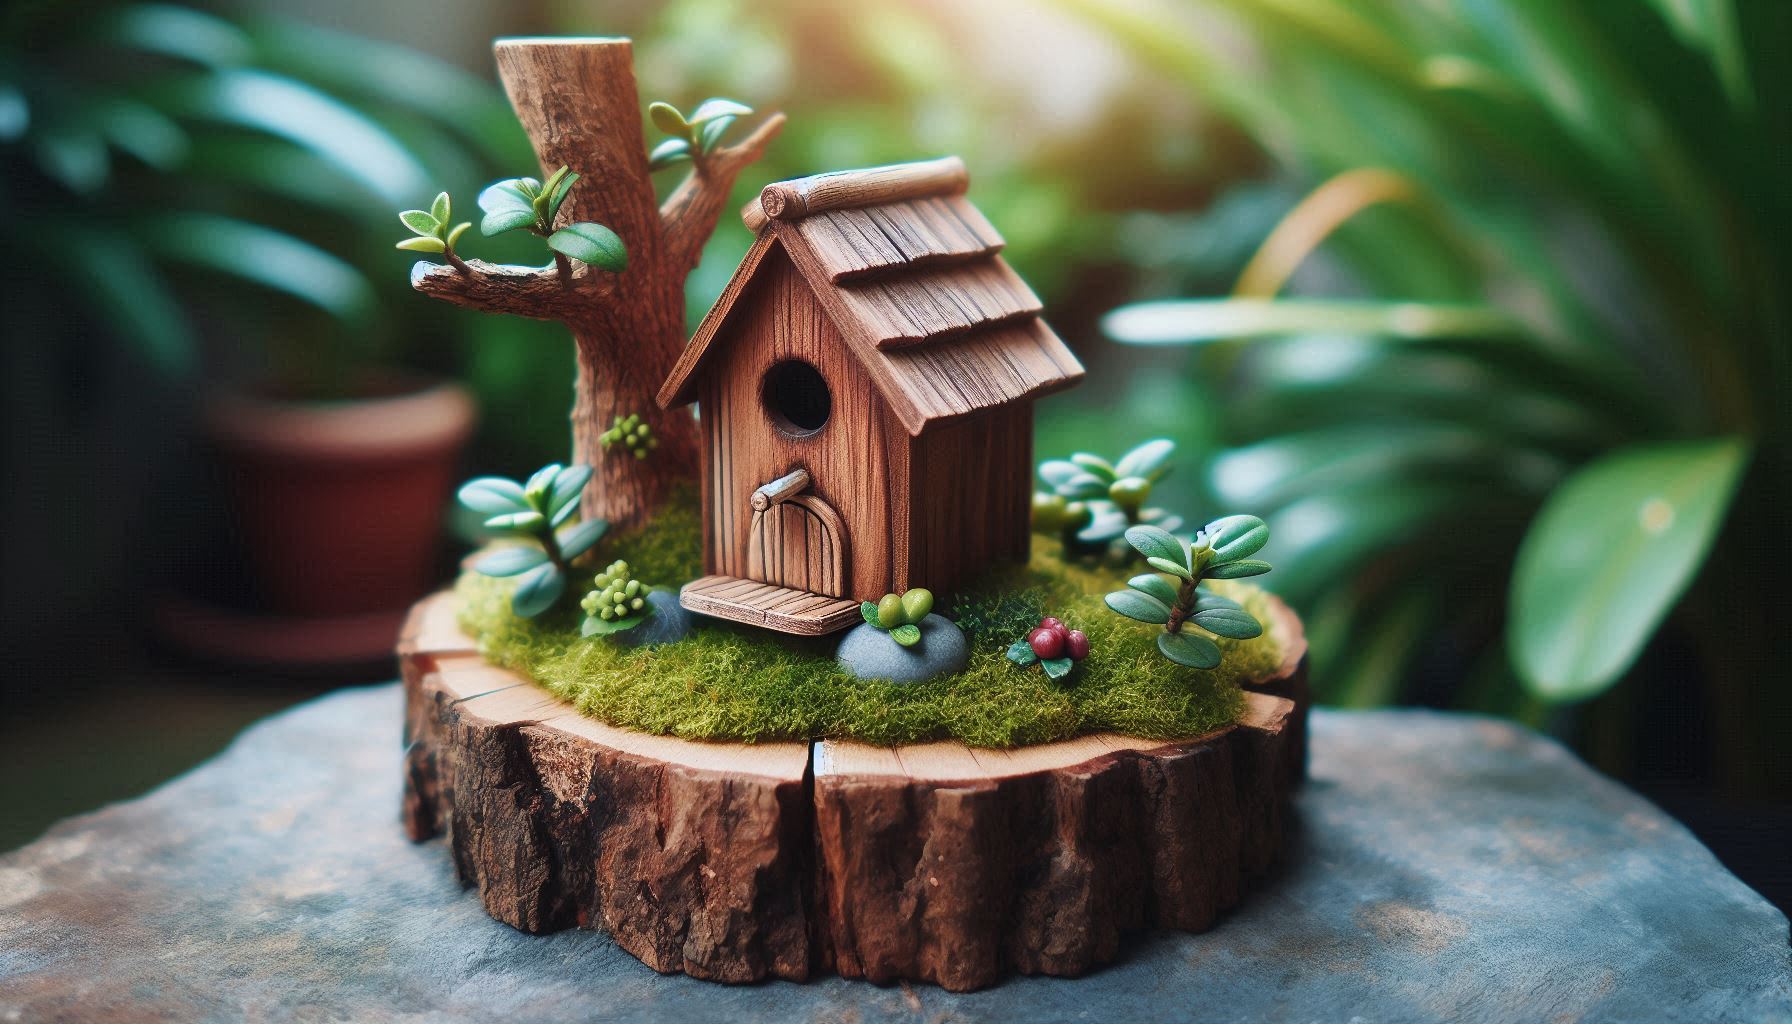
A Miniature Birdhouse is a lot of fun to build!
What Happens After You Build It?
Once your new birdhouse is set up, keep an eye out for new visitors. It’s pretty cool seeing birds move in, and you might get to see nesting, feeding, and maybe even some little chicks peeking out. Building your own birdhouse is one of those projects that pays off every time you hear those backyard birds singing or catch a glimpse of a busy family of feathered neighbors. It’s a simple way to give back to local wildlife and brighten up your outdoor space.
If you’d like more project ideas or info on native birds, the Audubon Society’s website is super useful for learning about who’s likely to visit your yard and how to support them.
Wrapping up, a DIY birdhouse is more than just a craft; it’s a way to nurture your local ecosystem, boost your woodworking skills, and enjoy the beauty of nature up close. With a mix of patience, creativity, and these straightforward steps, anyone can get started and enjoy the many rewards of backyard birdwatching.
Happy building!
Here’s another great source for Woodworking Plans and Tutorials:

As an Amazon Associate, I earn from qualifying purchases.

There are 100’s of ways you can build a business around your passion for the crafts.
Check it out…