
Building your own wooden clock may sound like a complex project, but with the right guidance, it’s an incredibly rewarding way to sharpen your woodworking skills and create something truly unique. If you’ve been itching to try your hand at precision work that combines both craftsmanship and creativity, this project is the perfect place to start. These step-by-step instructions to build your first wooden clock will walk you through every stage of the process — from selecting the right wood and tools to assembling the movement and adding finishing touches — so you can confidently bring your ticking masterpiece to life.
It’s not just about telling time; it’s about creating something meaningful with your own hands. You get to tailor every piece, from the shape and type of wood to the final finish, making it a true reflection of your personal style. There’s a rewarding sense of accomplishment when you see the finished product ticking away perfectly.
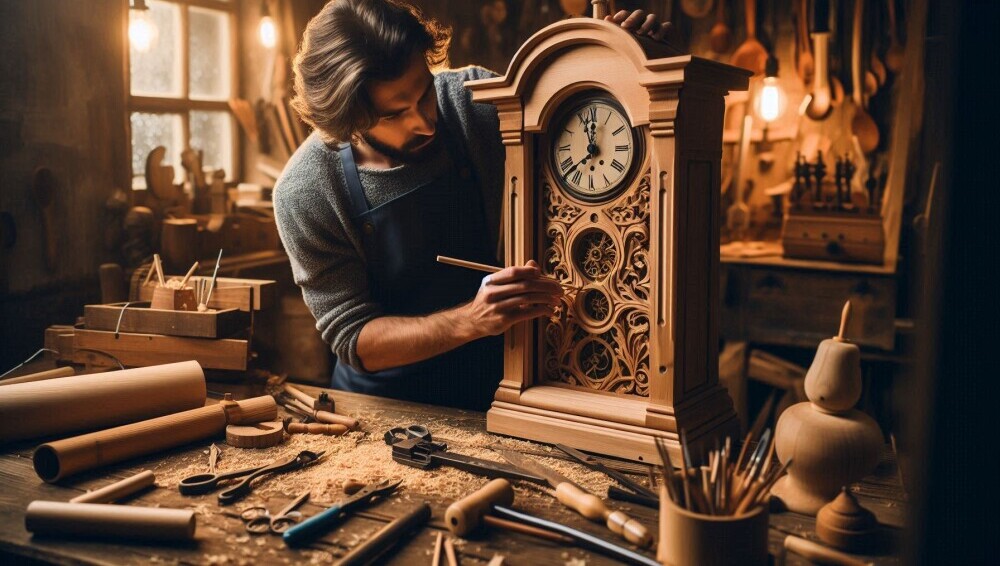
To get started, you got to know the basics. A clock is more than just gears and hands. It’s a small machinery masterpiece. Key components of a wooden clock include the clock face, hands, case, and the mechanism, or movement, that drives it all. This understanding forms the foundation of your project, guiding your tool and material choices, and ultimately, how you decide to tackle the build.
** Here’s a little transparency: Our website contains affiliate links. This means if you click and make a purchase, we may receive a small commission. Don’t worry, there’s no extra cost to you. It’s a simple way you can support our mission to bring you quality content.**
As an Amazon Associate, I earn from qualifying purchases.
Selecting the Right Materials: Wood Choices and Tools
Choosing the right wood can make or break your clock project. You want durability and beauty. Oak and walnut are solid choices for their sturdiness and rich tones. Cherry wood stands out too, with its fine grain and reddish hue. Each type brings a different vibe, so it’s all about what speaks to you and the room where the clock will live.
Tools are your best friends in this adventure. A good saw, chisels, and quality sanding paper are essential. You’ll also want a drill for precision holes and a reliable measuring tape to keep everything in check. These basic tools set you up for success.
Safety’s key when diving into the world of woodworking. Always use protective gear like goggles and gloves. Keeping your workspace organized and well-lit can also prevent accidents. Plus, following these practices ensures you enjoy the process without any hitches.
The Building Process: Step-by-Step Instructions
Starting with a solid plan sets the stage for success. Sketch your clock design with precision, keeping dimensions clear and style preferences in mind. This blueprint guides every step, from cutting pieces to assembling the final product.
With design in hand, it’s time to cut and shape. Carefully cut out the clock face and back piece, ensuring the edges are smooth and even. Pay attention to the grain of the wood to keep the aesthetic just right. Use tools like a jigsaw or a band saw, as they offer the precision required for this kind of work.
Assembly is like piecing together a puzzle. Align the clock face and back piece, then start piecing in the clock mechanism. Follow manufacturer instructions, but don’t hesitate to tweak things slightly to fit your design. Always double-check alignment to make sure everything runs smoothly.
Finishing touches bring your clock to life. Sand every piece to velvety smoothness and consider varnishing to enhance the wood’s natural beauty. Paint or stain can add that personal touch, letting you really make the clock your own. Finally, insert the clock hands and test the fit and movement to ensure it ticks perfectly.

Understanding Clock Mechanics: Gear Ratios and Functionality
Gear ratios play a crucial role in how a clock keeps time. At its core, a clock uses gears of different sizes to transfer energy from the power source (usually a spring or battery) to the hands, moving them in a precise way that corresponds to the passing of time.
To calculate a simple gear ratio, you compare the number of teeth on one gear to the number of teeth on another. In a basic clock, you might have a gear ratio of 12:1 between the minute and hour hand gears, meaning the minute hand completes one full rotation for every twelve rotations of the hour hand. This setup keeps both hands working in harmony, displaying time accurately.
After setting up the gears, it’s important to do some testing. Give your clock a few gentle nudges to ensure everything moves smoothly. Listen for any unusual ticking sounds or hesitations in the gear movement. Such issues might require minor adjustments to the gear engagement or lubrication to reduce friction. Every tweak brings your timepiece closer to perfection.
** Conclusion..
Building your first wooden clock is not only a rewarding woodworking project but also a chance to develop precision and patience as a craftsman. Whether you’re drawn to the mechanics, the design, or the simple satisfaction of crafting something timeless, this project is a perfect introduction to functional woodworking. As you continue your journey, consider brushing up on essential wood joinery methods to strengthen your builds, and explore our guide on finishing wood like a pro to give your clock a professional, lasting finish. And if you’re looking for more beginner-friendly inspiration, don’t miss our DIY woodworking projects for new woodworkers. Keep the sawdust flying—your next great build is just a tick away.
Happy building!
Here’s a great source for Woodworking Plans and Tutorials:

