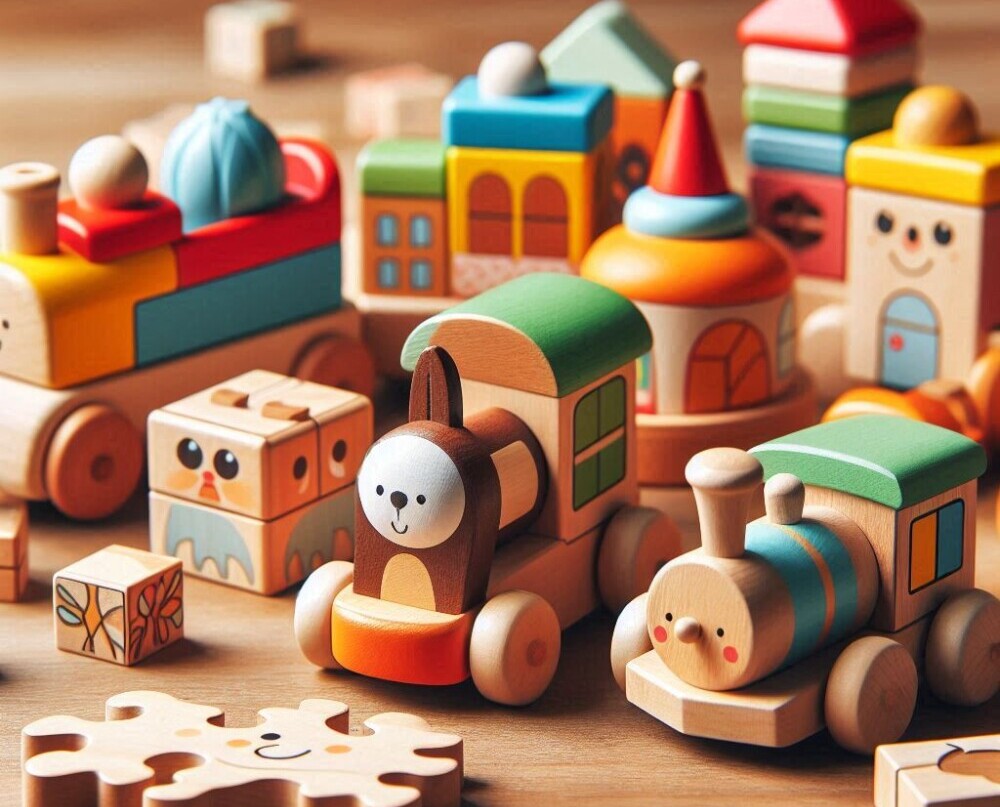
Have you ever had the desire to make simple wooden toys? They hold a sort of magic that won’t fade over the years. They are simple, sturdy, and just plain fun! There’s something satisfying about the weight and feel of a wooden toy, not to mention they can last generations.
Crafting wooden toys not only flexes your creative muscles but also gives you a sense of accomplishment when you see the finished product in a child’s hands. It’s like printing out joy on a mini scale. Plus, making toys can be a therapeutic escape from the digital overload. There’s a certain calm in measuring, sanding, and assembling that’s hard to beat.
This guide’s all about getting you up and running with making your very own wooden toys. Whether you’re a complete newbie or you’ve got a few DIY projects under your belt, you’ll find some cool ideas and step-by-step instructions tailored just for you. By the end, you’ll know which wood works best, how to keep everything safe, and even some easy projects to get your gears turning.
As an Amazon Associate, I earn from qualifying purchases.
Step-by-Step Guide: Crafting Your First Wooden Toy
Getting into the nuts and bolts of making your first wooden toy can feel like jumping into a big, fun puzzle. Let’s kick things off with what you need in terms of tools and materials, so you don’t hit any snags later on.
Basic equipment includes a saw, sandpaper, clamps, and wood glue. A drill can come in handy for making precise holes. You also might want a measuring tape and a pencil for marking out your patterns. On the materials side, grab some non-toxic paint and finish if you want to add some color to your creations.
Prepping a workspace is up next. Find a place where you can leave your tools out all the time without someone giving you the side-eye. A good solid workbench in a well-lit area with good ventilation is key, especially if working with paint or finish.
Now, onto the project itself! Making a simple wooden car is an awesome place to start. First, sketch the outline of the car on your wood piece. Cut out the shape with your saw, handling it carefully. Sand down the edges until they’re smooth to the touch, ensuring there are no splinters. Next, drill holes for the axle placement.
Glue things together where needed, and don’t rush. Allow the glue to dry properly; patience is your best friend here. Once the car’s assembled and dry, it’s time for the finishing touches. A coat of non-toxic paint and a safe finish will keep the toy looking sharp and last longer. Make sure all edges are smooth and safe for play.
For a beginner, picking up these basics sets you up nicely for more complex projects down the line. The key here is to keep it safe, be patient, and above all, have a blast with it!
Discovering Easy-to-Make Wooden Toys
Jumping into the world of easy-to-make wooden toys is like opening a treasure chest full of possibilities. You can start small and let your skills do the talking as they grow. Beginners often find that simple wooden blocks make the perfect starting point. They don’t just encourage creativity in kids, but they’re also a breeze to craft. All you need are some small wooden planks cut down to size, with smoothed edges to avoid any mishaps.
If you’re looking to expand your repertoire, wooden animals can be a real crowd-pleaser. Choose from classic farm animals or venture into the wild with your very own wooden zoo. Start by sketching the animal’s shape onto wood, then cut it out and smooth it with sandpaper. The fun doubles when you’ve got a variety; it creates a full-fledged adventure for the kids.
When picking a project, settle on designs that are clear and straightforward. Plans with basic shapes and minimal detail ensure the process doesn’t become too intricate and remains enjoyable. Books and online resources have heaps of downloadable plans that are often free or super cheap.
It’s also key to remember that while simplicity is fantastic for starting out, adding personal flair to your wooden toys can enhance the fun and creativity involved. Maybe round off a block here or add a friendly painted face there—it’s your project, your rules!
** Here’s a little transparency: Our website contains affiliate links. This means if you click and make a purchase, we may receive a small commission. Don’t worry, there’s no extra cost to you. It’s a simple way you can support our mission to bring you quality content.**

Choosing the Best Wood for Your Toys
Getting the right wood for your toys can sometimes feel like picking your favorite candy from a sweet shop. Each type of wood has its own perks, and some are better suited for particular jobs.
For beginners, softwoods like pine, cedar, or spruce are often recommended. They’re generally more forgiving to work with and won’t burn a hole in your wallet, which is always a bonus. Their lightweight nature makes them great for toys that will be handled by little hands.
Looking at durability and safety, hardwoods like oak or beech might come up as a choice, especially if you’re aiming to create a family heirloom. These woods are known for their sturdiness and less chance of splitting, but they’re a bit tougher to work with.
If eco-friendliness is on your checklist, consider woods that are sourced sustainably. Bamboo, technically a grass, is gaining popularity thanks to its rapid growth and strength. It’s a good alternative if you’re aiming to give Mother Nature a little high-five.
When picking your wood, aim for pieces that are smooth and free from knots, as these can complicate your crafting process. Also, unfinished wood means you can keep an eye on the quality and any potential imperfections that might pop up later.
Ensuring Safety in Wooden Toy Creation
Ensuring that your wooden toys are as safe as they are fun is super important. Safety starts from the very first cut right through to the final polish. Work with tools like saws and drills carefully, following all recommended safety precautions like wearing goggles and keeping your workspace tidy.
- When it comes to finishes and paints, go for non-toxic options. Many paint brands offer products specifically designed for children’s furniture and toys. These usually have minimal or no volatile organic compounds (VOCs), making them safer for tiny hands and mouths.
- Smoothness is another biggie. Double-check all edges and corners to ensure they’re round and soft. Running your hand over every surface helps avoid those sneaky splinters that can hide out on rough patches.
- Durability is just as vital since you want these toys to stand up to all the playtime challenges. Test your creations by handling them robustly and ensuring any moveable parts, like wheels or joints, are securely fastened. It pays to think about the age group for your toys too — small parts could be a hazard for little ones, so tailor your designs accordingly.
With these safety-focused tweaks, not only do your toys become a safer option, but they also last longer and look more polished.
Happy building!
Here is a Great Source for Plans and Tutorials on Wood Toys:
Interested in building a business in crafting? There are 100’s of ways you can build a business around your passion for the crafts. Check it out…


