
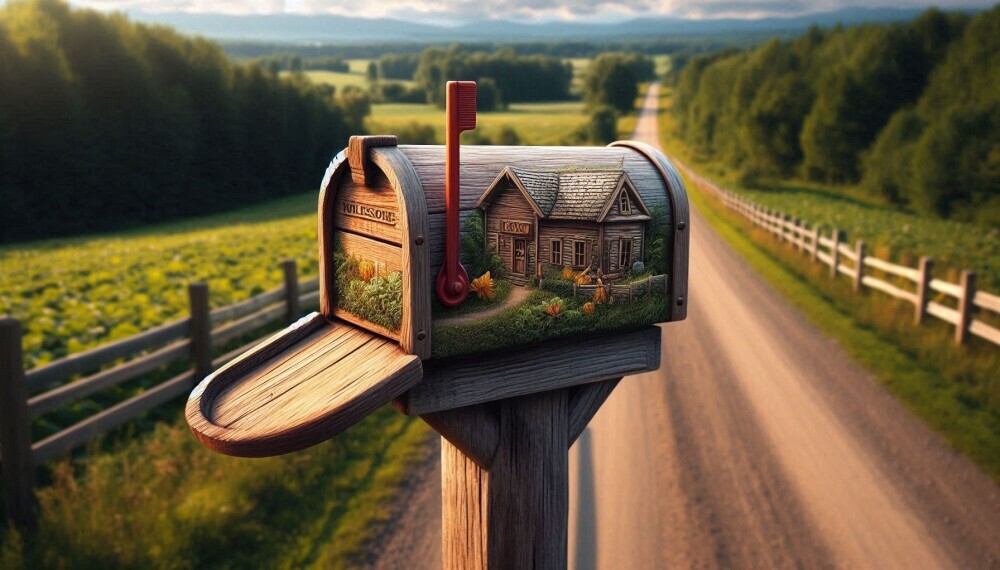
Introduction: Why Build Your Own Wooden Mailbox?
A wooden mailbox isn’t just a spot for letters and packages—it’s a small but powerful way to showcase your craftsmanship and add character to your home. Building your own mailbox gives you the chance to flex your DIY skills while creating a one-of-a-kind feature that boosts curb appeal and makes everyday mail a little more satisfying.
Before you break out the saw, though, there’s one important step you can’t skip: making sure your design follows USPS guidelines. Yes, you can absolutely build your own wooden mailbox, but the United States Postal Service has rules for size, placement, and accessibility. These standards ensure your mailbox works smoothly for both you and your mail carrier.
The good news? The guidelines are simple and still leave plenty of room for creativity. You’ll need to pay attention to details like post height, box dimensions, and the distance from the road—but within those boundaries, you’ve got the freedom to design a mailbox that matches your style. Think of the regulations as a sturdy frame that supports your creativity rather than limiting it.
Some of the links in this guide are affiliate links. As an Amazon Associate, I earn from qualifying purchases — at no extra cost to you. Thanks for supporting the projects I share here!
Materials and Tools You Need
Picking the right materials is like setting a solid foundation for your wooden mailbox project. Not all woods are created equal, so the choice of wood can make a big difference in terms of durability and appearance.
For a sturdy mailbox post, cedar is one of the best choices thanks to its natural resistance to decay and insects. It’s weather-resistant, long-lasting, and widely available. If you prefer redwood, you may need to check a local lumber yard or home improvement store, as it’s harder to find online.
Now, let’s address how deep your post needs to go. A general rule of thumb for depth is about one-third of the post’s length, but typically around 24 inches deep is a good target. This ensures the post is stable and able to withstand gusty winds and the weight of your mailbox.
As for tools, a basic toolkit should suffice. Make sure you have a saw, hammer, box of nails or screws, a level, and a screwdriver. A cordless power drill can make the process a lot easier, speeding up the assembly and ensuring everything fits snugly. Don’t forget a measuring tape—precision is key when cutting and assembling wood.
There’s no need to reinvent the wheel either. Free wooden mailbox plans and PDFs can be a great resource. They provide detailed diagrams and measurements to guide your build. You can find these plans online, many of which are beginner-friendly and come with clear, step-by-step illustrations.
Step-by-Step Mailbox Building Guide
Getting into the nitty-gritty of building your wooden mailbox starts here. Following clear steps will make the process smooth, safe, and enjoyable.
1. Prepare the Post
Measure the post to your desired height, keeping in mind that about 24 inches should remain underground for stability. Cut the post to size and apply a weatherproof sealant to protect the wood from moisture and sun damage.
2. Build the Mailbox Box
Start with the base, then cut your wooden panels according to your chosen plan. Securely assemble them with wood screws or galvanized nails, making sure the structure is sturdy enough to hold mail in all weather conditions.
3. Sand and Finish
Smooth down rough edges using sandpaper or a power sander. Once everything feels smooth, apply a finish of your choice—either a natural wood stain for rustic charm or a bright paint color for extra curb appeal.
4. Install the Post
Dig a hole roughly 24 inches deep. Place your post inside, making sure it stands perfectly vertical with the help of a carpenter’s level. Pour in fast-setting concrete mix and let it cure so the post stays rock-solid.
5. Attach the Mailbox
Secure the completed mailbox to the post with outdoor-grade screws or mounting brackets. Double-check that the box sits level and is easily accessible for mail delivery.
6. Prioritize Safety
Always wear work gloves and safety goggles while handling tools and wood. If you’re using a cordless drill or other power tools, make sure they’re in good working order before you start.
📌 Tip for Visual Learners: If you learn best by watching, pair these steps with free PDF mailbox plans or check out DIY tutorials on YouTube. Seeing the process in action can make tricky details like box assembly or post installation much clearer.
🛠️ Tools & Materials Checklist
Before you get started, make sure you’ve got these essentials on hand:
Wood & Finishing
-
Cedar 4×4 Post (weather-resistant, ideal for mailbox posts)
Tools
Installation Supplies
Safety Gear
📌 Tip: Order everything online before you start so you don’t get halfway through and realize you’re missing a tool

Exploring Additional Resources
Even with a solid plan, sometimes seeing the process in action makes all the difference. Luckily, there’s no shortage of helpful resources to guide you through your wooden mailbox project.
📺 YouTube Tutorials
Video walk-throughs are perfect for visual learners. Watching someone cut, assemble, and install their mailbox helps you catch details that can be hard to explain in writing—like how to fit panels snugly or set your post at the right angle. Many creators also share FAQs and troubleshooting tips at the end of their videos.
📑 Free Mailbox Plans & PDFs
Prefer something you can print and keep at your workbench? Free wooden mailbox plans often come with diagrams, exact measurements, and step-by-step instructions. PDF downloads are especially handy because you can reference them without needing Wi-Fi while you’re out in the yard.
👌 Beginner-Friendly Guides
If you’re just starting out, look for simple plans and tutorials that focus on the basics. These usually use fewer tools and straightforward designs, so you won’t feel overwhelmed. They’re a great way to build confidence while still ending up with a functional, attractive mailbox.
📚 Blending Resources for Success
The best approach often combines both worlds: print out a plan for the bench, then watch a video for the tricky parts. Mixing hands-on instructions with visual learning ensures you’ll feel confident from start to finish.
Maintaining Your Wooden Mailbox
Building your mailbox is just the beginning—keeping it in good shape ensures it looks great and lasts for years. A little maintenance goes a long way.
🔍 Inspect Regularly
Check your mailbox every few months for loose screws, cracked panels, or signs of rot. Catching small issues early prevents bigger repairs later. A quick touch-up with outdoor wood stain or paint can also refresh its look and protect the surface.
🌦 Protect Against Weather
Moisture, sun, and fluctuating temperatures are a wooden mailbox’s toughest enemies. Apply a fresh coat of exterior sealant once a year to shield against rain and prevent warping or rot—especially important if you live in a wet or humid climate.
🧼 Keep It Clean
Roadside dust, dirt, and even bird droppings can wear down your mailbox’s finish over time. A simple scrub with mild soap, water, and a soft brush keeps it looking sharp without damaging the wood.
🎨 Refresh the Style
Your mailbox doesn’t have to stay the same forever. Switch up the color, add decorative numbers, or try a new stain to match your home’s exterior. Treat it like a small, seasonal upgrade that adds personality to your curb appeal.
By staying proactive with upkeep, your wooden mailbox won’t just be functional — it’ll remain a charming part of your home that stands tall and proud for years.
Final Thoughts
Building your own wooden mailbox is more than a weekend project—it’s a way to add personality, function, and long-lasting charm to your home. With the right materials, tools, and a bit of care, your mailbox can stand strong for years while boosting curb appeal every time someone walks by.
If you’re ready to keep building your skills, here are a few more DIY projects you’ll enjoy:
-
Build a Wood Planter Box – create a matching accent piece for your yard.
-
Simple Wood Projects for Beginners – easy builds to sharpen your skills.
-
How to Make Wooden Birdhouses – another great project for your outdoor space.
With practice and the right plans, each project builds your confidence and creativity. Your mailbox is just the start of what you can create with wood, a few tools, and your own hands.
Happy building!
Here’s Another Great Source for Woodworking Plans and Tutorials
If you enjoyed building your wooden mailbox and want to take on even more projects, I highly recommend checking out Ted’s Woodworking Plans. With over 16,000 step-by-step plans, you’ll find everything from small crafts to full furniture builds—perfect for keeping your skills sharp and your creativity flowing.
👉 Click here to explore Ted’s Woodworking Plans

Interested in Building a Business Around Your Passion?
There are 100’s of ways you can build a business around your love for woodworking and DIY projects. Whether it’s sharing tutorials, selling handmade creations, or starting your own website, the possibilities are endless.
👉 Check out Wealthy Affiliate here and learn how to turn your passion into a thriving online business.
![]()