
Once you’ve built a few basic jewelry boxes, it’s natural to want something that stands out.
Maybe you’ve made the same rectangular box three times now, and the itch to try something different is starting to nag at you.
That’s where creativity comes in — designs that go beyond simple shapes and predictable layouts.
The goal isn’t to make things complicated, though.
It’s to add just enough creativity to make your build memorable, without turning a weekend project into a month-long headache.
👉 What Makes a Jewelry Box “Unique”?
A handful of small design choices separate a forgettable box from one people actually remember:
- Uncommon shapes
- Hidden features
- Creative layouts
- Personalized details
You don’t need all four.
Even one, done well, can completely transform a design.
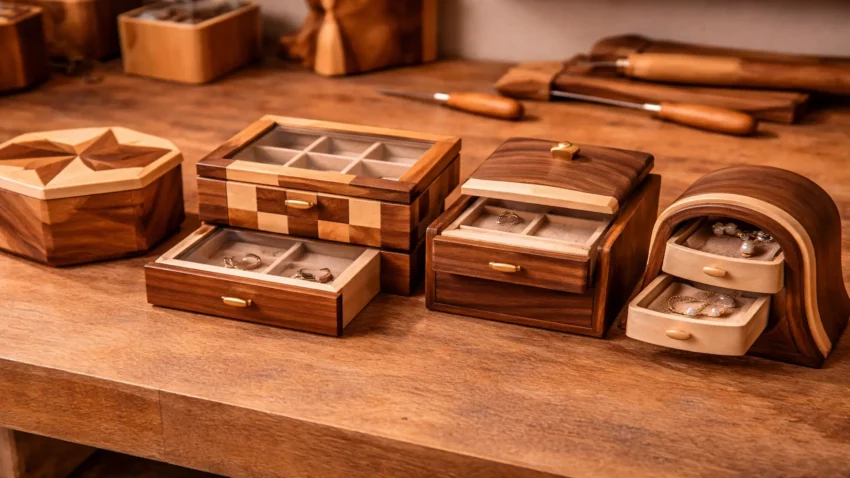
🔲 1. Geometric Shapes
Move beyond the standard rectangle:
- Hexagon or octagon boxes
- Angled lids
- Asymmetrical layouts
A single angled cut or an extra side changes the whole feel of the piece — it adds instant visual interest without adding much build time.
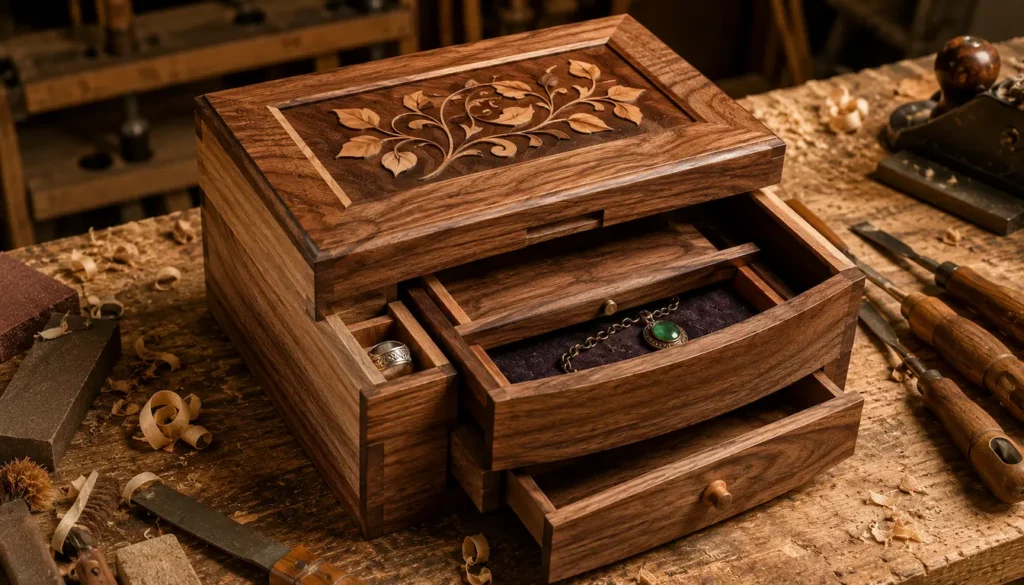
🕵️ 2. Hidden Compartments
A classic upgrade with a twist:
- Secret drawers
- False bottoms
- Sliding panels
This is the feature people talk about.
It turns a static box into something interactive — the kind of build that gets picked up and played with before it’s ever used for storage.
🪵 3. Mixed Wood Designs
Combine wood types for contrast:
- Light + dark combinations
- Accent strips
- Decorative lids
Pairing something like walnut with maple, or adding a thin contrasting strip along an edge, is one of the easiest ways to create a high-end, custom look — no carving or extra joinery required.
🎨 4. Carved or Textured Surfaces
Add detail without changing structure:
- Simple carved patterns
- Routed edges
- Burned designs
This is where you can personalize a build for a specific person — initials, a small motif, a routed border. Small touches, big impact.
📦 5. Multi-Level Designs
Think beyond a single compartment:
- Lift-out trays
- Stacked sections
- Layered storage
Multiple levels aren’t just about looking impressive — they solve a real problem.
Rings, earrings, and necklaces all store better when they’re not piled on top of each other.
🎯 How To Keep It From Getting Too Complicated
- Start with a simple base design
- Add ONE unique feature at a time
- Test ideas on smaller builds first
Creativity works best when it’s controlled.
Pick a base box you already know how to build, then layer in a single new element.
Master that before you stack on a second.
⚠️ Common Mistakes
- Adding too many features at once
- Sacrificing function for looks
- Overcomplicating the build
Simple + unique beats complex + messy, every time. A box with one great feature will always outshine a box trying to do five things at once.
💡 Pro Tips
- Sketch before building
- Let the wood grain guide the design
- Focus on one standout feature
Want More Design Inspiration?
👉 Check out: DIY Jewelry Box Design Ideas (Simple To Advanced Styles)
 Hidden Compartments, Handmade Beauty
🏁 Final Thoughts…
Unique jewelry box designs don’t come from doing everything differently — they come from doing one thing differently and doing it well.
Pick a small creative upgrade, build it with intention, and your work will start to stand out on its own — without ever feeling overwhelming.
 More Builds You’ll Want to Try Next
Ready for the next project?
These builds will sharpen your skills and give you something solid to show for it:
-
How to Build a Wooden Mailbox
– A sturdy outdoor project that teaches clean layout and assembly -
Build a Simple Wooden Toolbox
– A must-have beginner build that keeps your tools organized -
DIY Display Case –
Practice clean joinery with a project that actually looks great -
Craft a Kids’ Stool in 5 Steps
– Quick, simple, and perfect for dialing in your basics
Every project builds skill — the next one is where things start to click.
You got this!
Craft it. Shape it. Own it!