
Build a Rustic Crate That’s Functional and Stylish
If you’re anything like me, it doesn’t take long for tools, scraps, or random odds and ends to start piling up in your workshop — or around the house. The solution? A solid, good-looking storage crate that you can build yourself in a single afternoon.
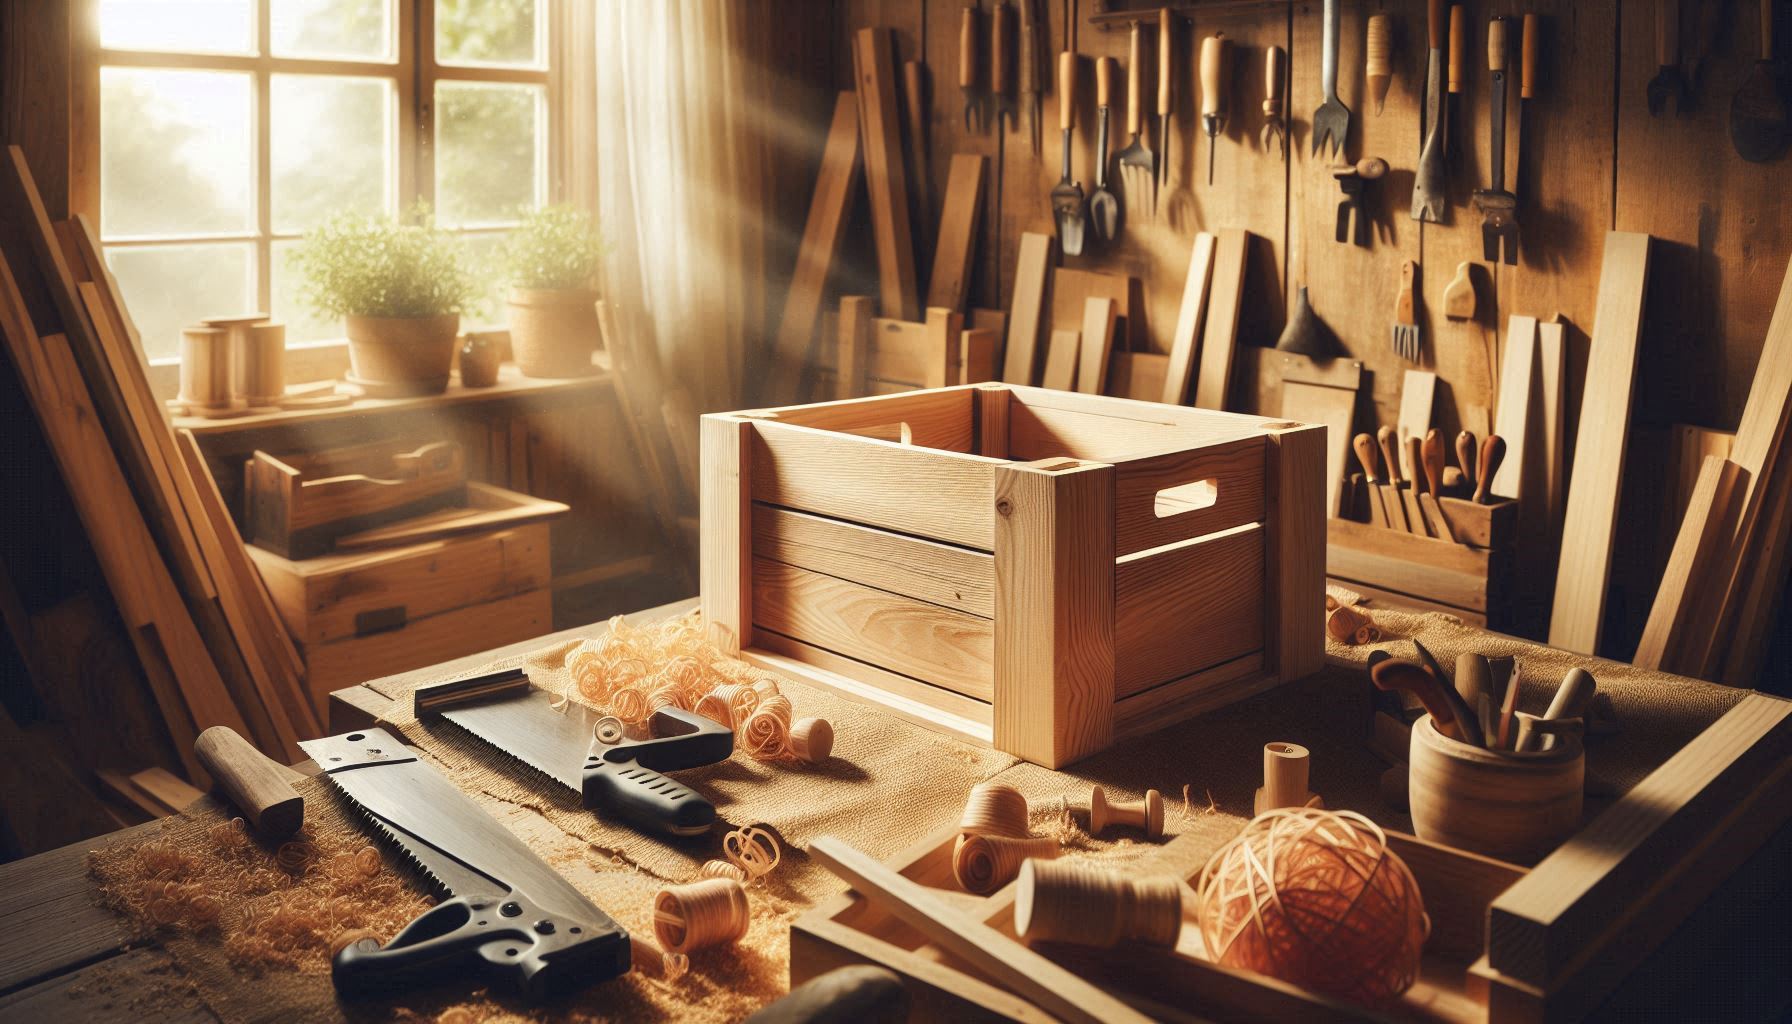
This DIY storage crate with handles that’s functional is more than just a box. It’s a versatile project that fits in almost anywhere — from your workshop to the living room, kitchen, or garden shed. And the best part? It’s easy to make, beginner-friendly, and customizable. You can stain it rustic, paint it bright, or leave it raw and let the wood tell its own story.
Why Build Your Own Storage Crate?
Sure, you can buy crates at the store, but those are often made of thin plywood or MDF, and they just don’t hold up. When you build it yourself, you get:
- Durability: Solid wood construction that’s built to last.
- Customization: Choose your size, wood type, stain, or paint.
- Cost savings: Use scrap wood or affordable pine to keep costs low.
- Satisfaction: There’s nothing like using something you made with your own two hands.
As an Amazon Associate, I earn from qualifying purchases.
** Here’s a little transparency: Our website contains affiliate links. This means if you click and make a purchase, we may receive a small commission. Don’t worry, there’s no extra cost to you. It’s a simple way you can support our mission to bring you quality content.**
What You’ll Need
Materials:
- (3) 1″ x 4″ x 36″ pine boards (or your wood of choice)
- (1) 1″ x 2″ x 36″ board (for handle supports)
- Wood glue
- 1¼” brad nails or wood screws
- Sandpaper (80 and 150 grit)
- Wood stain or paint (optional)
- Wood filler (optional)
Tools:
- Miter saw or hand saw
- Drill or brad nailer
- Measuring tape
- Clamps
- Sander or sanding block
- ¾” Forstner bit or hole saw (for handles)
Step-by-Step Instructions:
Step 1: Cut Your Wood
You can adjust the measurements to make your crate larger or smaller, but here’s a standard size that works great:
- Bottom: (3) pieces @ 16″ (from 1x4s)
- Sides (long): (6) pieces @ 18″ (from 1x4s)
- Sides (short): (6) pieces @ 12½” (from 1x4s)
- Corner supports: (4) pieces @ 10″ (from 1x2s)
These dimensions will give you a crate that’s roughly 18″ long x 13″ wide x 10″ tall.
Step 2: Assemble the Bottom
Lay the three bottom boards flat, side-by-side. Apply wood glue between them, clamp if needed, and reinforce the joint with two short boards (or cleats) screwed underneath to keep them aligned.
You could also use pocket holes or biscuit joints if you’re feeling fancy — but for a rustic crate, glue and a couple of screws will do just fine.
Step 3: Build the Sides
Now let’s build the four side walls.
Each side consists of three 1×4 boards stacked horizontally.
- First, attach the 1×2 corner supports to the inside edges of the short side panels.
- Next, attach the short sides to the ends of the bottom panel.
- Then, attach the long sides, making sure the boards are flush and square.
Use glue and brad nails (or screws) to secure everything.
Step 4: Add the Handles
Handles make your crate easy to grab and move. You’ve got a couple of options here:
Option A: Cut-out handles
Measure and mark a center point on each long side, about 2″ down from the top board. Use a ¾” spade bit or hole saw to drill two holes about 4″ apart, then connect them using a jigsaw to create a smooth, oval handle. Sand the edges well.
Option B: Rope handles
Drill two holes on each side and thread through thick rope, tying a knot inside to keep it from pulling out. This adds a rustic charm and a softer grip.
Step 5: Sand It Down
Start with 80-grit sandpaper to knock down any rough edges, then finish with 150-grit for a smoother feel. Focus especially on the corners, edges, and handles. You don’t want any splinters sneaking up on you.
Step 6: Finish It Your Way
You can go a lot of directions here:
- Rustic: Use a dark walnut or espresso stain, then scuff the edges lightly for a weathered look.
- Modern: Paint it solid black, white, or gray for a sleek vibe.
- Natural: Just seal it with a clear polyurethane and let the grain show off.
If it’s for indoor use, a simple finish will do. If it’s going in a shed or garage, consider a more durable outdoor sealant.
Bonus Ideas: How to Use Your Crate
Once you’ve built one, chances are you’ll want to make a few more. These crates are surprisingly handy. Here’s how people use them:
- Tool or hardware storage
- Kids’ toy box
- Firewood holder
- Pantry organizer
- Blanket bin for the living room
- Garden crate for harvested produce
- DIY gift basket
Final Tips and Tricks
- Always pre-drill if using screws to prevent splitting.
- Clamp your pieces during assembly for tight joints.
- Add felt pads or rubber feet if it’ll sit on hardwood floors.
- Make stackable crates by cutting small notches in the corner supports.
Wrapping It Up
There you have it — a sturdy, simple, and totally functional DIY storage crate with handles you can build in just a few hours. Whether you’re wrangling tools in the garage, organizing craft supplies, or just adding some rustic charm to your space, this crate is up to the job.
Once you make one, it’s hard to stop. Don’t be surprised if every room in your house ends up with its own personalized crate. That’s the magic of DIY.
Happy building!
Here’s another great source for Woodworking Plans and Tutorials:

